Are you tired of your cracked concrete driveway or looking to boost your home's curb appeal with a durable, customizable upgrade? In this in-depth course from Hardscape University, brought to you by Bayside Pavers, you'll gain the skills and confidence to install a professional-grade paver driveway right in your Bay Area backyard. Designed for homeowners who love hands-on projects, this video-based course breaks down the entire process into a seamless, step-by-step guide on a single page, from planning and preparation to finishing touches and maintenance. Whether you're a beginner tackling your first hardscaping endeavor or an experienced DIYer refining your techniques, you'll learn how to create a long-lasting driveway that withstands heavy traffic, California's variable weather, and daily use—all while saving thousands compared to hiring contractors outright.
Paver driveways offer timeless elegance, excellent drainage (especially with permeable options for eco-conscious Bay Area residents), and easy repairs, making them a smart investment for residential properties. By the end, you'll have a stunning, functional driveway that enhances your property value. Plus, as a subscriber, you'll receive a 10% discount on all installation services provided by Bayside.
What You'll Learn: Key Steps and Topics
This course delivers a complete, end-to-end tutorial in one cohesive flow, covering everything you need to know:
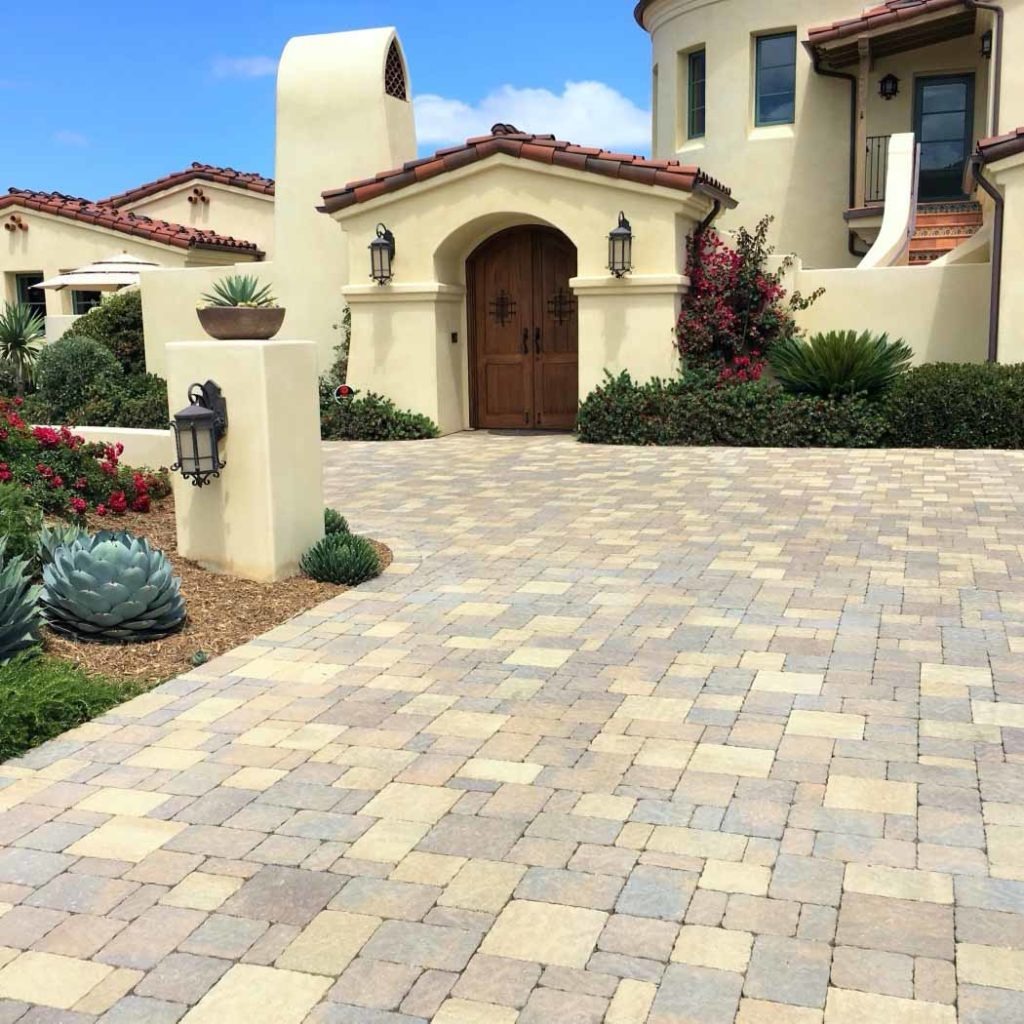
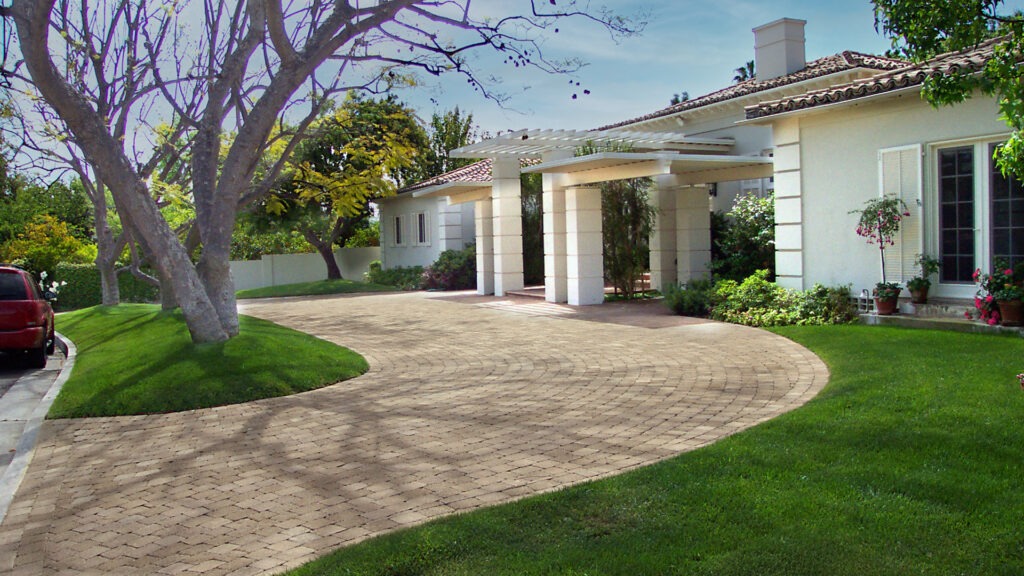
- Introduction and Planning: Understand paver types (e.g., concrete, brick, or natural stone), design patterns (herringbone, basketweave), and site assessment. Learn to measure your driveway area, calculate materials, and sketch layouts using free tools like graph paper or apps. We'll cover Bay Area-specific factors, such as slope for drainage and compliance with local impervious surface regulations.
- Site Preparation and Excavation: Dive into groundwork—excavating 8-12 inches deep, removing old surfaces, and grading for proper slope (1/4 inch per foot away from your home). Includes tips on handling utilities (call 811 before digging) and dealing with poor soil by adding stabilization fabrics.
- Building a Solid Base: The foundation of durability—layer and compact 4-8 inches of gravel or crushed stone in stages using a plate compactor. We'll explain compaction techniques to prevent sinking and incorporate geotextile fabric for weed control and stability.
- Laying the Bedding and Pavers: Spread a 1-inch sand layer, screed for evenness, and install edge restraints. Then, place pavers in your pattern, cutting as needed with a wet saw for curves or borders. Hands-on demos ensure precise alignment.
- Joint Filling and Compaction: Sweep polymeric sand into joints, mist to activate, and compact the entire surface. This locks everything in place for a seamless finish.
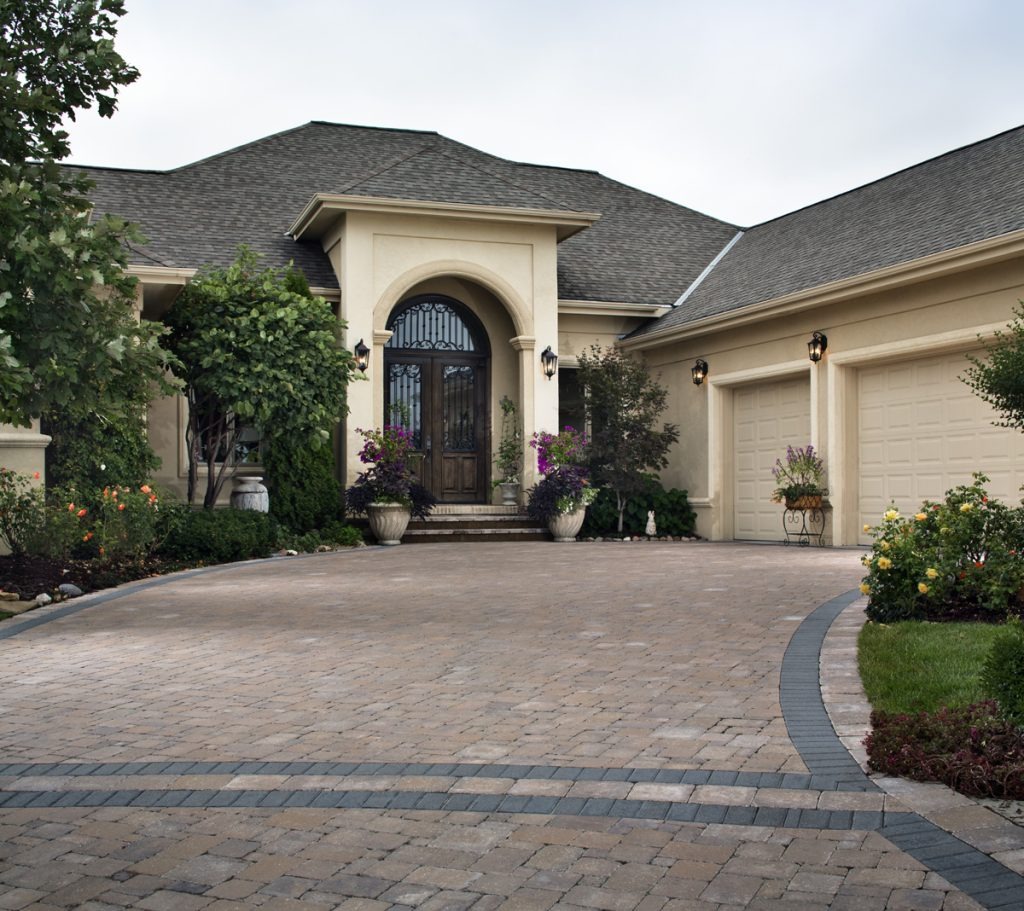
- Sealing, Finishing, and Permits: Apply sealants for stain resistance and longevity. We'll walk through obtaining permits (often required in the Bay Area for driveways over certain sizes) and integrating features like borders or lighting.
- Maintenance and Troubleshooting: Post-install care, including cleaning, resealing every 2-3 years, and fixing common issues like shifting pavers or weeds. Real case studies from Bay Area projects highlight prevention strategies.
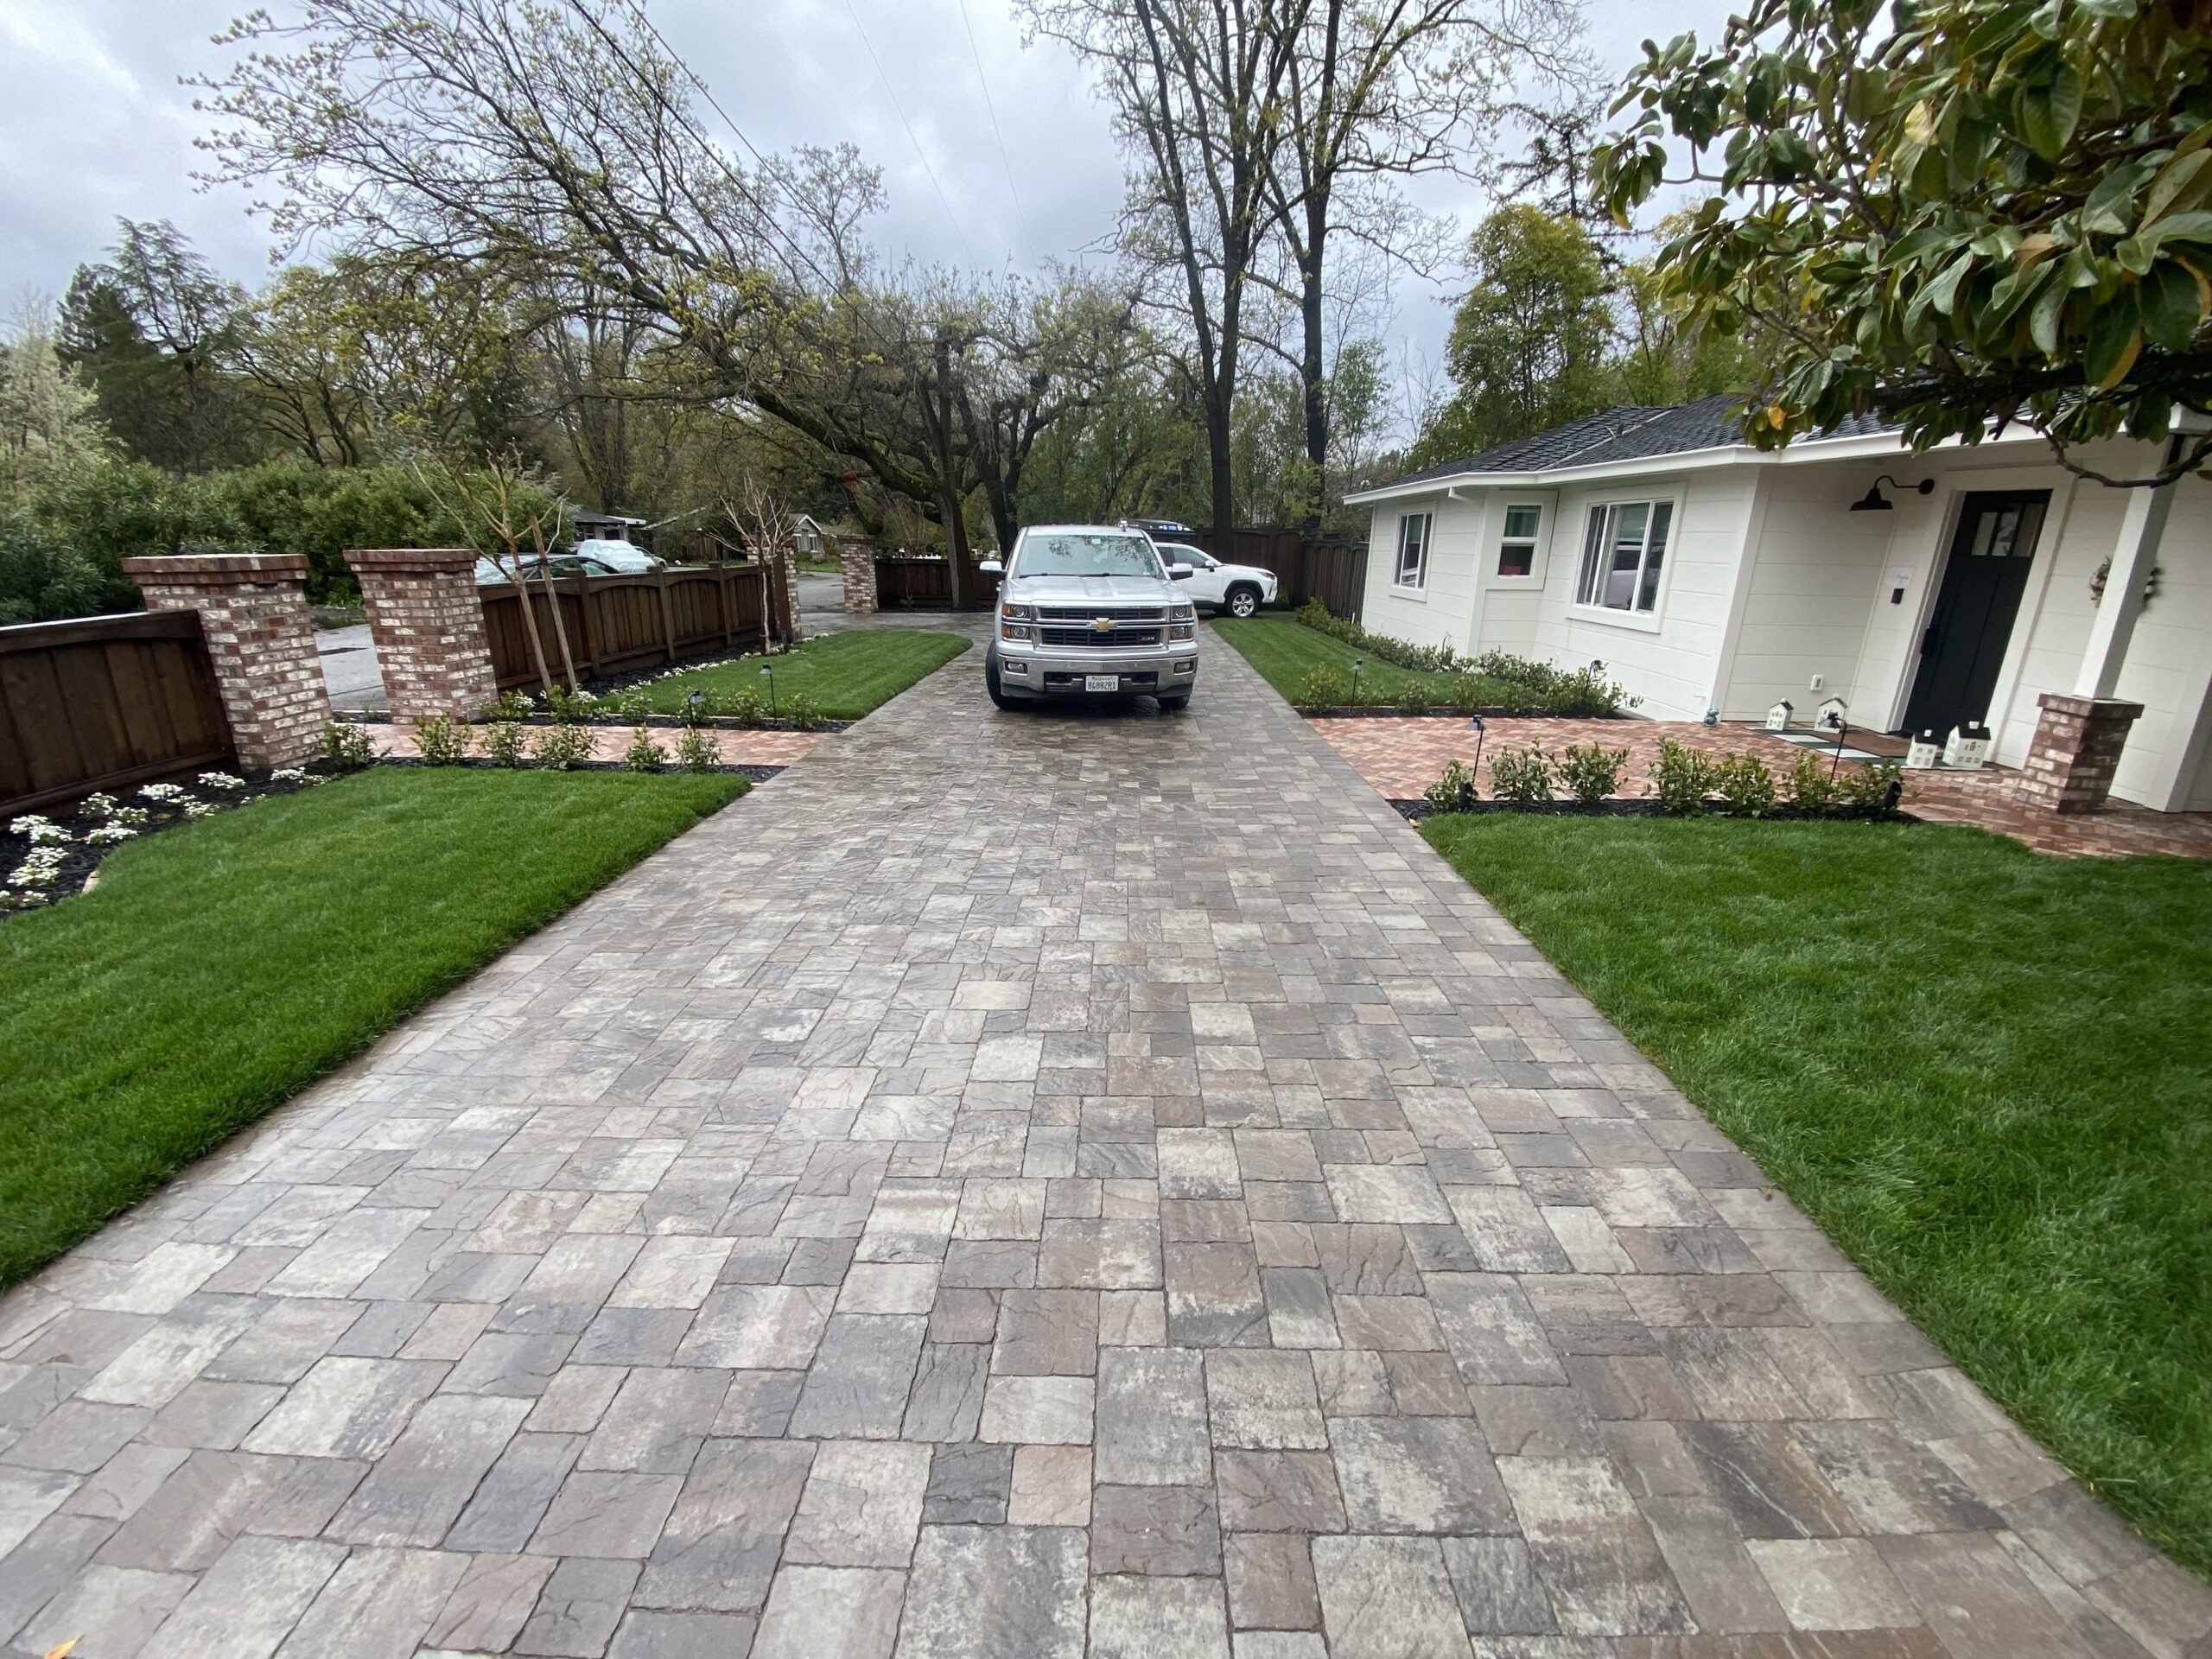
- Advanced Customizations and Cost-Saving Tips: Elevate your design with accents like borders or permeable pavers for sustainability. Budget breakdowns help you save, with estimates for a 400 sq ft driveway (around $2,000-$5,000 in materials DIY vs. $10,000+ professionally).
Throughout, interactive quizzes reinforce learning, and printable checklists keep you organized.
Tools and Materials Needed:
- Tools: Shovel or mini-excavator (rental $100/day), plate compactor (rental ~$50/day), level and string lines, diamond-blade wet saw ($200 or rental), rubber mallet, broom, and safety gear (gloves, goggles, knee pads).
- Materials: Pavers (vehicular-rated, $3-8/sq ft), base gravel/crushed stone ($0.50/sq ft), bedding sand ($0.20/sq ft), polymeric joint sand ($0.30/sq ft), edge restraints (plastic/metal, $1/ft), geotextile fabric, and optional sealant ($0.50/sq ft).
Total DIY cost for a standard driveway: $5-15 per sq ft, depending on choices.
Pro Tips and Common Pitfalls to Avoid:
- Bay Area-Specific Advice: Account for fog and rain by using permeable pavers to reduce runoff and comply with stormwater rules. Test soil compaction rigorously to handle minor earthquakes.
- Safety First: Wear protective gear, work in pairs for heavy lifting, and avoid overloading fresh installations (wait 48 hours before driving).
- Mistakes to Dodge: Skimping on base depth leads to sinking; improper slope causes pooling. Always double-check levels and patterns before filling joints.
- Sustainability Focus: Opt for recycled or local materials to minimize environmental impact.
While this course empowers you to DIY successfully, some projects—like those on steep slopes or with intricate designs—can be time-intensive or require specialized equipment. If it feels overwhelming, remember Bayside Pavers is here to help: As a course subscriber, enjoy 10% off our professional installation services. We've been transforming Bay Area driveways since 2009 with expert craftsmanship that guarantees longevity and peace of mind.