.png)
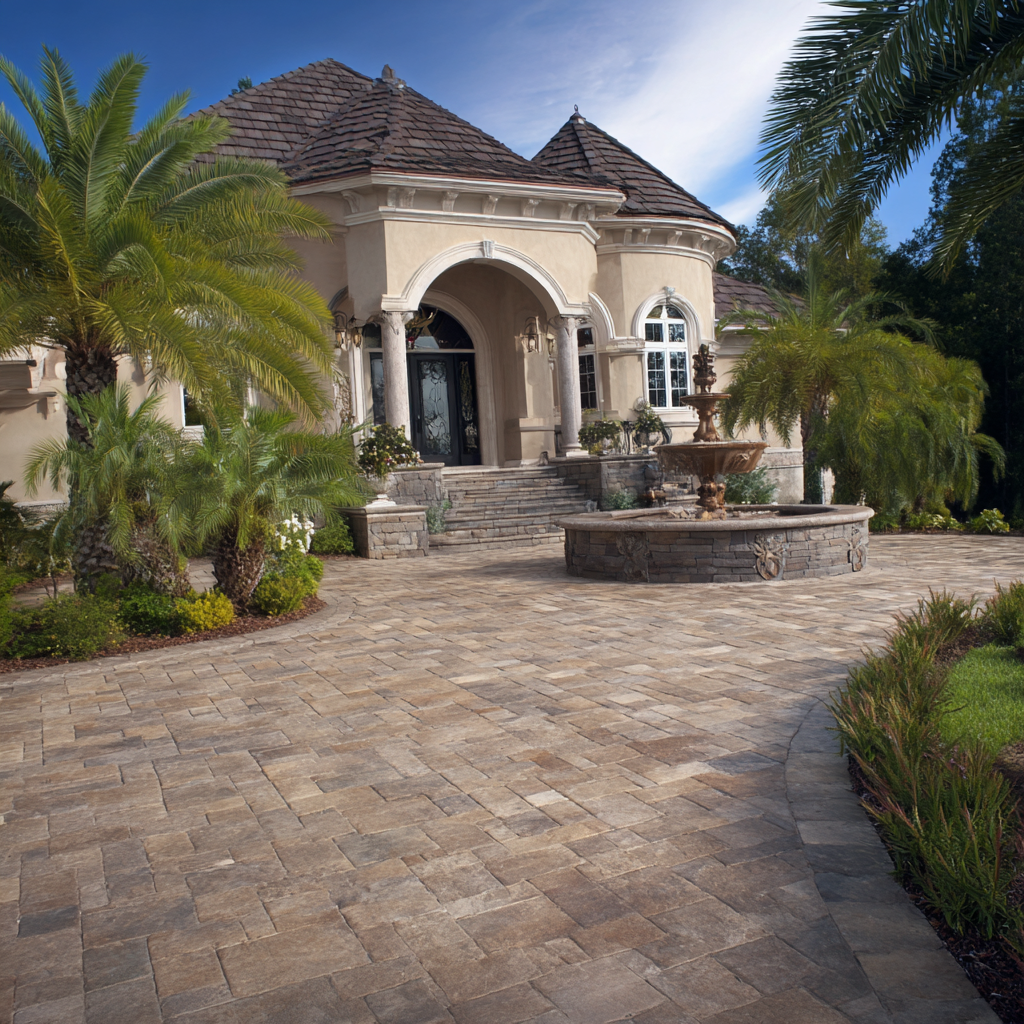
Want to build a permeable paver driveway in San Jose that stops downspout runoff from eroding your home’s foundation before major damage begins?
At Bayside Pavers, we’ve seen too many East Bay and South Bay homes suffer cracked slabs and shifting walls from unchecked gutter overflow—especially in foggy neighborhoods like Willow Glen, Almaden Valley, or Concord.
This DIY guide shows you how to install a permeable paver driveway that infiltrates rainwater and redirects downspouts underground, protecting your foundation in San Jose’s clay-heavy soil and seismic zones. Start now to avoid expensive repairs later.
Why Install a Permeable Paver Driveway Before Foundation Problems Start in San Jose?
Standing water from downspouts saturates soil near your foundation, causing expansion, cracking, and settlement—issues that can cost $10,000+ to fix in earthquake-prone Bay Area homes. Permeable pavers, per ICPI guidelines, reduce surface runoff by up to 90%, giving water a safe path into the ground instead of against your slab.
How Does Poor Downspout Runoff Damage Bay Area Foundations?
Gutters dump thousands of gallons per storm directly beside your home. In San Jose’s clay soil, this creates hydrostatic pressure that pushes against foundation walls. Over time, cracks form, doors stick, and floors slope. A permeable driveway with NDS catch basins channels that water away or through the pavers—preventing saturation before it starts.
How Do I Plan a DIY Permeable Paver Driveway to Safeguard My San Jose Foundation?
Begin with a drainage-first mindset: Assess downspout locations and grade away from the house. Check San Jose permits—most driveway replacements under 500 sq ft don’t require them, but drainage alterations may. Test soil percolation; slow-draining clay needs a deeper gravel reservoir.
Gather Materials and Tools for Long-Term Protection
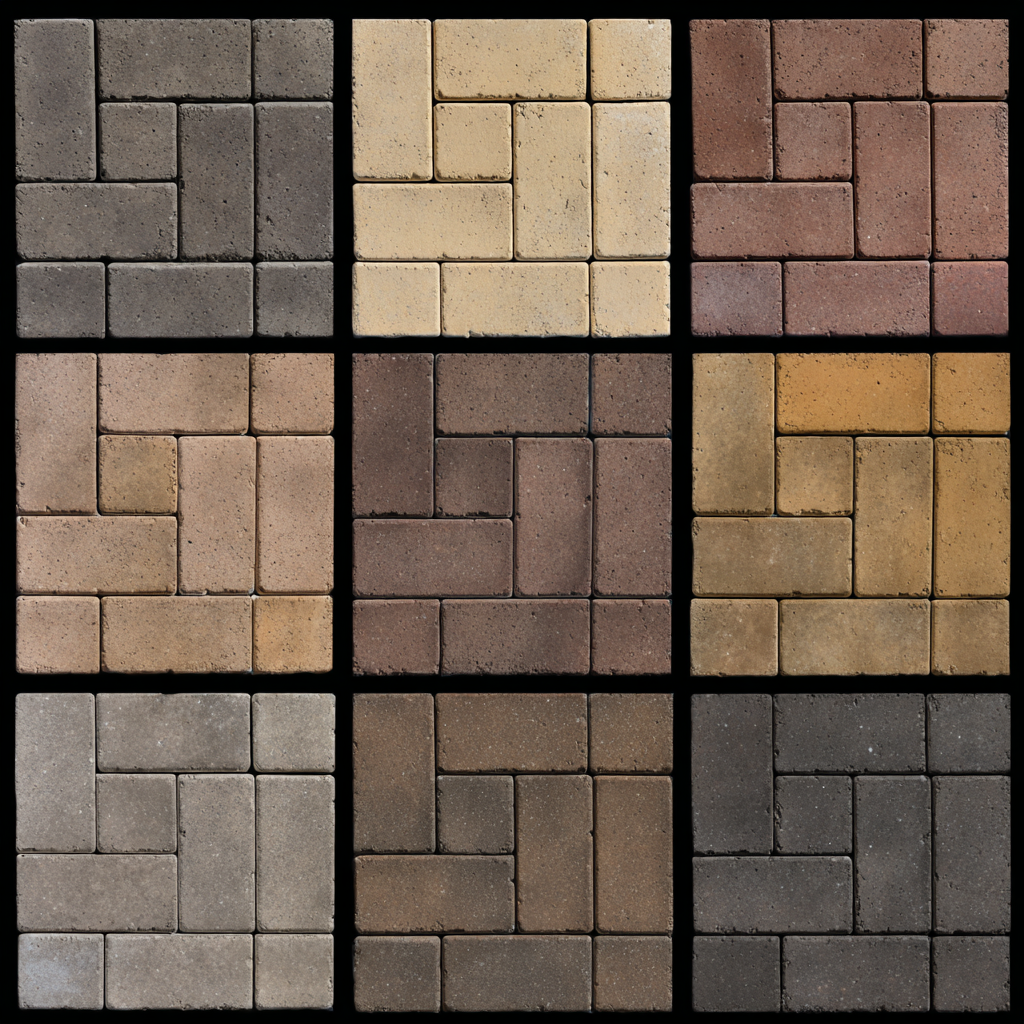
Focus on durable, ICPI-compliant materials like Belgard, Calstone or Techo Bloc permeable pavers and NDS drainage components. Prioritize quality to ensure 20+ years of foundation safety.
Materials List:
Purpose for Foundation Protection
Permeable Pavers
Allow infiltration, reduce surface pooling
3/4" Gravel Base
Creates storage reservoir for excess runoff
NDS 9x9 Catch Basin Kit
Captures downspout flow at source
4" PVC Drain Pipe
Routes water safely underground
Geotextile Fabric
Prevents soil migration and clogging
Permeable Jointing Aggregate
Maintains infiltration rate over time
Pro Tip: Use a plate compactor to achieve 95% compaction—loose base leads to settling and foundation stress.
What Are the Step-by-Step Instructions to Build a Foundation-Safe Driveway?
Follow these 10 steps, based on ICPI and Caltrans standards, to complete in 2 weekends. Always wear PPE and call 811 before digging.
Step 1: Mark and Excavate with Positive Drainage
- Stake the driveway, extending 6 inches beyond for edging.
- Excavate 12–18 inches deep, sloping ¼ inch per foot away from the house.
- Safety Tip: Verify utility locations—hitting a line delays protection.
Step 2: Install NDS Catch Basins to Capture Downspout Runoff Early
Prevent water from ever reaching the foundation:
- Dig 18-inch pits under each downspout.
- Set and level NDS basins; connect to 4" PVC.
- Bay Area Essential: This stops 100% of gutter overflow from pooling near your slab during winter storms.
Step 3: Line with Geotextile to Prevent Clogging
Lay non-woven geotextile over native soil—keeps fines out of the gravel reservoir, ensuring long-term drainage.
Step 4: Build a Deep Gravel Reservoir
Add 6–8 inches of ¾" gravel in 2-inch lifts, compacting each to 95%. This stores water during heavy rains, giving it time to infiltrate away from your foundation.
Step 5: Add the Bedding Layer
Screed 2 inches of ¼" minus chip; lightly compact. This supports pavers while maintaining permeability.
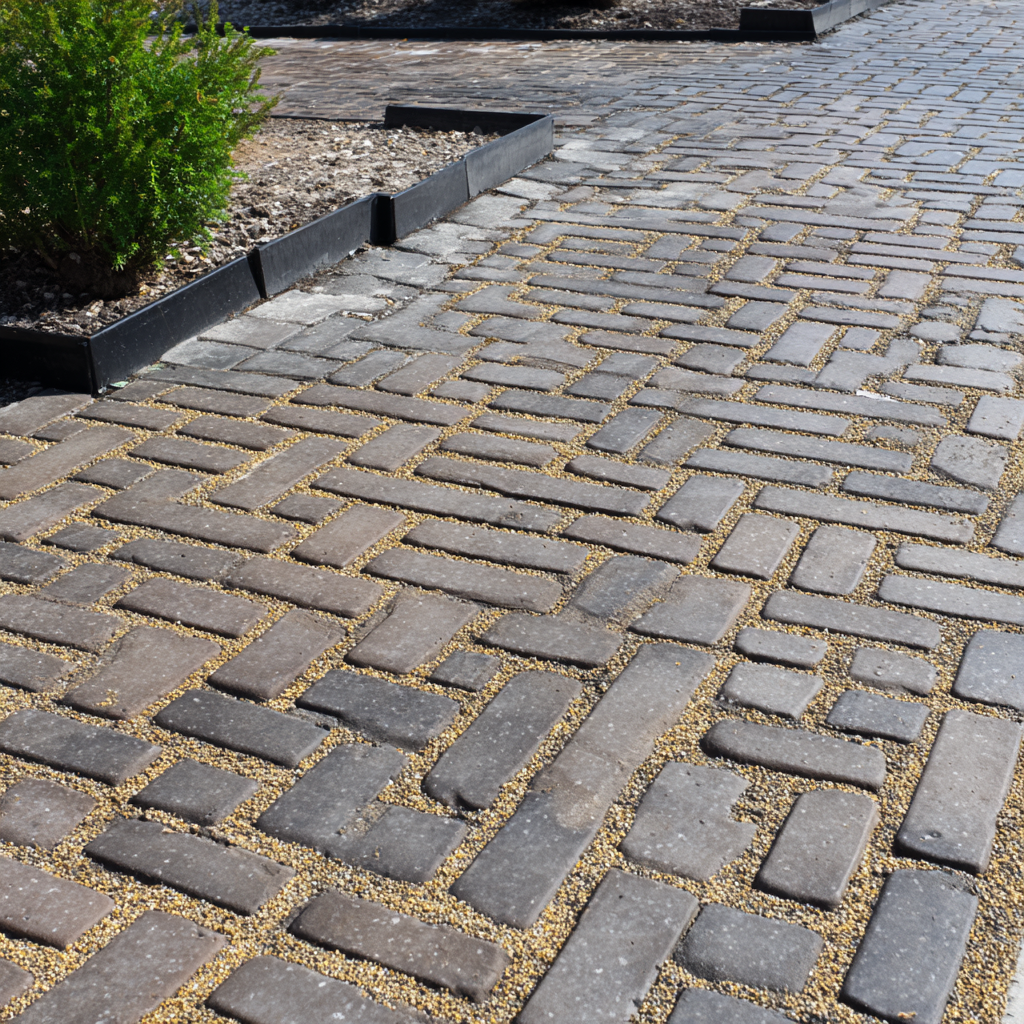
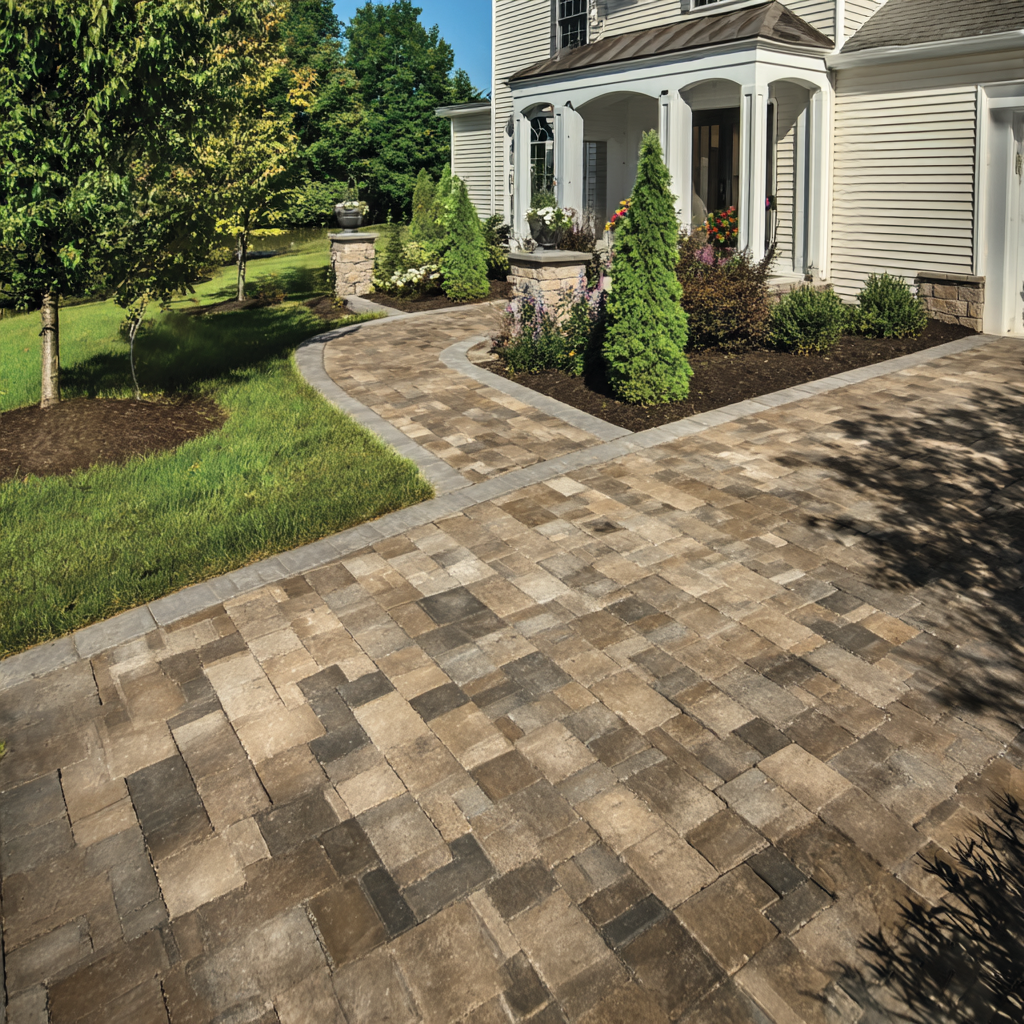
Step 6: Lay Permeable Pavers
Start at the house: Lay in herringbone pattern with ⅛-inch joints. Cut edges with a wet saw rented locally.
Step 7: Connect Drainage Pipes Under the Base
Run PVC from catch basins through the gravel layer to a pop-up emitter or swale—ensuring no water backs up toward the house.
Step 8: Fill Joints with Permeable Aggregate
Sweep in clean, angular chip; vibrate to settle. This locks pavers and maintains 30+ inches/hour infiltration.
Step 9: Secure Edges and Protect the Perimeter
Install rigid edging; backfill with soil. Grade topsoil away from foundation to complete the drainage plane.
Step 10: Test and Commit to Annual Maintenance
Hose-test downspouts—water should disappear in under 2 minutes. Vacuum joints yearly to preserve infiltration and prevent future foundation risk.
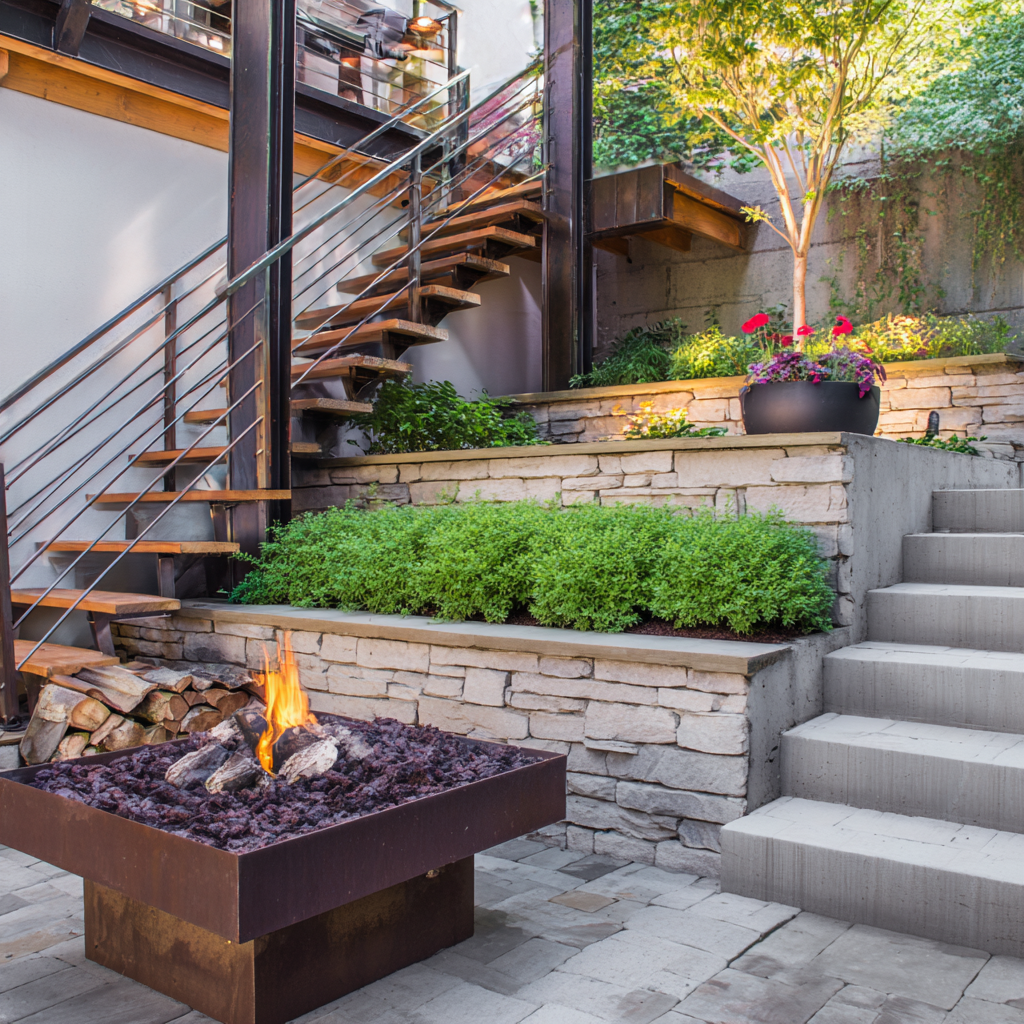
Critical Warning: On slopes >5% (common in Evergreen or Marin), shifting pavers can undermine drainage. Hire pros to avoid liability.
People Also Ask:
Q: How soon can poor drainage damage my San Jose foundation?
A: Within 1–3 winters in clay soil; hydrostatic pressure builds fast. Start your permeable driveway now—see our driveway gallery (/gallery/).
Q: Will permeable pavers work in earthquake-prone East Bay areas?
A: Yes—flexible joints absorb movement better than rigid concrete. Techo-Bloc meets ICPI seismic standards.
Q: How do I maintain drainage to protect my foundation long-term?
A: Clean NDS basins quarterly; vacuum paver joints annually. Prevents clogs in foggy Concord or Marin.
Q: Do I need permits to add drainage in Walnut Creek?
A: Minor DIY drainage often doesn’t—but confirm with Contra Costa County. We handle permits for pro jobs.
Q: Can I combine permeable pavers with rain gardens?
A: Absolutely—route overflow to bioswales for extra foundation buffering and drought-resistant landscaping.
Summary:
- Tools Needed: Shovel, plate compactor, level, wet saw, PVC cutter
- Time: 48 hours over 2 weekends
- Foundation Protection: Captures 100% downspout flow + infiltrates surface rain
- Storm Capacity: Handles 4+ inches/hour with proper base depth
Pro Tip: For slopes >5%, complex soils, or homes with existing cracks, hire Bayside Pavers to prevent shifting and ensure full drainage integrity
 Schedule Design Consultation