.png)
As Bayside Pavers (https://baysidepavers.com), we’re excited to guide you through the process of building your own retaining wall system. A DIY retaining wall project can transform your outdoor space, adding both functionality and beauty to your property. This comprehensive guide will educate you on what retaining walls are, their benefits, and the detailed steps to construct one yourself, ensuring a professional outcome that enhances your landscape.
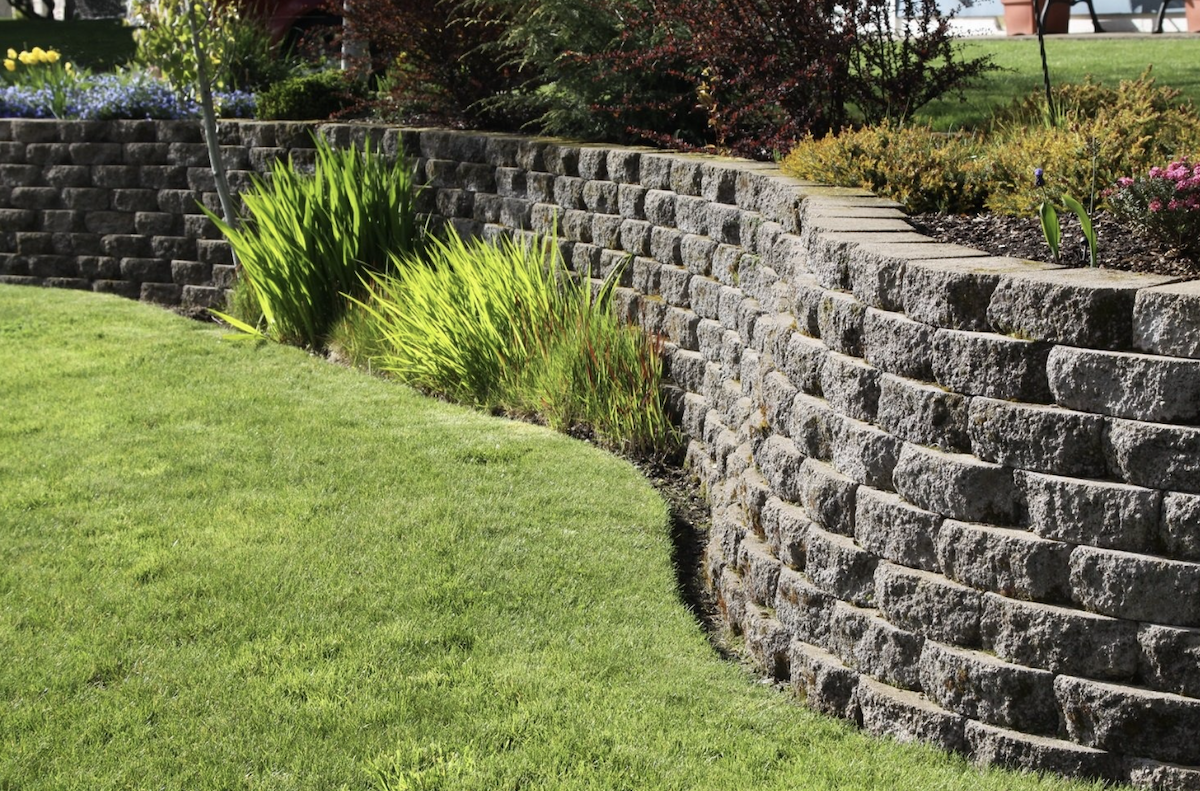
What Are Retaining Wall Systems?
Retaining walls are sturdy structures designed to hold soil in place and prevent erosion, particularly on properties with slopes, hills, or uneven terrain. These systems are essential for stabilizing landscapes, managing water runoff, and creating usable outdoor spaces. By installing a retaining wall, you can protect your yard from soil displacement, reduce the risk of structural damage, and enhance the overall aesthetic of your property. Retaining walls can vary in height, from a few feet for small garden beds to taller structures at the base of steep inclines, providing both safety and visual appeal.
Benefits of Installing a Retaining Wall
Building a retaining wall offers numerous advantages beyond erosion control:
- Property Protection: Retaining walls stabilize soil, preventing landslides or erosion that could damage your lawn, plants, or home foundation.
- Increased Property Value: A well-designed retaining wall is considered a valuable investment by realtors and appraisers, potentially boosting your home’s market value or supporting a home equity loan.
- Enhanced Aesthetics: Retaining walls can be customized to complement your landscape, creating defined spaces like garden beds, seating areas, or pathways.
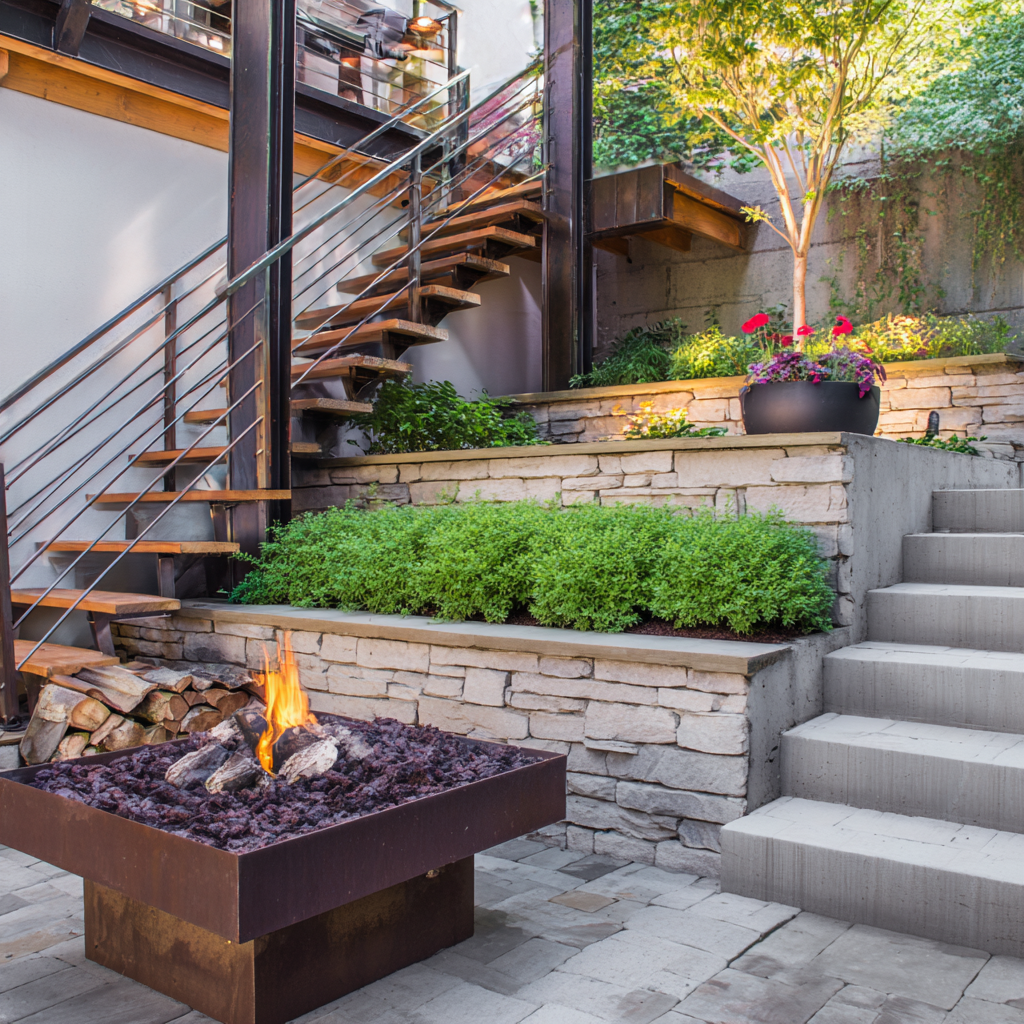
- Functional Spaces: Use retaining walls to level sloped areas, making them ideal for patios, walkways, or pool surrounds, or to add privacy to your yard.
- Water Management: By slowing rainwater runoff, retaining walls help prevent flooding and soil erosion, preserving your landscape design.
Planning Your DIY Retaining Wall
Before starting your project, careful planning is crucial to ensure a safe and durable retaining wall. Follow these steps to prepare:
1. Assess Your Property
Evaluate your yard to determine where a retaining wall is needed. Look for areas with slopes, hills, or erosion issues. Consider the wall’s purpose—whether it’s to level a space for a garden, create a pathway, or secure a steep incline. Measure the area to estimate the wall’s height and length, keeping in mind that walls over 4 feet tall typically require professional engineering for safety.
2. Check Local Regulations
Contact your local building authority to verify zoning laws, permits, or restrictions for retaining walls. Some areas require permits for walls above a certain height (often 3–4 feet) or near property lines. You may also need to check for underground utilities by calling 811 before digging.
3. Choose the Right Materials
Select materials that match your aesthetic preferences and functional needs. Common options include:
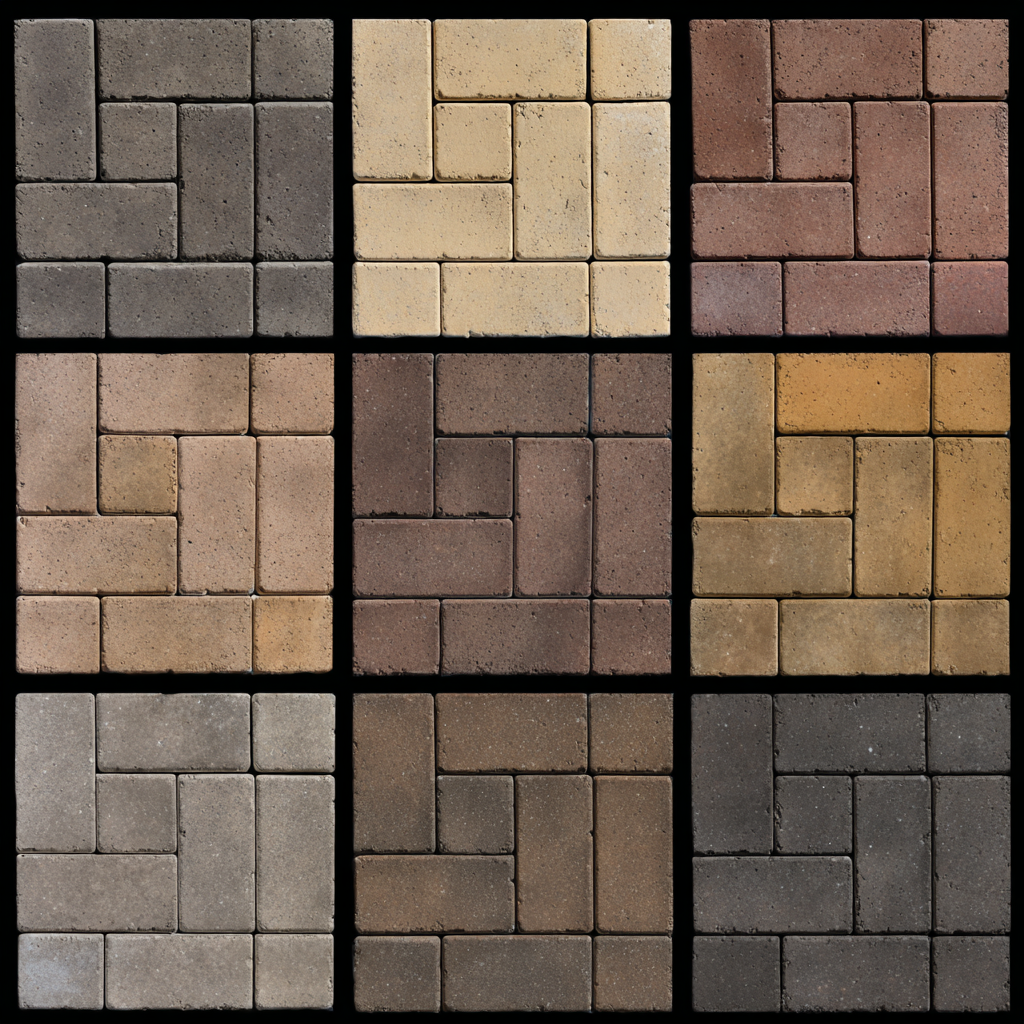
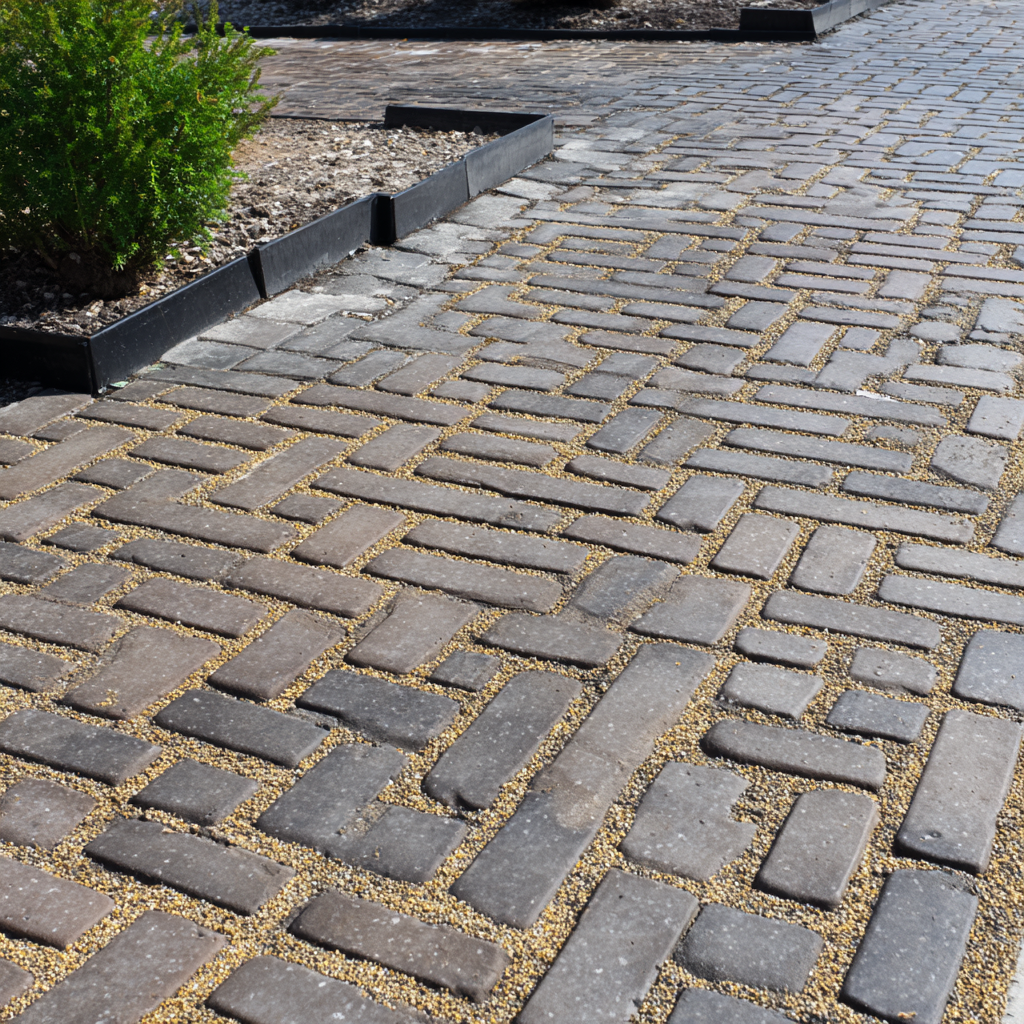
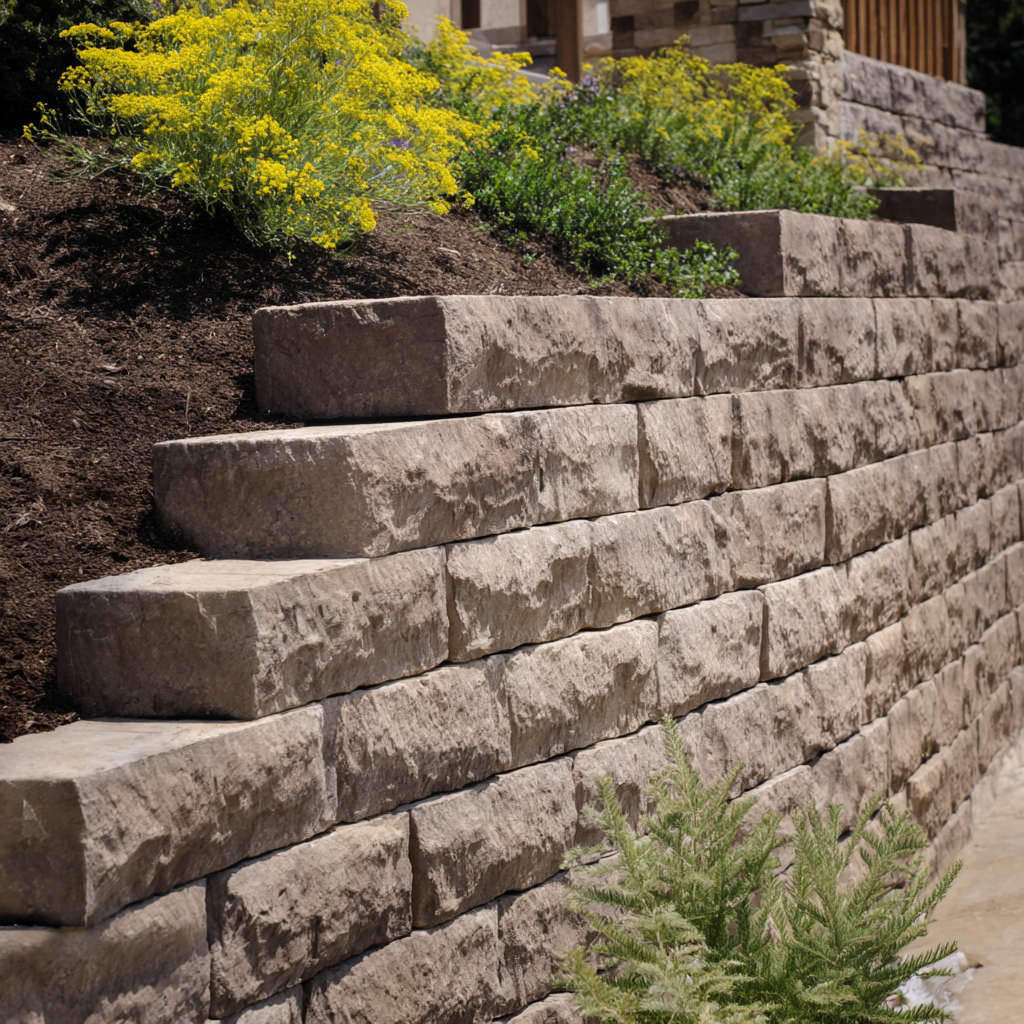
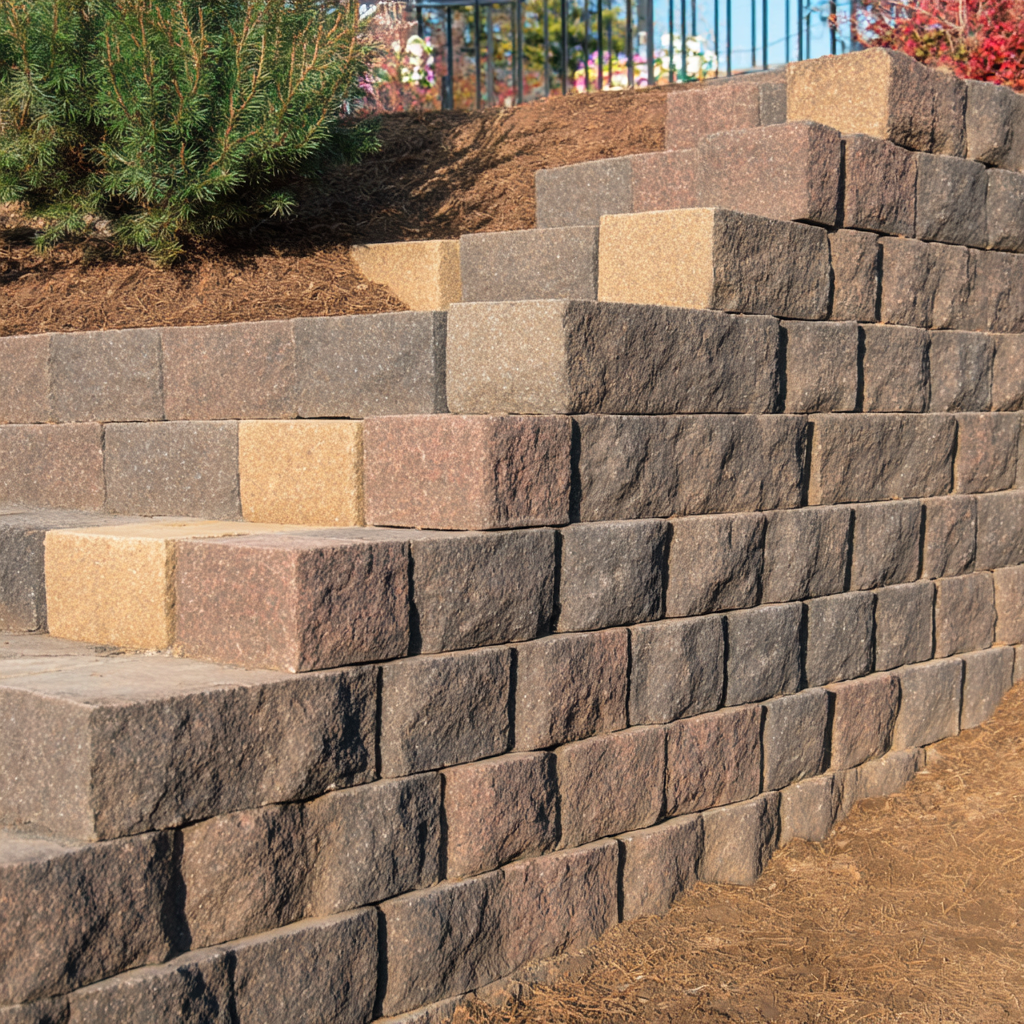
- Concrete Blocks: Durable, versatile, and available in various shapes, textures, and colors. Ideal for straight or curved walls.
- Natural Stone: Offers a timeless, organic look but may be harder to stack uniformly.
- Brick: Provides a classic appearance, best for smaller, decorative walls.
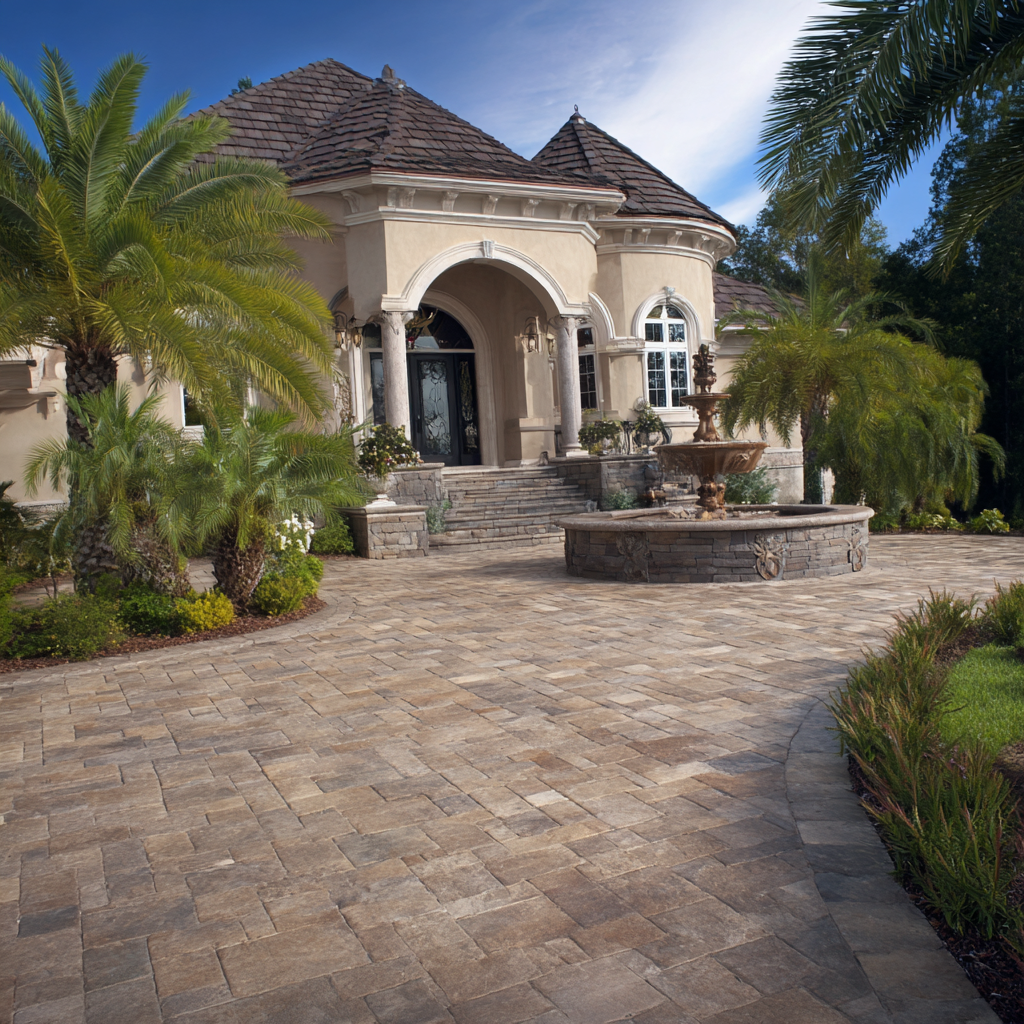
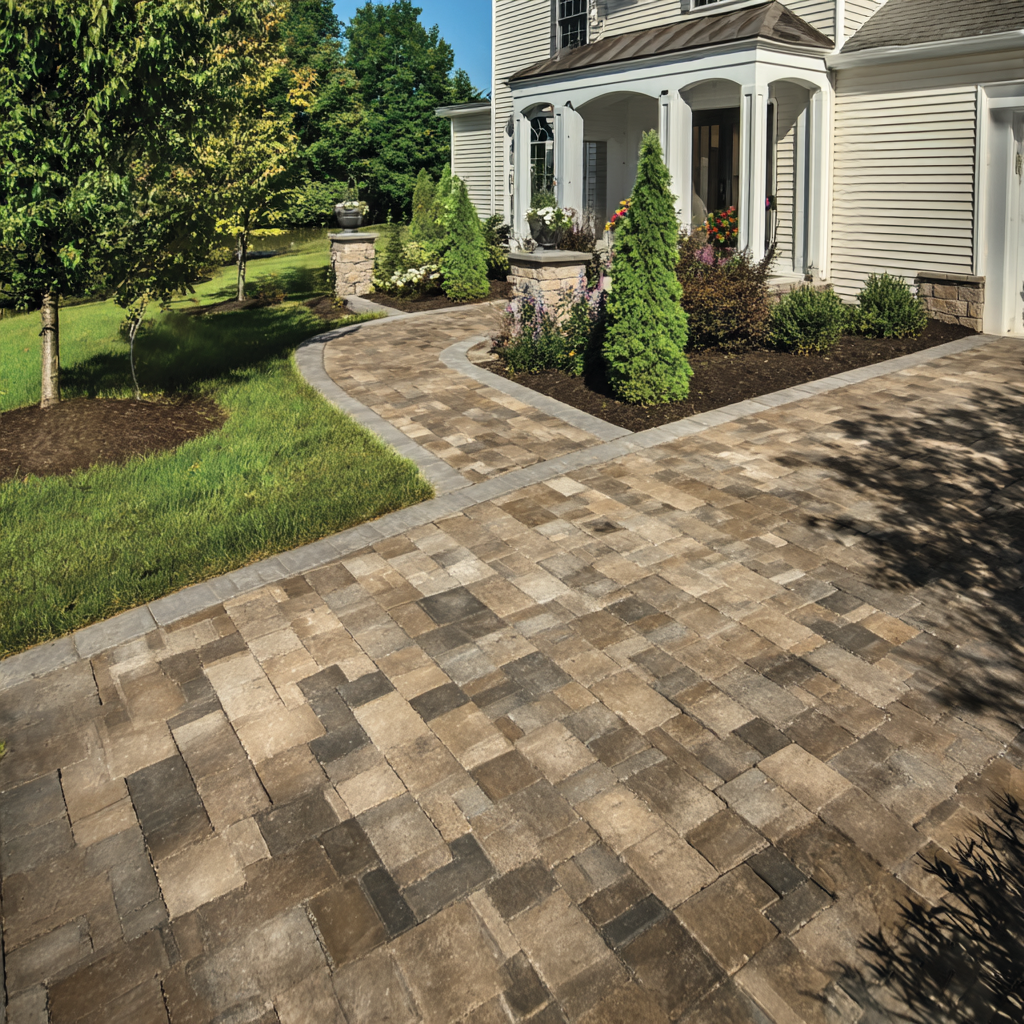
- Timber: Cost-effective but less durable, suitable for low walls in less demanding environments.Consider the wall’s shape—curved walls require flexible blocks, while straight walls need tightly fitting materials. At Bayside Pavers, we offer a wide range of high-quality paver blocks designed for easy installation and lasting performance.
4. Gather Tools and Materials
You’ll need the following for your DIY project:
- Tools: Shovel, level, tamper, mason’s string, stakes, tape measure, rubber mallet, wheelbarrow, safety gear (gloves, goggles).
- Materials: Retaining wall blocks, gravel, sand, landscape fabric, drainage pipe, adhesive (for taller walls), backfill material.
- Optional: Geogrid reinforcement for walls over 3 feet tall.
Step-by-Step Guide to Building a Retaining Wall
Follow these detailed steps to construct a sturdy and attractive retaining wall:Step 1: Mark and Excavate the Area
- Use stakes and mason’s string to outline the wall’s path, ensuring it’s straight or smoothly curved as desired.
- Dig a trench along the marked line, about 6–8 inches deep and twice the width of your blocks (typically 12–16 inches). The trench should be level to provide a stable foundation.
- Remove any grass, roots, or debris from the trench.
Step 2: Create a Solid Base
- Fill the trench with 4–6 inches of crushed gravel or base material. Spread it evenly and use a tamper to compact it firmly. A solid base prevents settling and ensures long-term stability.
- Check the base with a level, adjusting as needed to ensure it’s flat and even.
Step 3: Lay the First Course
- Place the first row of retaining wall blocks in the trench, ensuring they’re level side-to-side and front-to-back. Use a rubber mallet to tap blocks into place.
- For curved walls, select blocks designed for flexibility, and follow the manufacturer’s guidelines for alignment.
- If your blocks have a lip or interlocking system (common in Bayside Pavers’ products), ensure they lock securely with the base material.
Step 4: Install Drainage
- Behind the first course, lay a perforated drainage pipe along the length of the wall, sloping slightly to direct water away from the structure.
- Cover the pipe with a layer of gravel (about 6 inches) to promote drainage and prevent soil clogging.
- Place landscape fabric over the gravel to keep soil from mixing with the drainage material.
Step 5: Build Additional Courses
- Stack the next row of blocks, staggering the joints (like a brick pattern) for stability. Ensure each block is level and secure.
- For taller walls, apply construction adhesive between courses to enhance strength, following the adhesive manufacturer’s instructions.
- If building a wall over 3 feet, incorporate geogrid reinforcement every 2–3 courses. Lay the geogrid fabric over the blocks, extend it back into the soil, and cover with backfill before adding the next course.
Step 6: Backfill and Compact
- Fill the space behind the wall with gravel or soil, compacting it in 6-inch layers to prevent settling. Ensure the drainage pipe remains functional.
- For aesthetic walls, add topsoil for planting or mulch for a finished look.
Step 7: Finish the Wall
- Cap the wall with finishing blocks or capstones for a polished appearance. Secure capstones with adhesive.
- Inspect the wall for levelness and stability, making adjustments as needed.
- Clean the blocks with a brush to remove dirt or debris.
Maintenance Tips for Your Retaining Wall
To keep your retaining wall looking great and functioning properly:
- Regularly check for signs of erosion or shifting, especially after heavy rain.
- Clear debris from the drainage system to prevent clogs.
- Inspect for cracks or loose blocks, repairing them promptly with adhesive or replacement blocks.
- If plants are incorporated, maintain them to avoid root damage to the wall.
When to Consult a Professional
While DIY retaining walls are achievable for walls under 3–4 feet, taller or more complex structures may require professional expertise. If your project involves steep slopes, heavy soil loads, or intricate designs, contact Bayside Pavers for a consultation. Our team can provide guidance, high-quality materials, or full installation services to ensure safety and durability.Get Started with Bayside PaversBuilding a retaining wall is a rewarding DIY project that enhances your property’s beauty and functionality. With careful planning, the right materials, and these step-by-step instructions, you can create a stunning and stable addition to your landscape.
For premium retaining wall blocks and expert advice, schedule a consultation with Bayside Pavers today to bring your vision to life.
 Schedule Design Consultation