.png)
Retaining walls are essential for Fremont homeowners looking to tame sloped yards, prevent erosion, and create functional outdoor spaces. In a city with diverse neighborhoods like Mission San Jose and Warm Springs, a well-built retaining wall can transform your property while complementing Fremont’s suburban charm. This expert-level DIY guide provides a step-by-step blueprint for constructing a retaining wall tailored to Fremont’s climate and soil conditions. We’ll cover planning, structural integrity, installation, and design ideas to ensure your wall is both durable and stylish.
Why Build a Retaining Wall in Fremont?
Fremont’s varied terrain, from the flatlands of Centerville to the hills of Niles, often requires retaining walls to manage slopes and enhance usability. These structures offer:
- Erosion Control: Fremont’s sandy loam soils are prone to erosion during winter rains, and retaining walls keep soil in place.
- Usable Space: Create terraced gardens, patios, or seating areas for outdoor living.
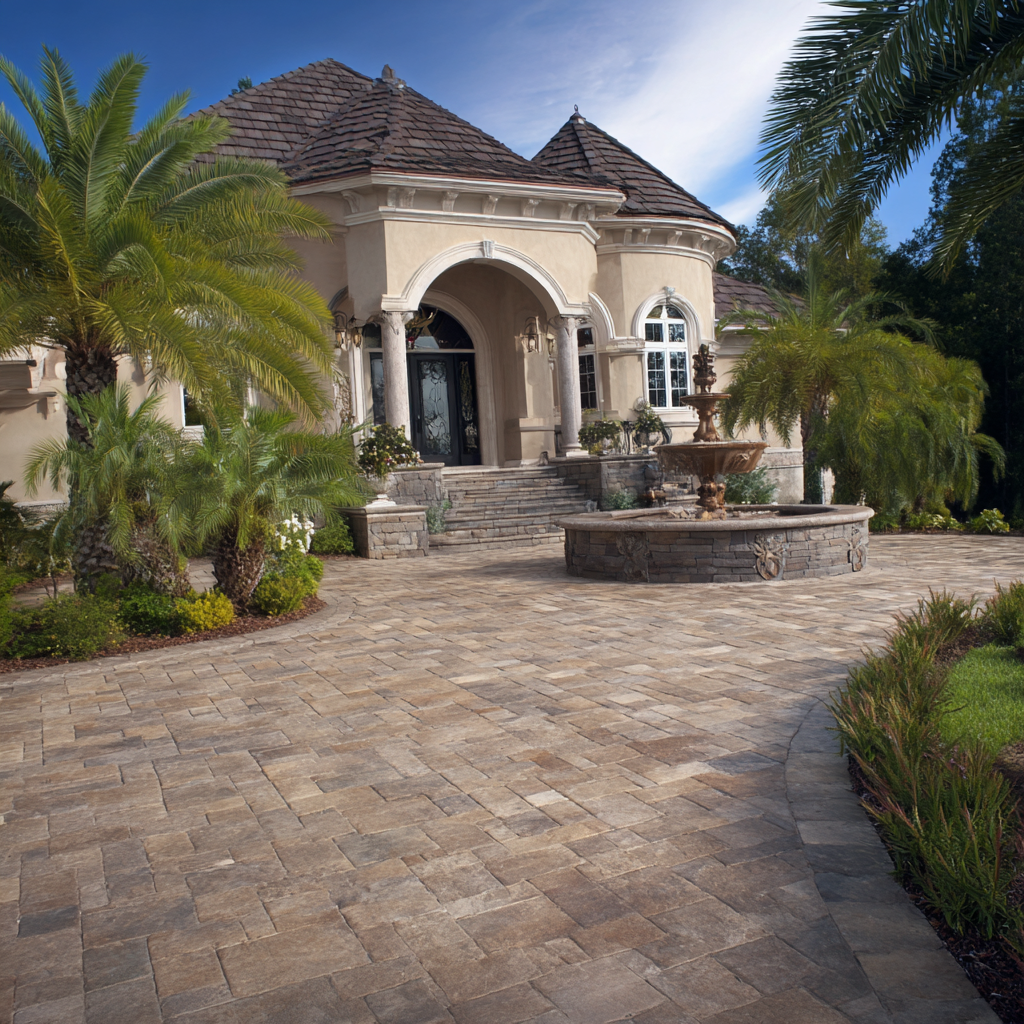
- Aesthetic Appeal: A well-designed wall elevates the look of Fremont’s modern and Mission-style homes.This guide will help you build a retaining wall that withstands Fremont’s conditions while adding value to your property.
Section 1: Purpose and Design
Purpose
Retaining walls stabilize sloped landscapes, preventing soil erosion and creating flat, usable areas. In Fremont, where heavy rains can erode hillsides in areas like Mission Hills, retaining walls are critical for protecting your property. They also allow you to carve out space for gardens, patios, or play areas, maximizing your yard’s potential.
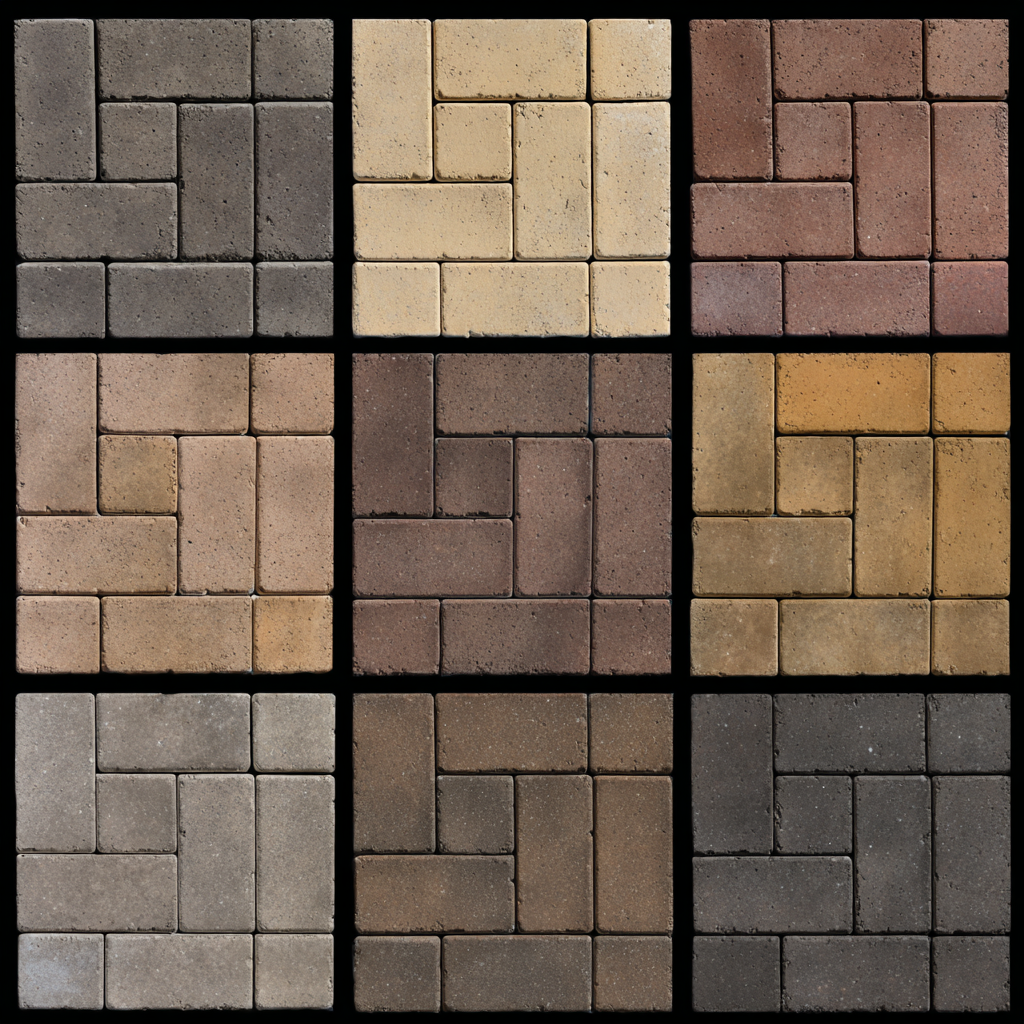
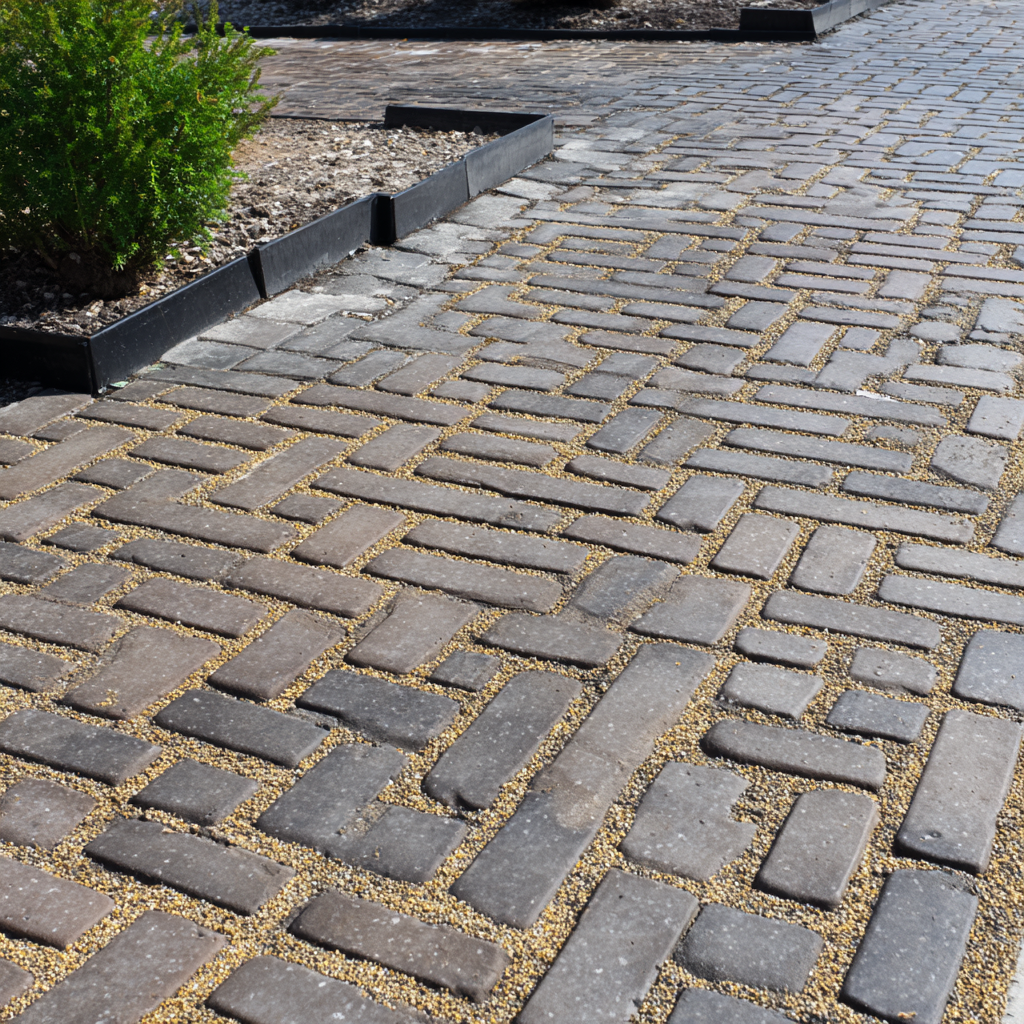
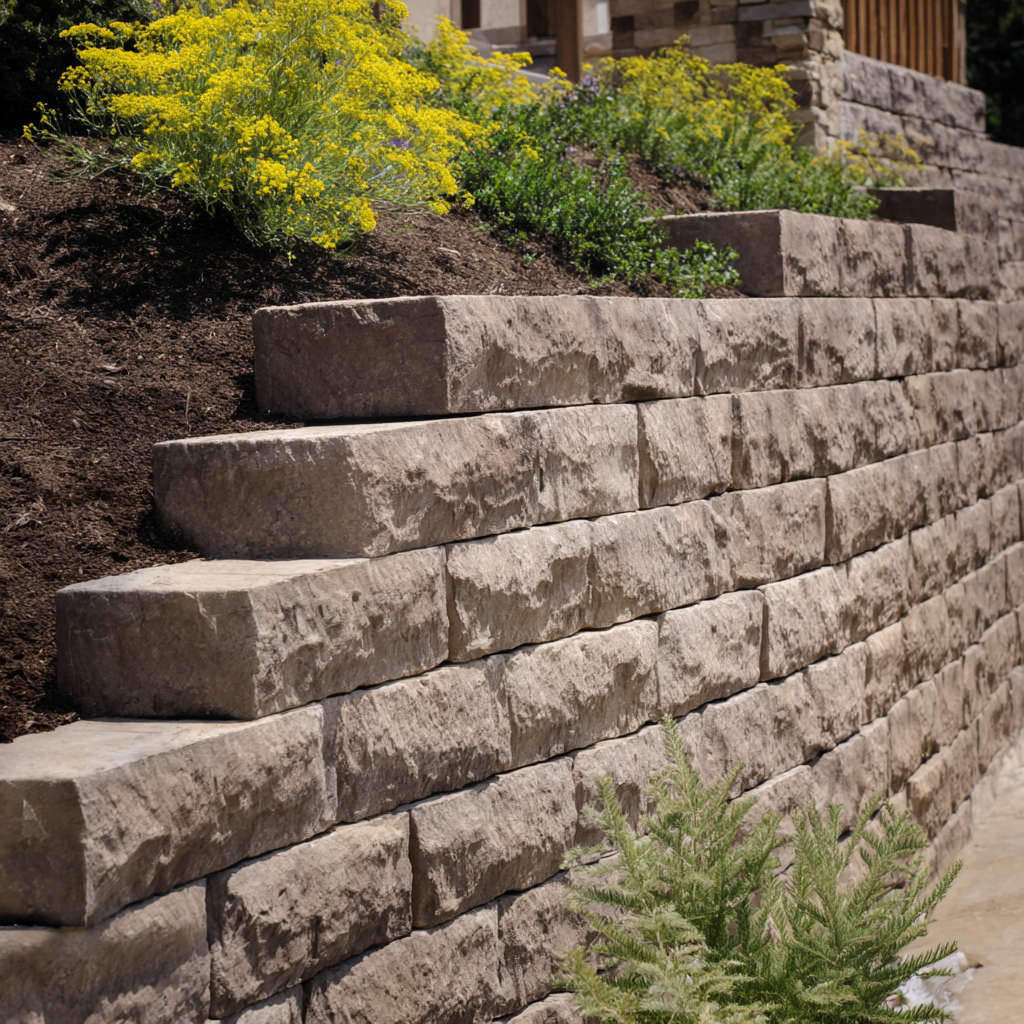
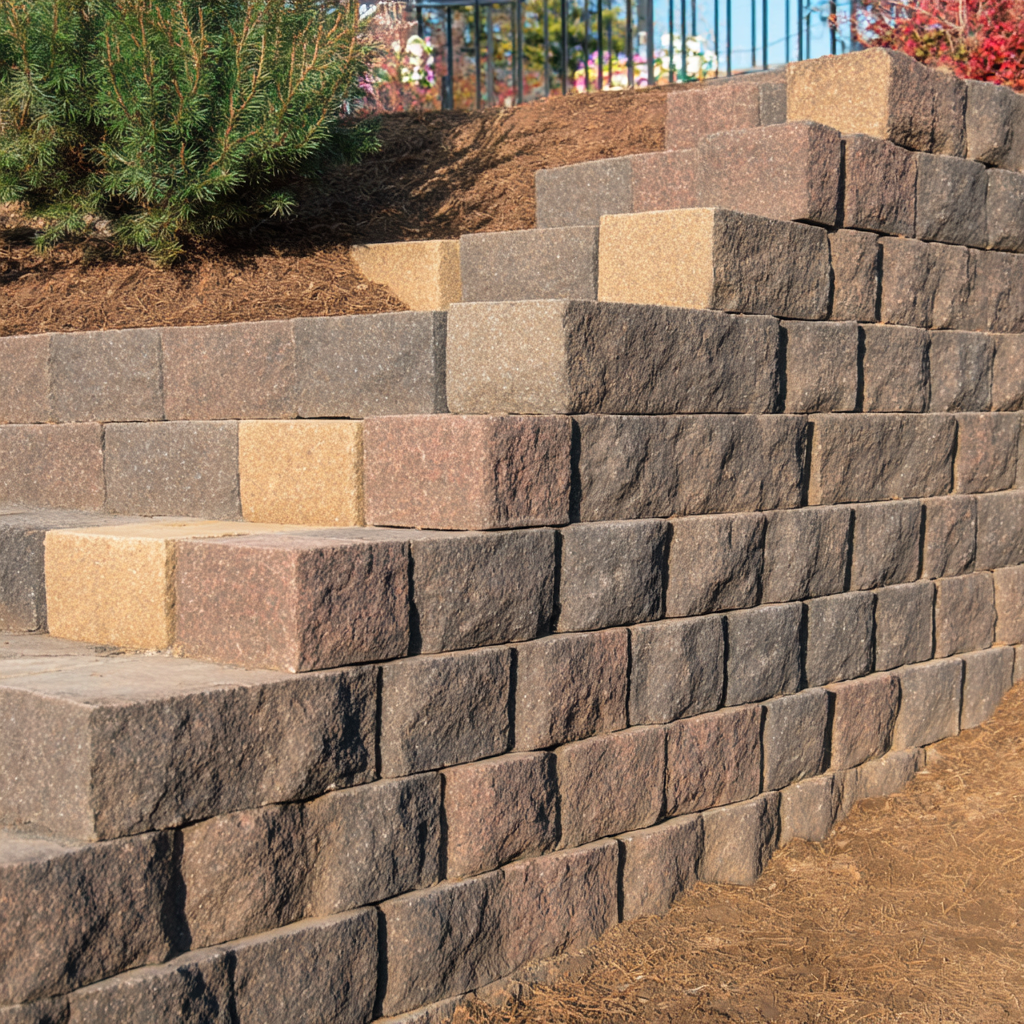
Material Choices
Choose materials that balance durability and Fremont’s aesthetic:
- Concrete Blocks: Affordable and versatile, ideal for modern Fremont homes in Ardenwood.
- Natural Stone: Offers a rustic, timeless look that suits Mission-style properties in Niles.
- Timber: A cost-effective option for low walls, though less durable in Fremont’s wet winters.
Select materials that resist Fremont’s sun exposure and occasional heavy rains for long-term performance.
Drainage Solutions
Fremont’s sandy loam soils drain well but can still build pressure behind a wall if not managed:
- Gravel Backfill: Place a 12-inch layer of gravel behind the wall to promote drainage.
- Weep Holes: Install 3/4-inch holes every 4–6 feet to release water pressure.
- Drainage Pipes: Use perforated pipes at the base to redirect water, especially for taller walls.
Local Regulations
In Fremont, retaining walls over 4 feet tall (measured from the bottom of the footing) require a permit from the City of Fremont’s Building Division. Check setback requirements and consult a structural engineer for walls exceeding 4 feet to ensure compliance. Visit fremont.gov for permit details.
Section 2: Structural Integrity
A retaining wall’s strength depends on a solid foundation and proper reinforcement, especially in Fremont’s variable soil conditions.
Foundation
A stable base prevents settling and cracking:
- Dig a trench 12–18 inches deep and 24 inches wide for walls up to 4 feet tall.
- Fill with 6–12 inches of compacted gravel (3/4-inch minus) to create a firm foundation.
- Use a plate compactor to ensure a level base, checking with a 4-foot level to account for Fremont’s sandy loam soils.
Reinforcement
For walls over 3 feet, reinforcement enhances stability:
- Geogrid Fabric: Lay geogrid every 2–3 courses, extending 3–4 feet into the backfill to anchor the wall.
- Steel Reinforcement: For concrete block walls, consider rebar or wall ties for added strength.
- Incorporate a slight backward lean (batter) of 1 inch per foot of height to resist soil pressure.
Safety Tips
- Call 811 at least 72 hours before digging to locate underground utilities.
- Wear safety gear, including gloves, safety glasses, and steel-toed boots.
- Use proper lifting techniques to avoid injury when handling heavy materials.
Section 3: Installation Guide
Follow these steps to build a retaining wall that lasts in Fremont:
1. Site Preparation
- Mark the Layout: Use stakes and string to outline the wall’s path, creating a straight or gently curved design.
- Excavate: Dig a trench 12–18 inches deep, accounting for Fremont’s soil drainage. Slope the trench slightly (1–2%) for water runoff.
- Check Alignment: Use a laser level or string line to ensure the trench is level and straight.
2. Base Layer
- Fill the trench with 6–12 inches of gravel, compacting in 2-inch lifts with a plate compactor.
- Check for level using a 4-foot level, adjusting as needed for a flat base.
- Add a 1-inch layer of coarse sand for fine leveling if using concrete blocks.
3. Block or Stone Installation
- Lay the first course of blocks or stones on the compacted base, ensuring each piece is level front-to-back and side-to-side.
- Stagger joints in subsequent courses for strength, using construction adhesive for concrete blocks or mortar for natural stone.
- Install drainage pipes behind the first course, sloping them to direct water away from the wall.
4. Backfill and Finishing
- Backfill with 12 inches of gravel behind the wall, compacting lightly to avoid shifting blocks.
- Add geogrid fabric every 2–3 courses for walls over 3 feet, securing with soil.
- Fill remaining space with native soil, compacting in 6-inch lifts.
- Cap the wall with decorative capstones or flat stones, securing with adhesive for a polished finish.
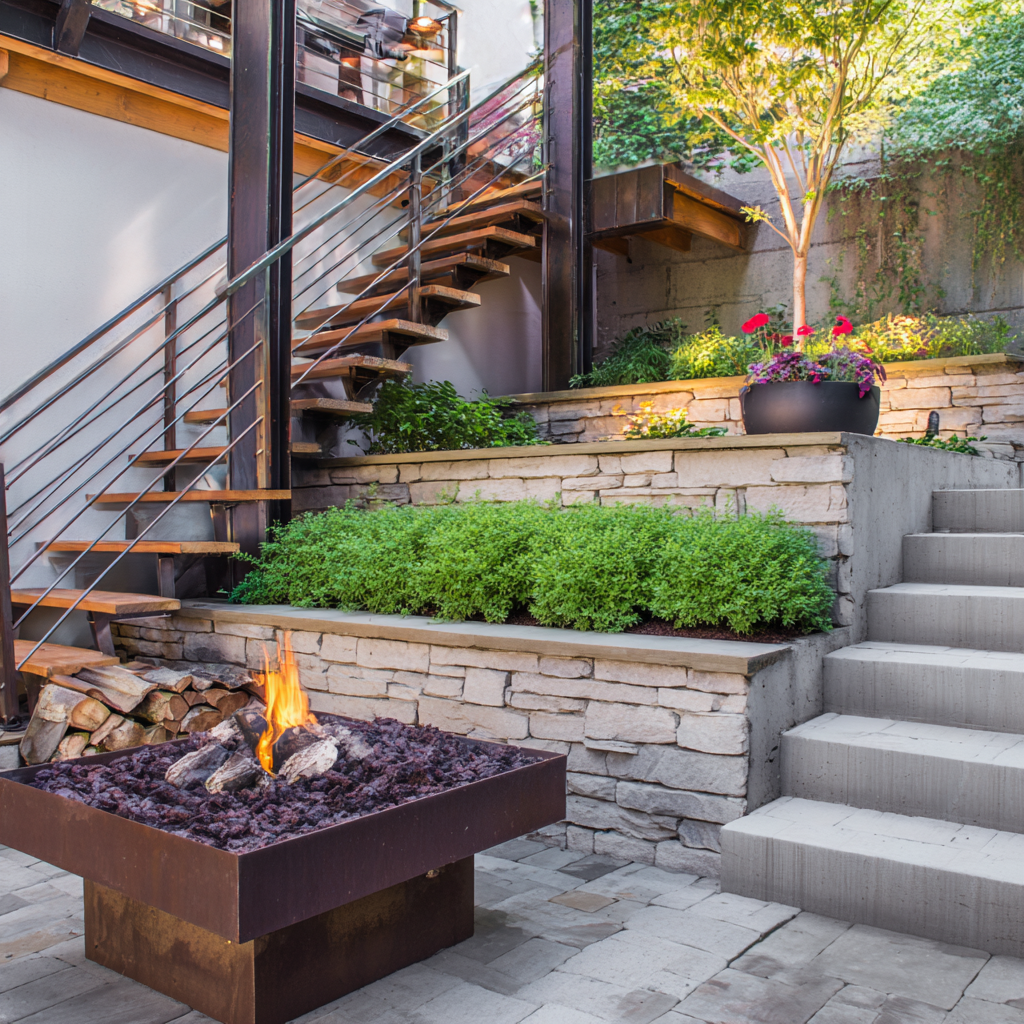
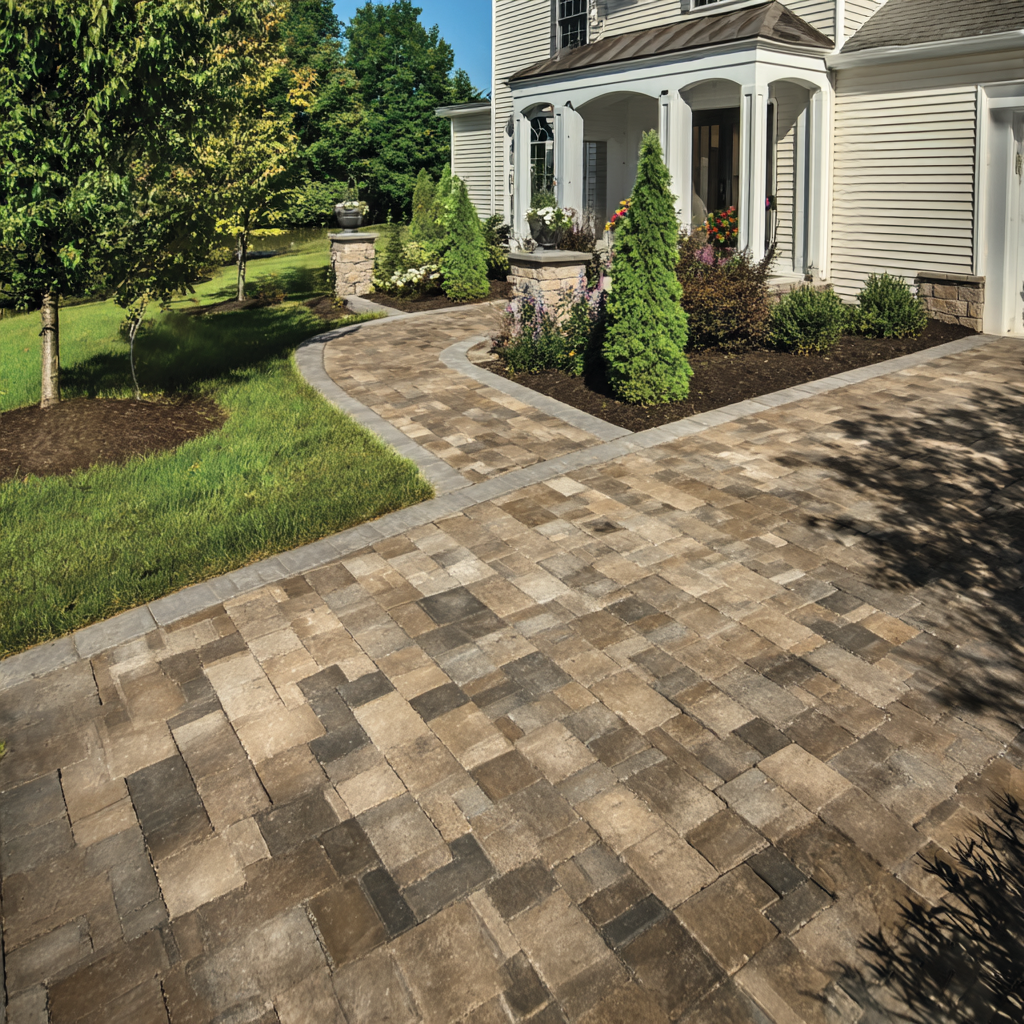
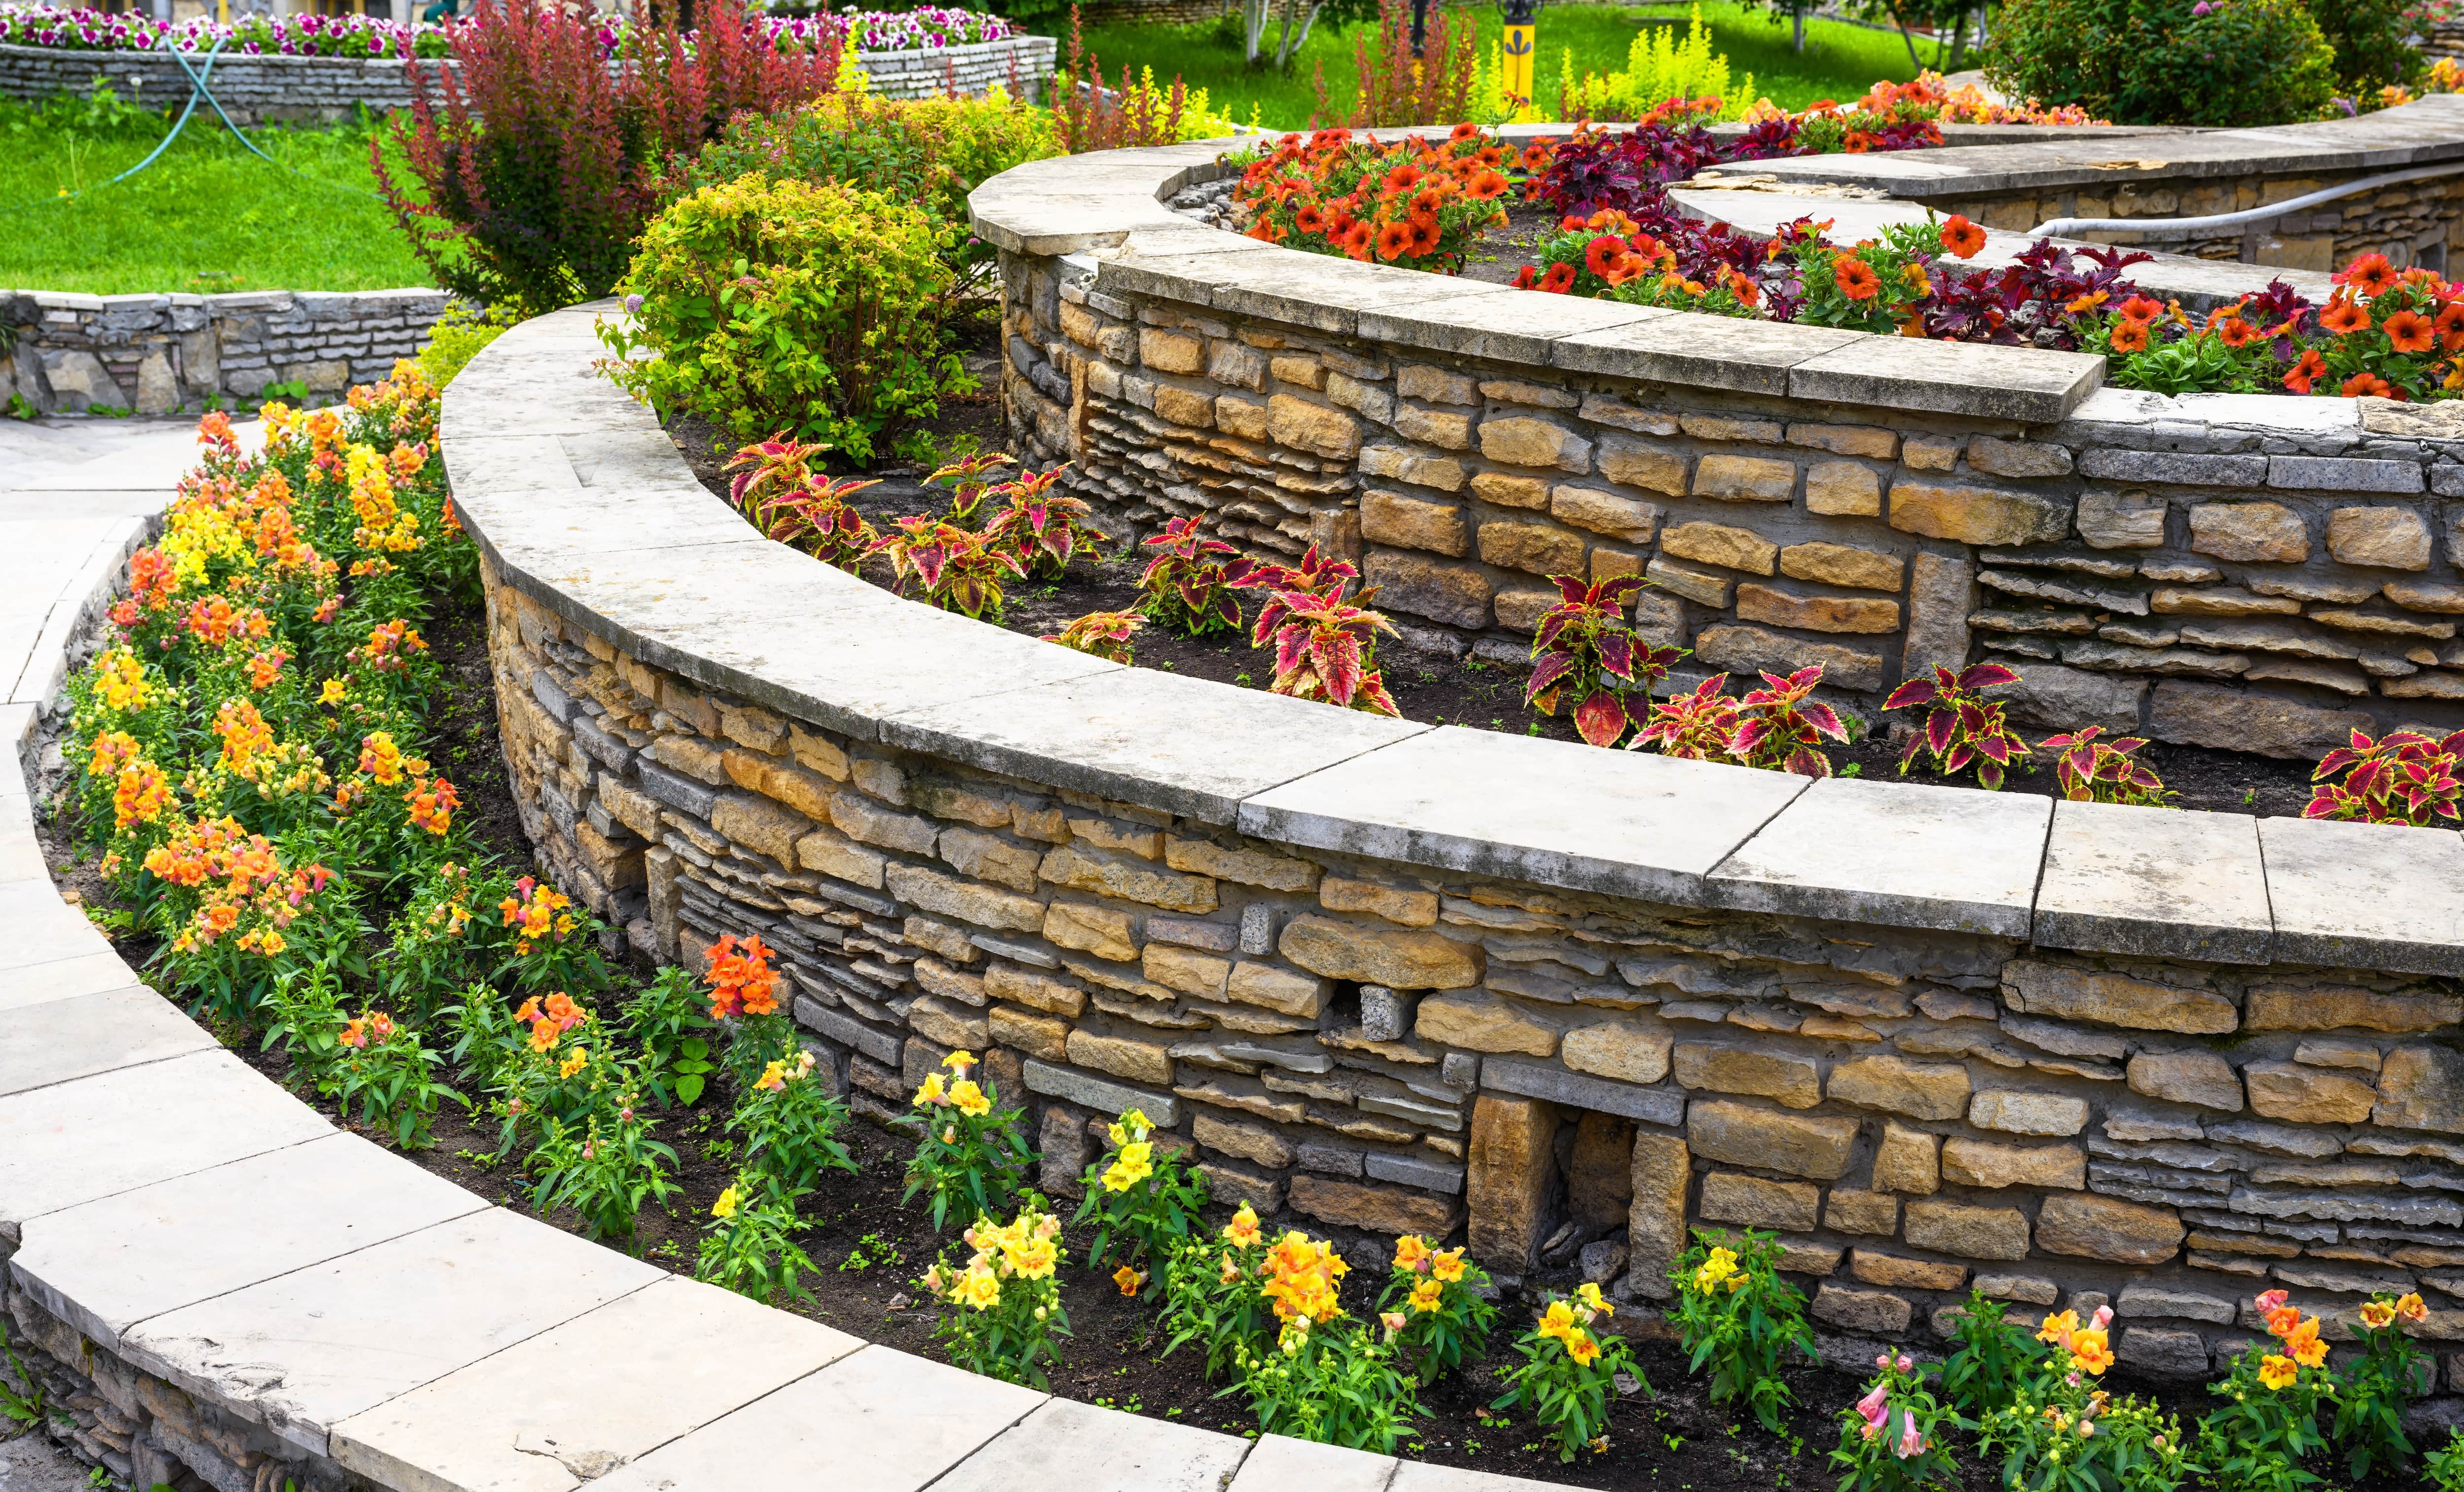
Section 4: Design Ideas for Fremont
Your retaining wall should enhance Fremont’s suburban and Mission-inspired aesthetic:
- Modern Simplicity: Use sleek, gray concrete blocks for a clean look that suits contemporary homes in Irvington or Ardenwood. Pair with minimalist landscaping.
- Rustic Elegance: Choose natural stone with irregular shapes for a rustic vibe, perfect for Mission-style homes in Niles. Add native plants like lavender or sagebrush.
- Functional Terraces: Create multi-level terraces for gardens or seating areas, ideal for Fremont’s sloped yards in Mission Hills.
- Eco-Friendly Accents: Plant drought-tolerant natives like California poppies or manzanita along the wall’s base for a low-maintenance, water-wise design.
Consider adding low-voltage LED lighting to highlight the wall’s texture and improve safety for evening use.
Constructing a retaining wall in Fremont is a rewarding DIY project that enhances your property’s functionality and beauty. By prioritizing a strong foundation, effective drainage, and thoughtful design, you can build a wall that withstands Fremont’s sandy loam soils and winter rains. Whether you’re aiming for a modern masterpiece or a rustic retreat, this blueprint equips you to succeed.
Start your project today and transform your Fremont yard into a stable, stunning landscape!
Planning a retaining wall in Fremont? Leave a comment with your questions, and our team at Bayside Pavers will help you get started!
 Schedule Design Consultation