.png)
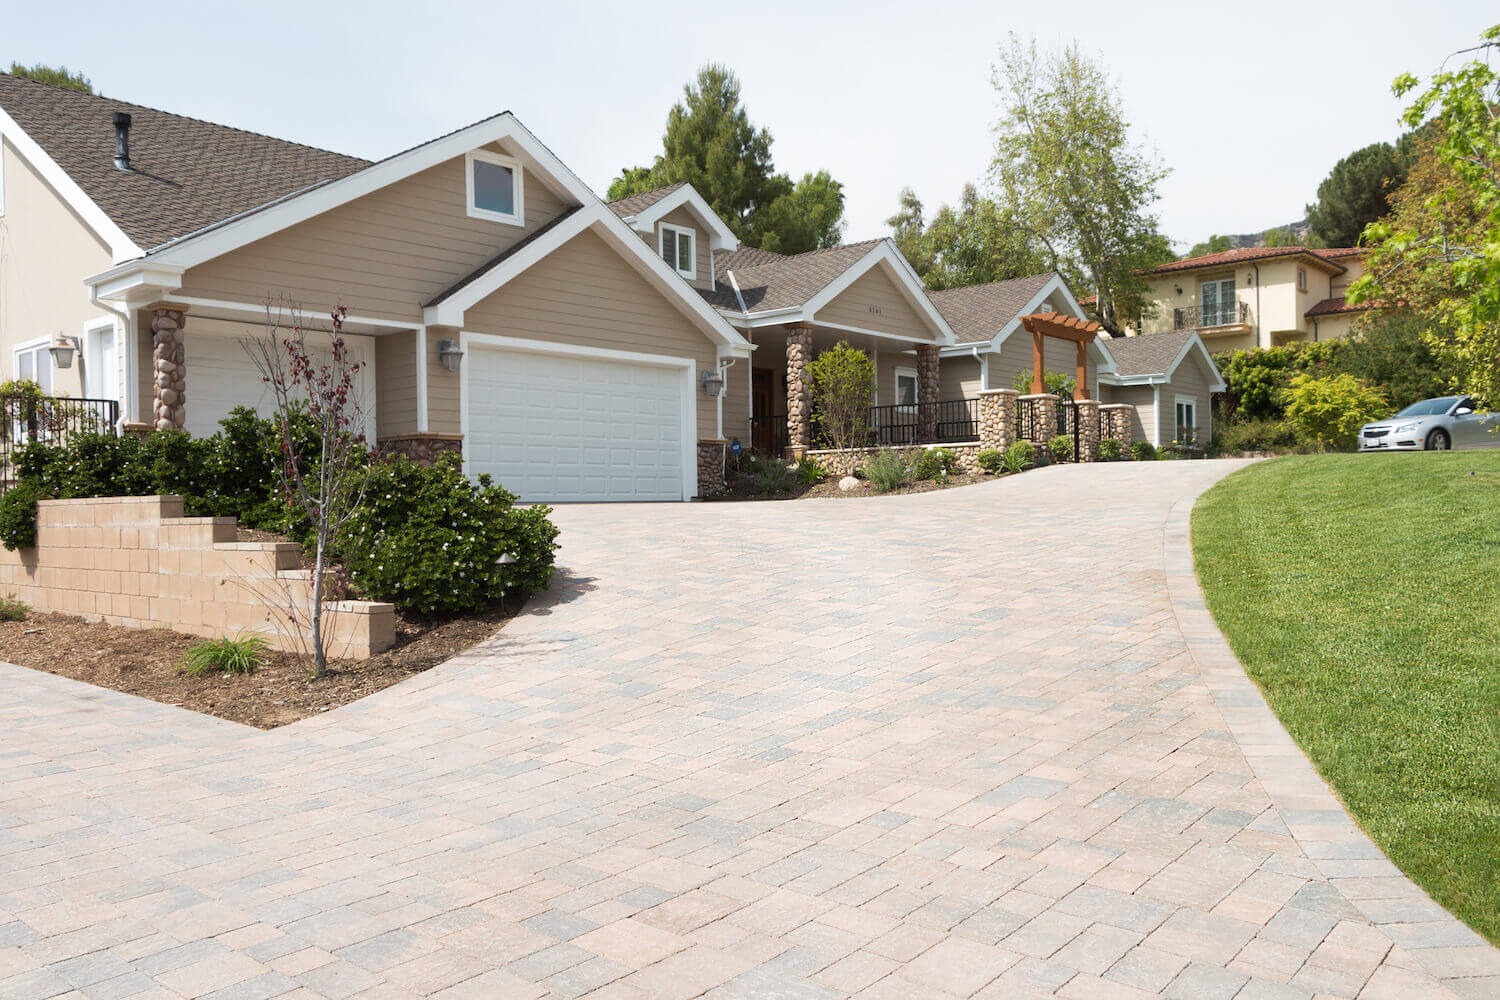
A paver driveway adds style, durability, and eco-friendly functionality to Milpitas homes, perfectly complementing the city’s vibrant suburban vibe and Silicon Valley energy. Whether you’re in Friendly Village or Sunnyhills, a well-installed paver driveway enhances curb appeal and withstands daily use. This expert-level DIY guide walks you through the process of installing a paver driveway tailored to Milpitas’ mild climate and aesthetic. From structural integrity to design ideas, we’ll cover everything you need to create a driveway that’s both practical and visually stunning.
Why Install a Paver Driveway in Milpitas?
Milpitas’ blend of modern homes, tech-driven culture, and commitment to sustainability makes paver driveways an ideal choice. They offer:
- Durability: Pavers handle heavy vehicle traffic and Milpitas’ mild, occasionally wet climate.
- Curb Appeal: A well-designed driveway complements Milpitas’ mix of contemporary and traditional homes.
- Sustainability: Permeable pavers reduce stormwater runoff, aligning with Santa Clara County’s environmental goals.This guide will help you craft a driveway that enhances your Milpitas property while meeting local regulations.
Section 1: Purpose and Benefits
Functionality
A paver driveway provides reliable vehicle access, from compact cars to SUVs, while boosting property value. In Milpitas, where homes often have compact lots in areas like Parkside, pavers offer flexibility and strength, allowing for easy repairs if individual units are damaged.
Permeable Pavers
Milpitas’ occasional heavy rains and Santa Clara County’s focus on sustainable water management make permeable pavers a smart choice. These pavers allow rainwater to infiltrate the ground, reducing runoff and easing pressure on local drainage systems. They’re especially useful in flat areas like Berryessa, where heavy rains can cause pooling.
Property Value
A stylish paver driveway enhances curb appeal, appealing to Milpitas’ homebuyers who value both aesthetics and eco-friendly features.
Section 2: Structural Integrity
To ensure your driveway withstands Milpitas’ conditions and heavy use, focus on a robust foundation and proper construction techniques.
Base Strength
A solid base is critical for stability:
- Excavate 10–12 inches deep to accommodate a 6–8-inch gravel base (3/4-inch minus aggregate).
- Compact the gravel in 2-inch lifts using a plate compactor to prevent settling.
- For Milpitas’ loamy soils, ensure the base is well-compacted and sloped slightly (1–2%) for drainage to combat occasional heavy rains.
Edge Restraints
Pavers can shift under traffic without proper edging:
- Install concrete or heavy-duty plastic edging along the driveway’s perimeter, secured with 10-inch steel spikes.
- Ensure edging is flush with the paver surface for a seamless look, critical for narrow driveways in areas like Midtown.
- Use extra spikes in high-traffic zones to maintain stability.
Paver Strength
Choose pavers rated for vehicular use (at least 8,000 psi compressive strength). Thicker pavers (2.5–3 inches) are ideal for handling heavy loads, ensuring durability in busy neighborhoods like Calaveras Boulevard.
Drainage
Incorporate a 1–2% slope to direct water away from your home or garage, preventing pooling during Milpitas’ wet winters. For permeable pavers, use open-graded gravel and sand to maximize water infiltration, complying with Santa Clara County’s stormwater regulations.
Section 3: Installation Steps
Follow these steps to install a paver driveway that meets Milpitas’ standards and enhances your property:
1. Planning
- Check Regulations: Contact Milpitas’ Community Development Department (milpitas.gov) to verify zoning laws, including driveway size, setback requirements, and permeable surface mandates.
- Design Layout: Sketch your driveway, choosing patterns like herringbone for strength or running bond for simplicity. Consider Milpitas’ tech-inspired aesthetic in your design.
- Measure and Mark: Use stakes and string to outline the driveway, ensuring it fits your vehicles and complements your home’s style.
2. Excavation
- Dig 10–12 inches deep, removing soil, roots, and debris to create a stable base.
- Slope the excavation slightly (1–2%) to direct water away from your home, especially important in flat areas like Sunnyhills.
- Call 811 at least 72 hours before digging to check for underground utilities.
3. Base Layers
- Lay 6–8 inches of gravel, compacting in 2-inch layers with a plate compactor.
- Add a 1-inch bedding layer of coarse sand, leveling it with a screed board for a smooth surface.
- For permeable driveways, use open-graded aggregate and skip the sand layer to enhance water infiltration.
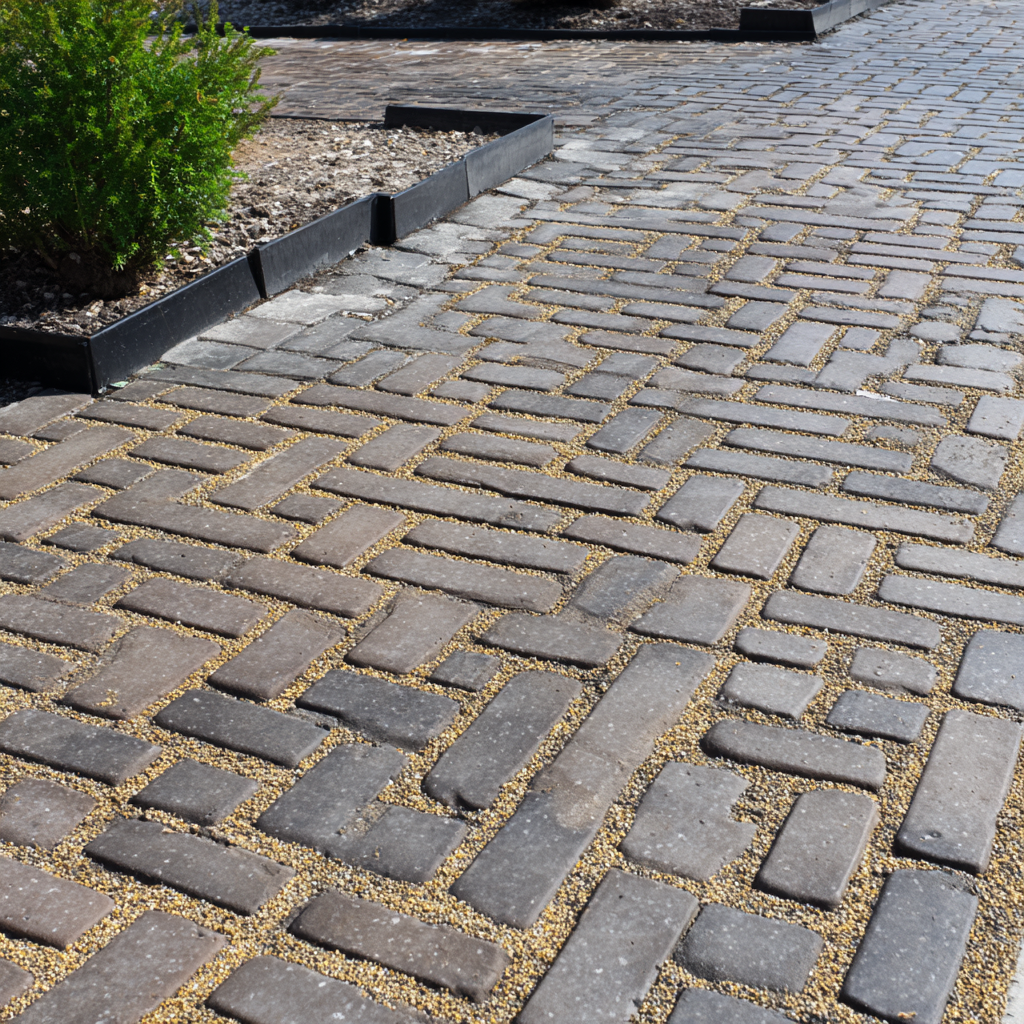
4. Paver Laying
- Start at a straight edge (e.g., against the garage or street) and lay pavers in your chosen pattern (herringbone is ideal for strength).
- Use a string line to maintain alignment and check for level every few rows.
- Cut pavers with a masonry saw for edges or curves, keeping joints tight (1/8–1/4 inch).
5. Finishing
- Install edge restraints and secure with spikes.
- Sweep polymeric sand into joints to lock pavers in place, then mist lightly with water to activate the sand’s binding properties.
- Compact the entire surface with a plate compactor to set the pavers and sand.
- For permeable pavers, use coarse gravel or open-graded sand in joints to maintain permeability.
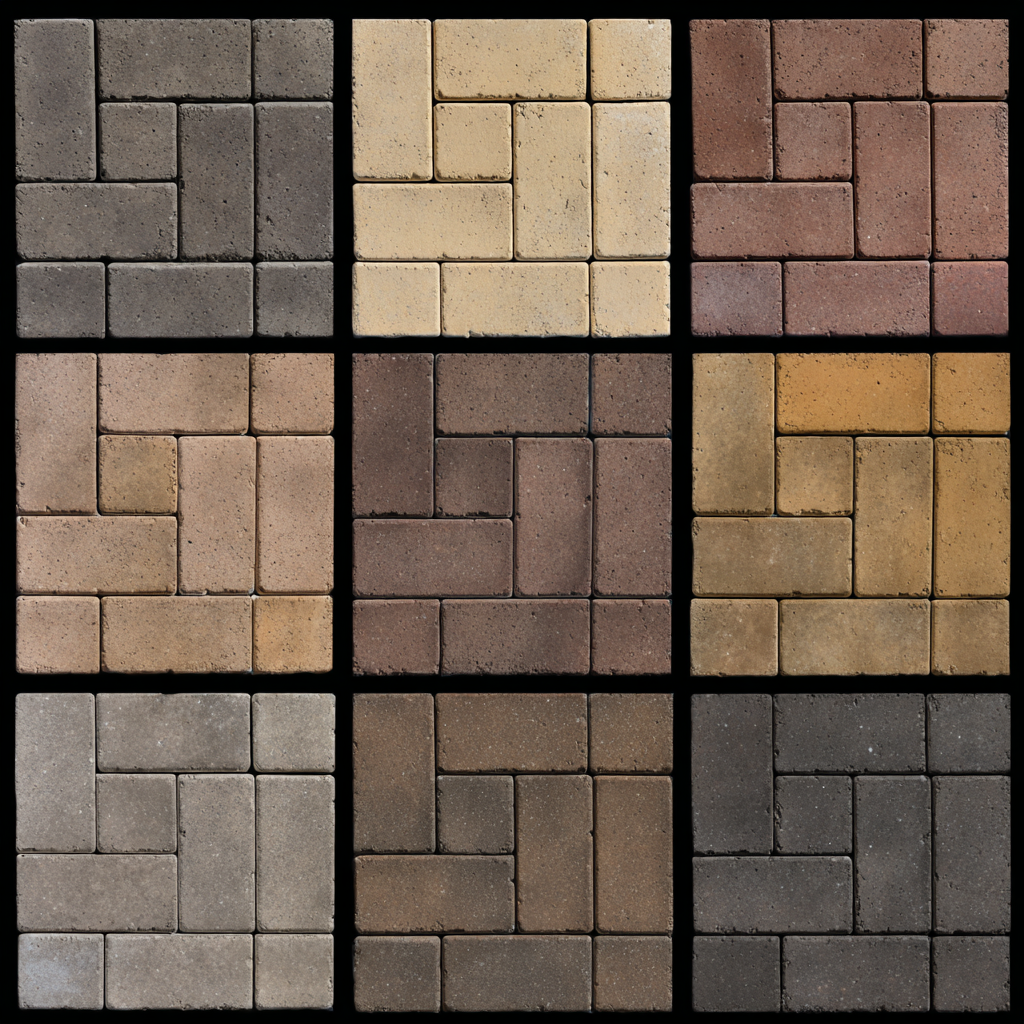
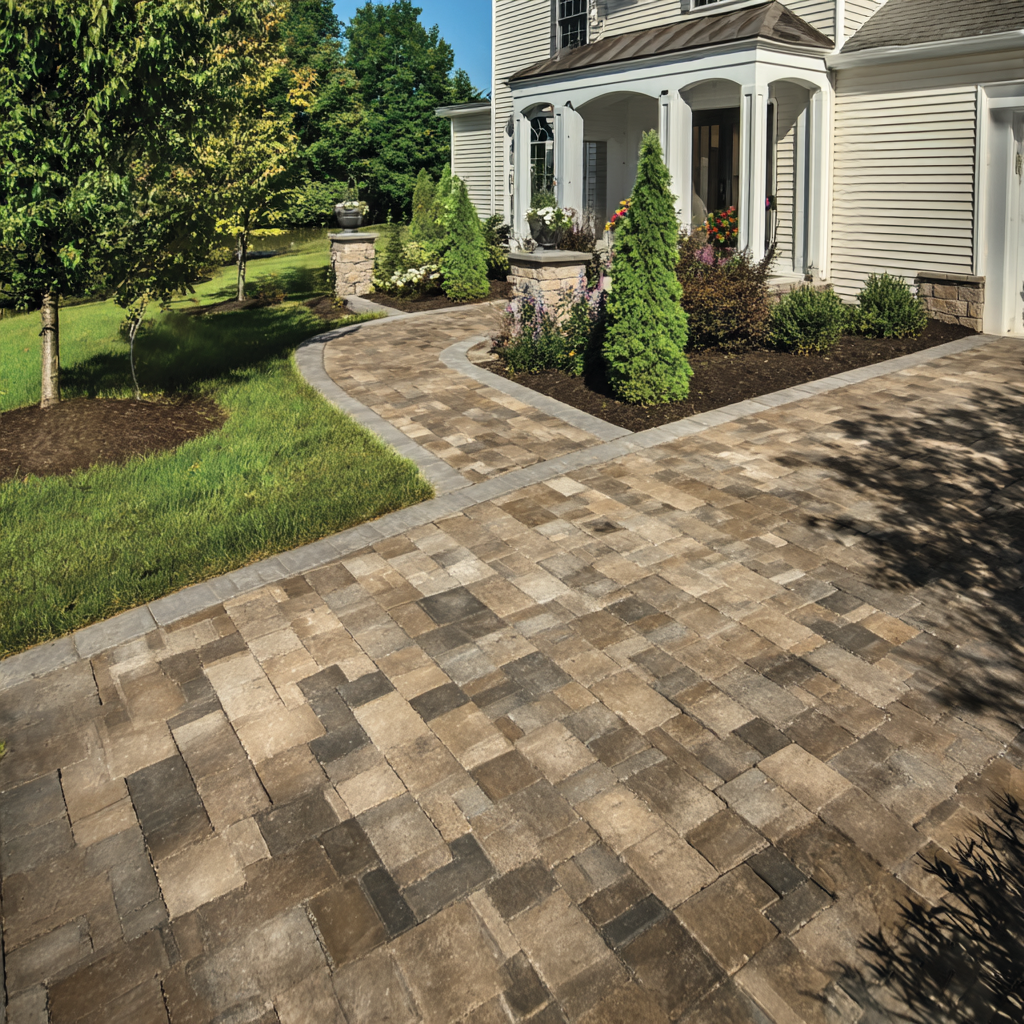
Section 4: Design Tips for Milpitas
Your driveway should reflect Milpitas’ vibrant, tech-savvy aesthetic:
- Modern Minimalism: Choose sleek, gray pavers in a herringbone pattern for a contemporary look, perfect for modern homes in Friendly Village. Pair with clean-lined landscaping like succulents or agave for a minimalist vibe.
- Classic Charm: Opt for earthy, cobblestone-style pavers in warm tones to complement traditional homes in Parkside. Add borders of native grasses like fescue for a natural touch.
- Eco-Friendly Accents: Incorporate drought-tolerant plants like California poppies or manzanita along the driveway’s edges to align with Milpitas’ green initiatives.
- Lighting: Add low-voltage LED lights along the driveway’s borders to enhance safety and highlight the pavers’ texture for evening use, ideal for Milpitas’ outdoor lifestyle.
Installing a paver driveway in Milpitas is a rewarding DIY project that enhances your home’s functionality, value, and aesthetic. By prioritizing a strong base, proper edging, and thoughtful design, you can create a driveway that withstands Milpitas’ mild climate and occasional rains while reflecting its vibrant charm. Whether you choose permeable pavers for sustainability or a classic pattern for timeless appeal, this guide equips you to tackle the project with confidence. Start planning today and transform your Milpitas home’s entrance!
Got driveway questions in Milpitas? DM us for advice from our team at Bayside Pavers!
 Schedule Design Consultation