.png)
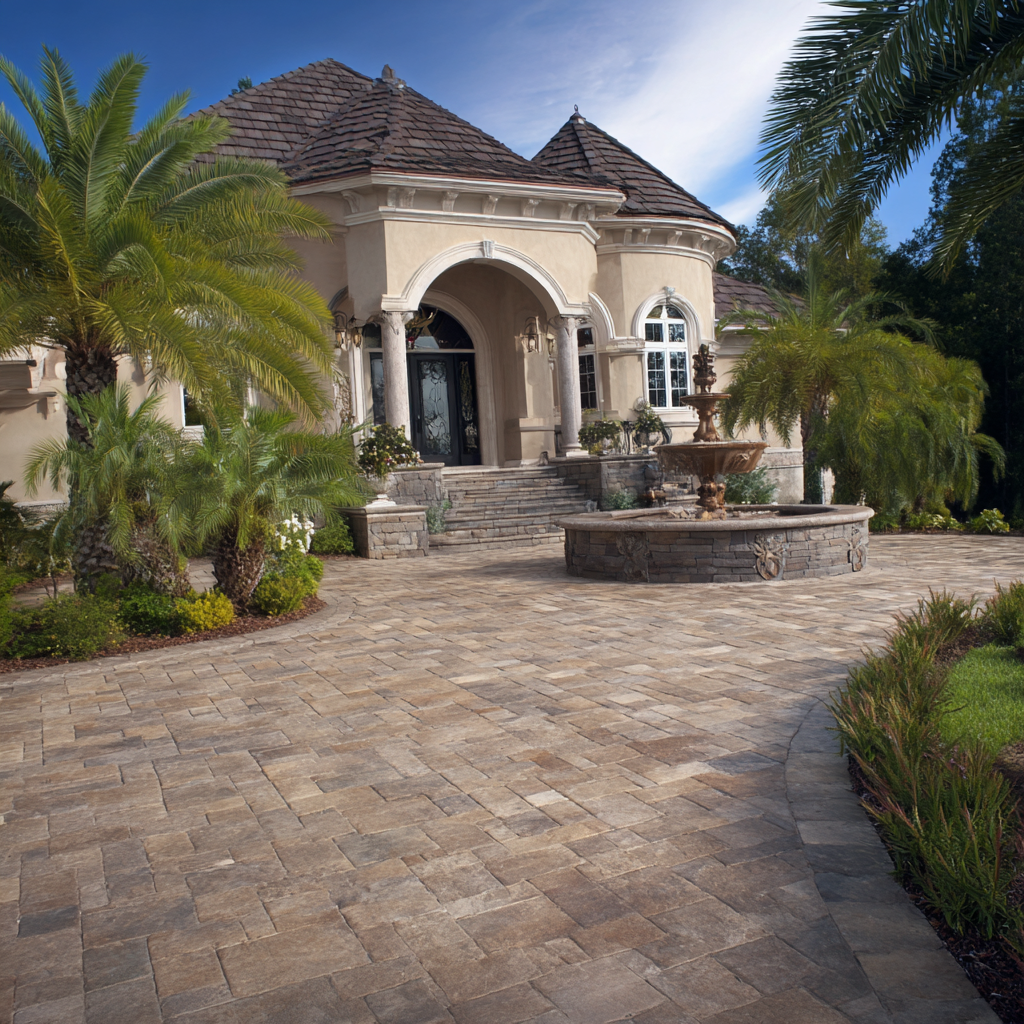
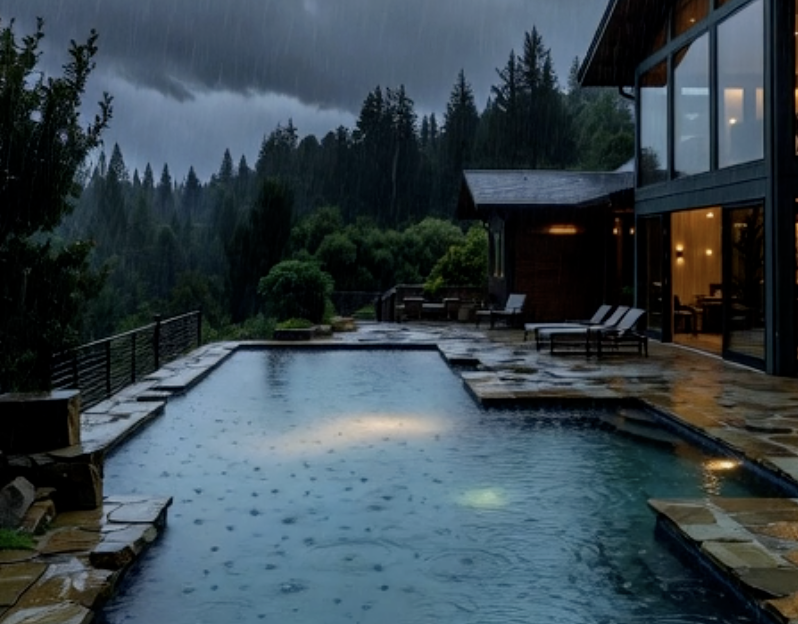
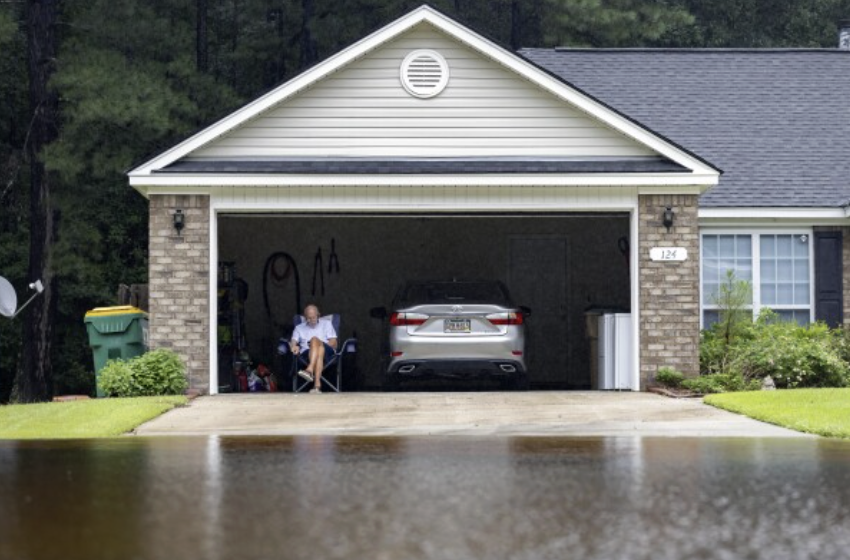
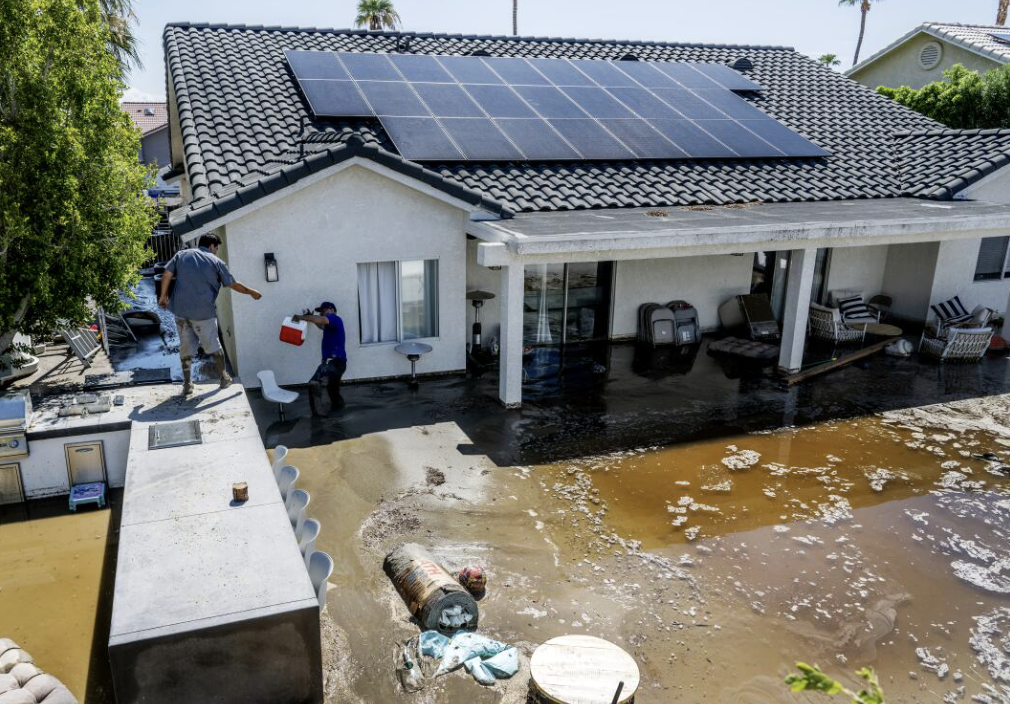
Tired of puddles turning your patio into a slip hazard or seeping toward your foundation after every storm? At Bayside Pavers, we’ve repaired countless East Bay and South Bay patios where poor drainage caused cracked slabs, moldy walls, and soil erosion—issues that start small but threaten your home’s stability in San Jose’s clay soil or Marin’s foggy microclimates.
This DIY guide shows you how to install a paver patio with integrated NDS channel drainage that captures surface runoff at the source, directing it safely away before it can pool or migrate under your foundation. Act now to protect your investment and enjoy a dry, safe outdoor space year-round.
Why Add Channel Drainage to Your Paver Patio Before Water Damage Begins?
Even a 1/4-inch depression on a patio can hold gallons of water per storm. In the Bay Area, this leads to:
- Foundation stress from hydrostatic pressure
- Slippery algae growth on pavers
- Erosion under the slab, causing settling
- Water intrusion into basements or crawl spaces
NDS channel drains, per ICPI best practices, intercept 100% of surface flow along low edges—preventing these issues before they start.How Does Water Pooling on Patios Threaten Bay Area Homes?Patios built flush or sloping toward the house act like funnels during winter rains. Water saturates the soil beneath, expands clay (common in Oakland and Walnut Creek), and pushes against foundation walls. Over 2–3 seasons, hairline cracks become structural nightmares. A properly graded patio with channel drains reverses this risk.
How Do I Plan a DIY Paver Patio with Channel Drainage in the Bay Area?
Prioritize slope and drain placement:
- Map low spots and downspout discharge points
- Ensure 2% minimum slope (¼ inch per foot) away from the house
- Check local codes—most patio replacements under 500 sq ft in San Jose or Concord don’t need permits, but drainage tie-ins may
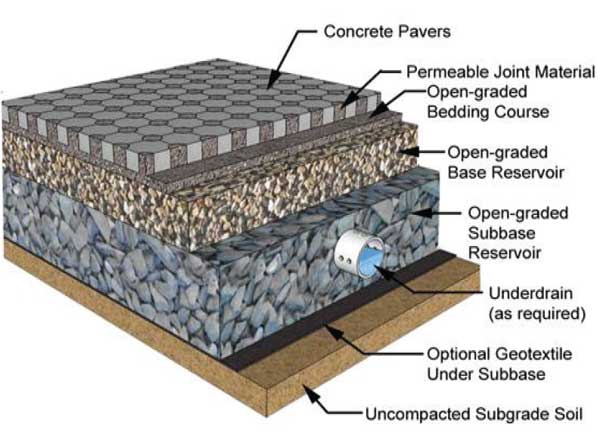
Gather Materials and Tools for Proactive DrainageUse ICPI-compliant, durable components to ensure 20+ years of dry performance.
Materials
Purpose for Water Prevention
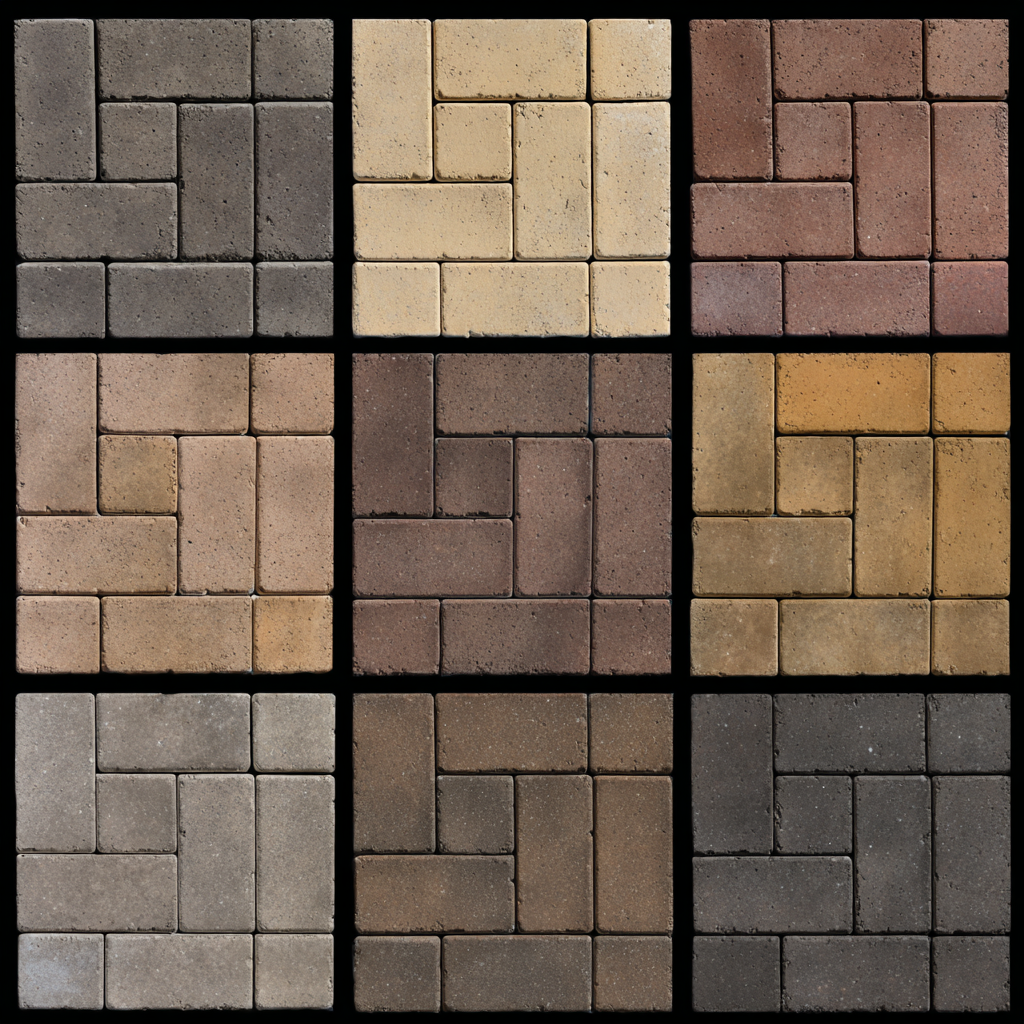
Pavers of choice (Belgard, calstone, techo bloc, etc)
Interlocking strength + aesthetic
NDS Pro Series 5" Channel Drain Kit
Captures surface runoff along house
3/4" Gravel Base
Supports load + allows infiltration
4" PVC Perforated Pipe
Connects channel to discharge
Geotextile Fabric
Prevents clogging in foggy climates
Polymeric Sand
Locks pavers, resists washout
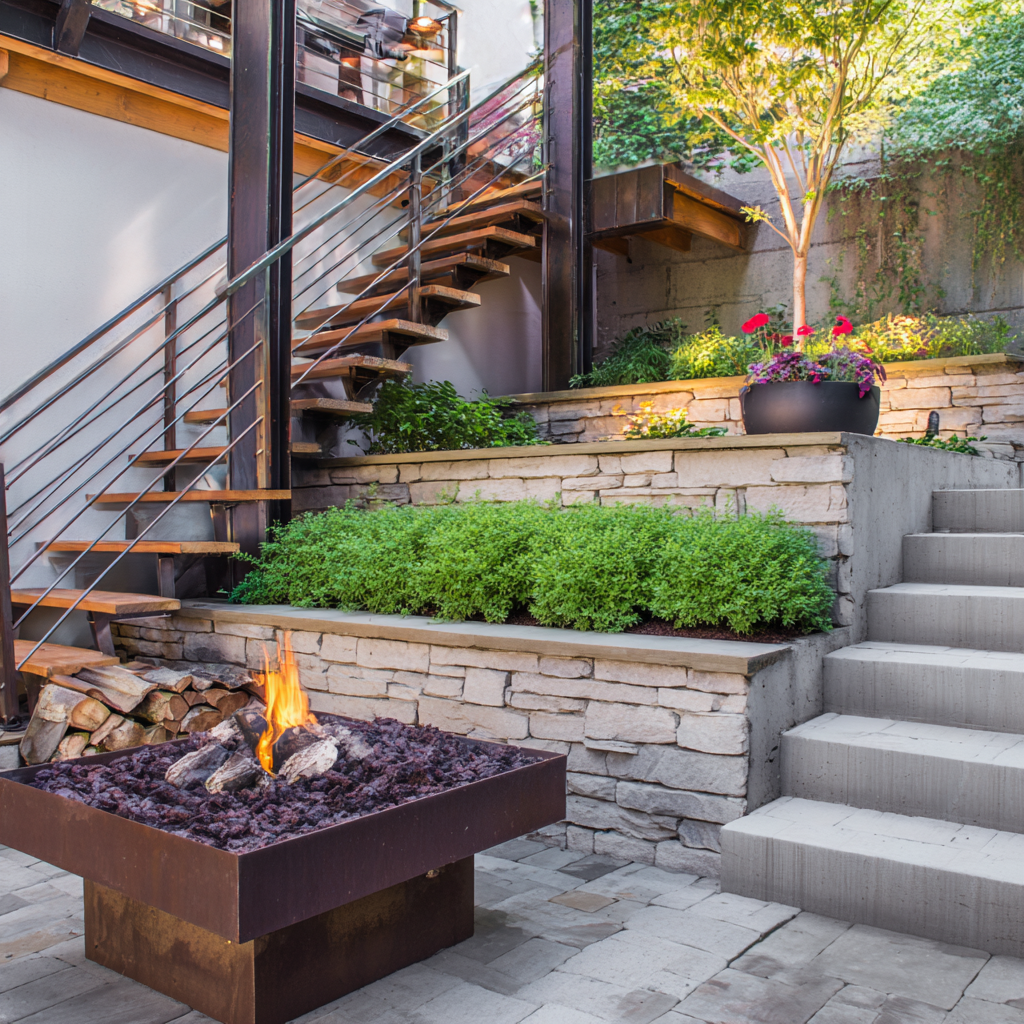
Pro Tip: Rent a laser level ($40/day) for perfect slope—critical to avoid future pooling.What Are the Step-by-Step Instructions for a Dry, Safe Paver Patio?Follow these 12 steps, adapted from ICPI and NDS installation specs. Total time: 48–60 hours over 2–3 weekends.
Step 1: Mark Layout and Establish Slope
- Stake patio perimeter, extending 6 inches for edging
- Use laser level to mark ¼ inch per foot fall away from house
- Safety Tip: Call 811—utilities run shallow near foundations
Step 2: Excavate with Drainage Trench
- Dig 10–12 inches deep across patio
- Cut a 6-inch wide x 12-inch deep trench along house for channel drain
- Slope trench ⅛ inch per foot toward discharge point
Step 3: Install NDS Channel Drain Along Foundation
- Assemble NDS Pro Series sections end-to-end
- Connect to 4" PVC outlet pipe at low end
- Secure with concrete collar—prevents shifting in earthquake zones
- Bay Area Essential: This captures 100% of patio runoff before it reaches the house
Step 4: Line Base and Trench with Geotextile
Wrap fabric under and around channel drain—prevents silt buildup in East Bay clay.
Step 5: Add and Compact Gravel Base
Spread 4–6 inches of ¾" gravel in 2-inch lifts. Compact to 95%—loose base = future sinking and water traps.
Step 6: Screed Bedding Course
Add 1 inch of concrete sand; screed level using 1" pipes as rails. Maintain 2% slope.
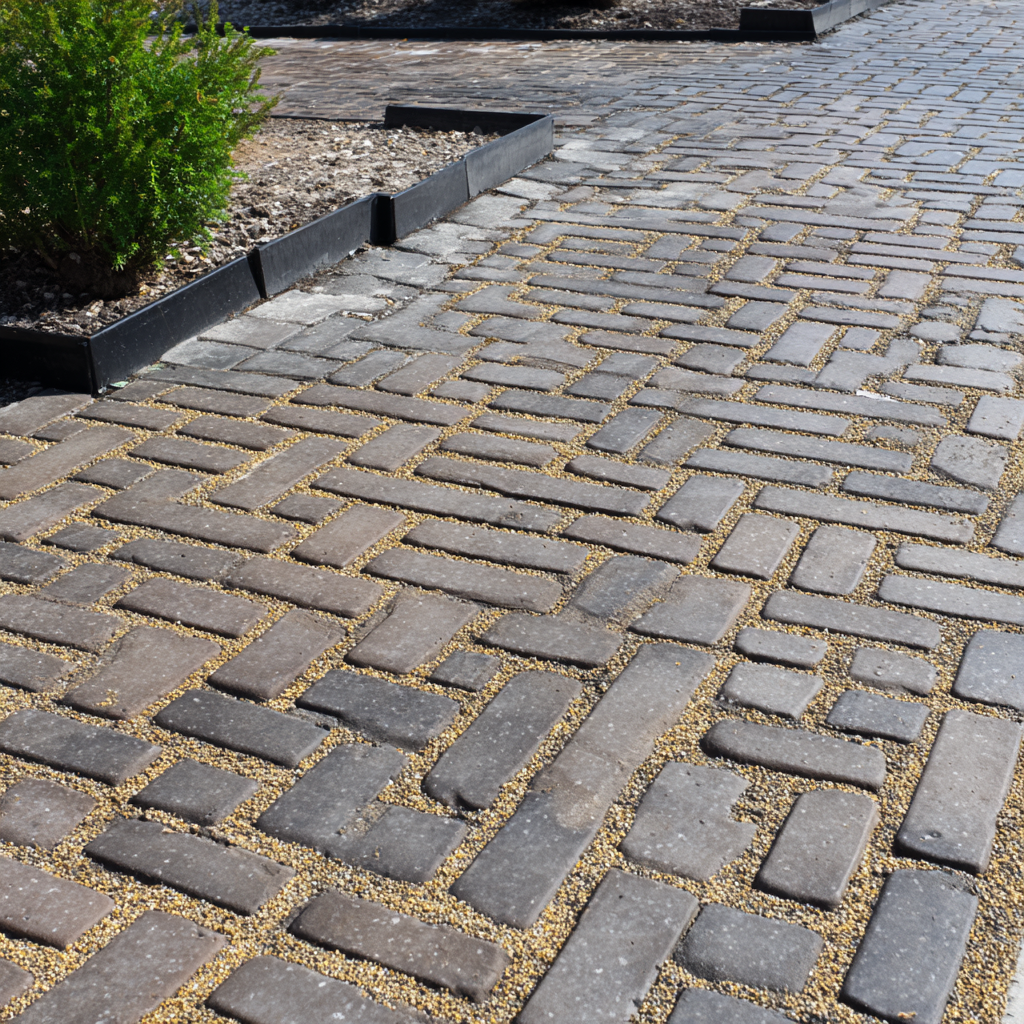
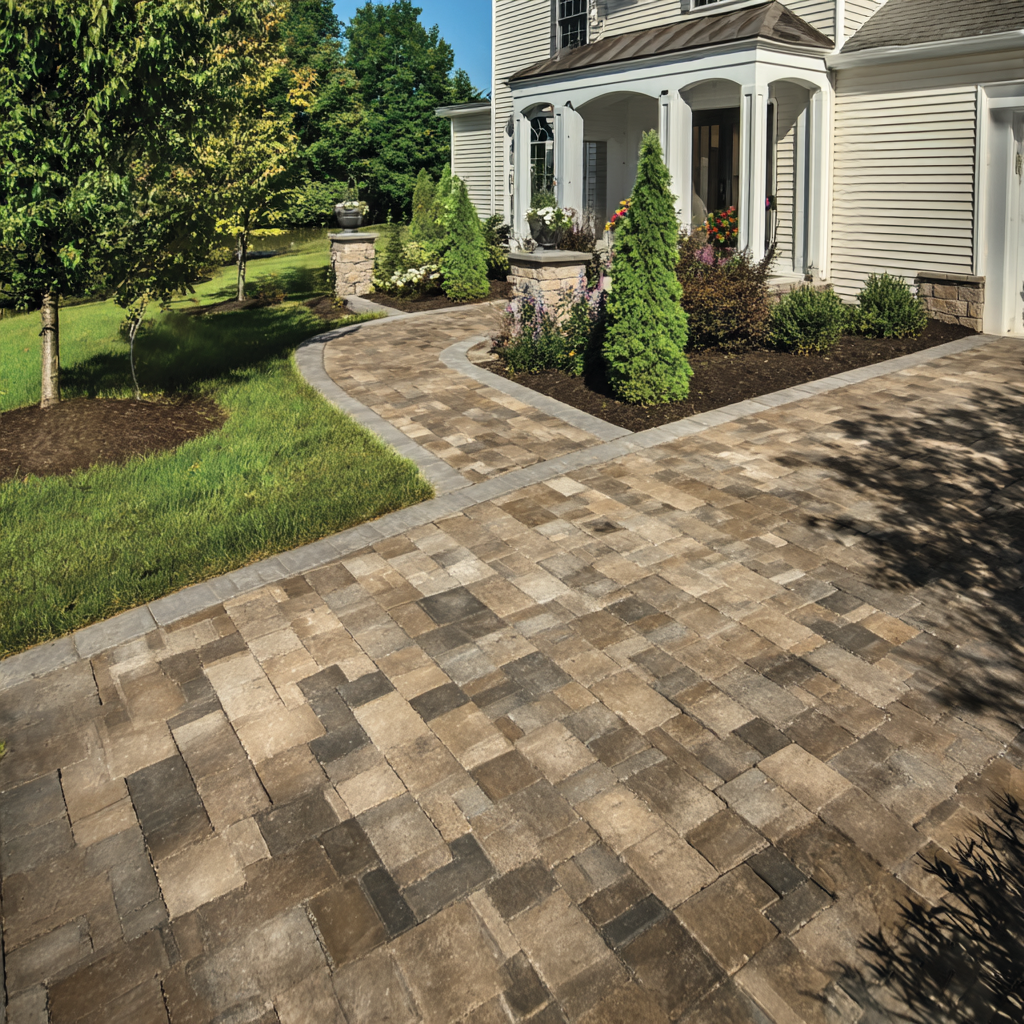
Step 7: Lay Techo-Bloc Pavers
Start at the channel drain:
- Place pavers in running bond or herringbone
- Leave ⅛-inch joints for polymeric sand
- Cut edge pieces with wet saw
Step 8: Connect Channel Drain to Discharge
Run perforated PVC from channel outlet:
- Under patio base
- To a pop-up emitter, dry well, or street curb (check local codes)
Step 9: Install Paver Edging
Spike plastic or aluminum edging along perimeter—locks layout and prevents lateral shift.
Step 10: Sweep in Polymeric Sand
Fill joints, sweep excess, lightly mist to activate—seals against washout during Marin fog drip.
Step 11: Final Compaction and Cleanup
Run plate compactor in circles. Clean pavers with leaf blower.
Step 12: Test Drainage and Schedule Maintenance
Hose-test entire patio:
- Water should sheet into channel drain within seconds
- No standing water after 2 minutes
Vacuum channel grates quarterly; reapply polymeric sand every 3–5 years.
Critical Warning: On sloped yards (>5%) in San Francisco or Marin, improper compaction causes drain misalignment. Hire ICPI pros to avoid liability.
How Can I Spot Early Signs of Patio Drainage Issues?
Watch for:
- Water marks on stucco near patio
- Moss or algae in low spots
- Cracked pavers or sinking corners
- Musty crawl space odors
Fix before foundation inspection reveals damage.
People Also Ask
Q: Will channel drains clog in the Bay Area’s redwood debris?
A: NDS grates have ¼-inch slots—rake leaves weekly. Annual vacuuming prevents 99% of blockages. See paver patio gallery (/paver-patio/).
Q: Can I tie patio drainage into my downspout system?
A: Yes—connect channel outlet to underground PVC. We design full systems for San Jose homes.
Q: Do permeable pavers work better than than channel drains?
A: Combine both: Permeable for infiltration, channel for high-volume edge capture—ideal for Walnut Creek clay.
Q: Are permits needed for patio drainage in Concord?
A: Rarely for surface drains—but subsurface tie-ins may trigger review. We navigate codes.
Q: How do I winterize channel drains in Marin?
A: Flush with hose in fall; cover grates during heavy leaf drop to avoid clogs.
Summary:
 Schedule Design Consultation