.png)
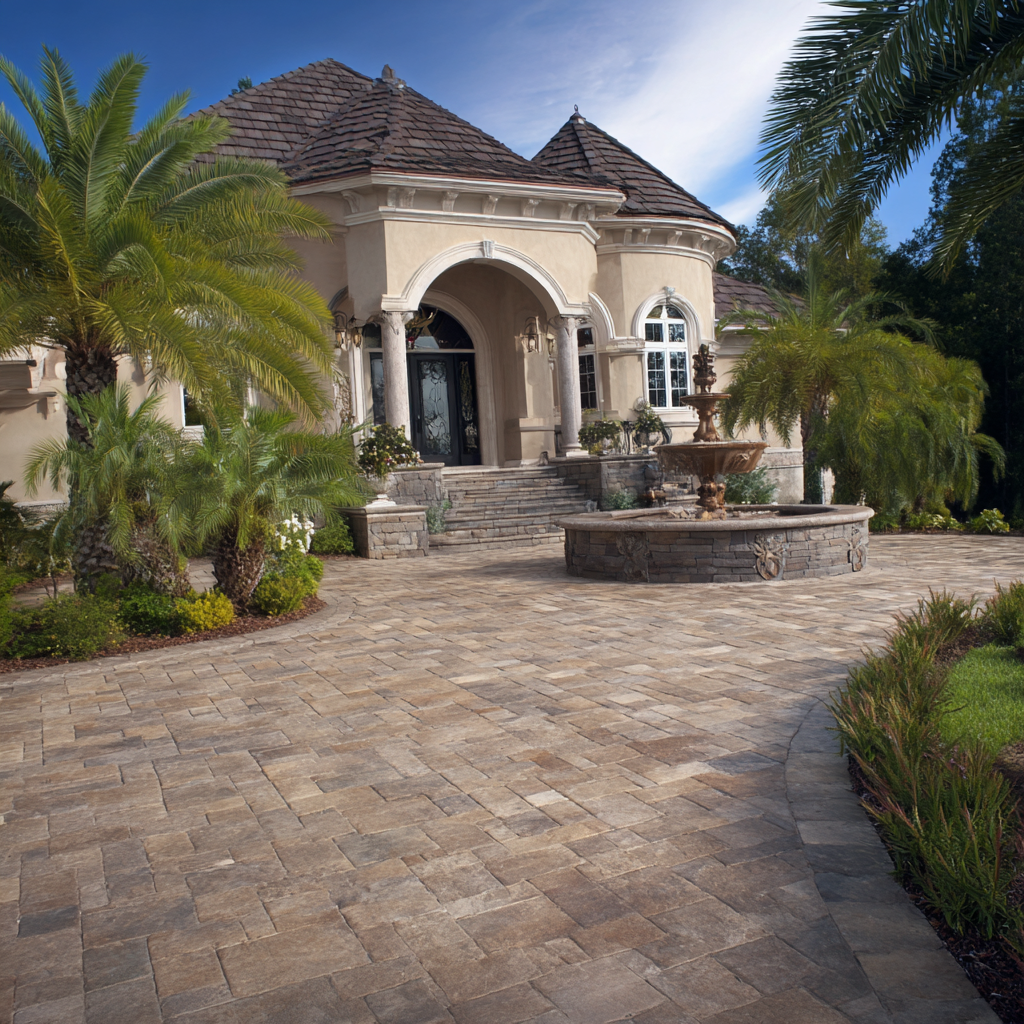
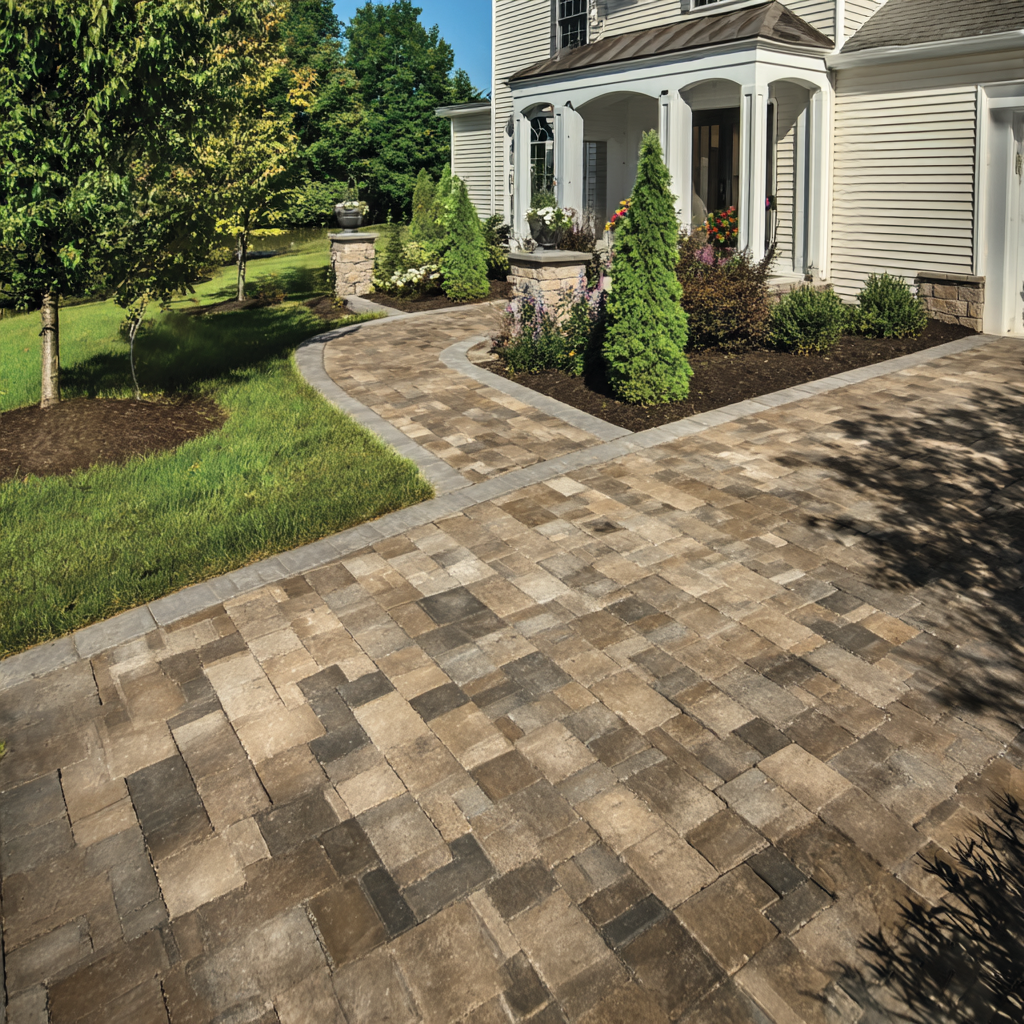
Transforming your driveway into a durable, attractive, and functional feature can significantly enhance your home’s curb appeal while addressing practical concerns like water management. In Fremont, California, where sloped terrain and water runoff are common challenges, this project incorporates Belgard Avalon Slate Bella pavers, a Belgard Graphite border, a 15-linear-foot Belair 2.0 retaining wall, and a French drain to ensure proper drainage away from the property. This detailed how-to guide will walk you through the demolition and installation process, address project constraints, and emphasize the primary goal of directing water away from the house, including the use of a car-grade drain at the garage interface.
Project Overview and Goals
The primary objective of this driveway installation is to create a stable, aesthetically pleasing surface that ensures water flows away from the house, preventing pooling or structural damage.
The project addresses a sloped terrain where the land sinks toward the house, requiring a 15-linear-foot Belair 2.0 retaining wall and a French drain to manage runoff. The driveway will feature Belgard Avalon Slate Bella pavers for a sophisticated, textured look and a Graphite border for a clean, defined edge. A car-grade drain will be installed at the garage door to handle water flow at the transition point, ensuring durability under vehicle traffic.
Materials Needed
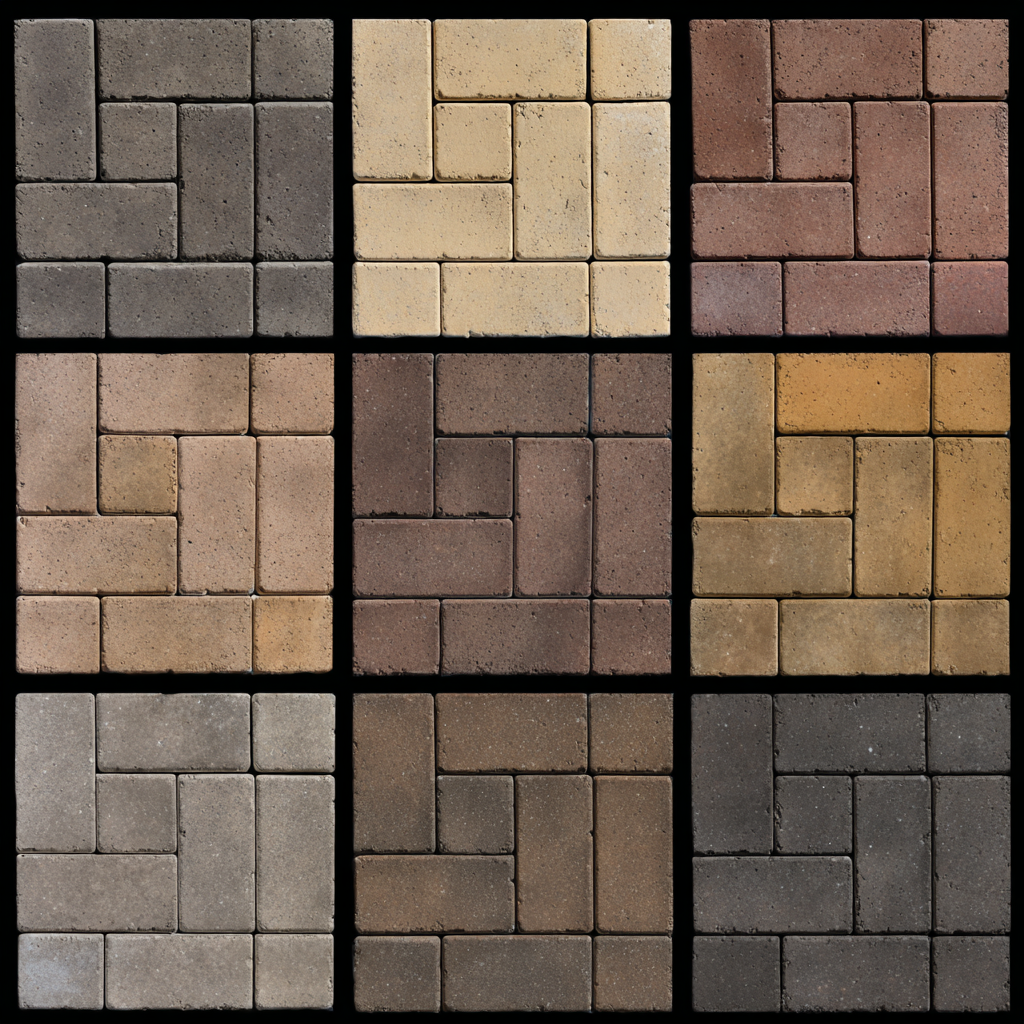
- Pavers: Belgard Avalon Slate Bella pavers (textured, natural slate appearance, suitable for driveways)
- Border: Belgard Graphite pavers (contrasting color for a polished edge)
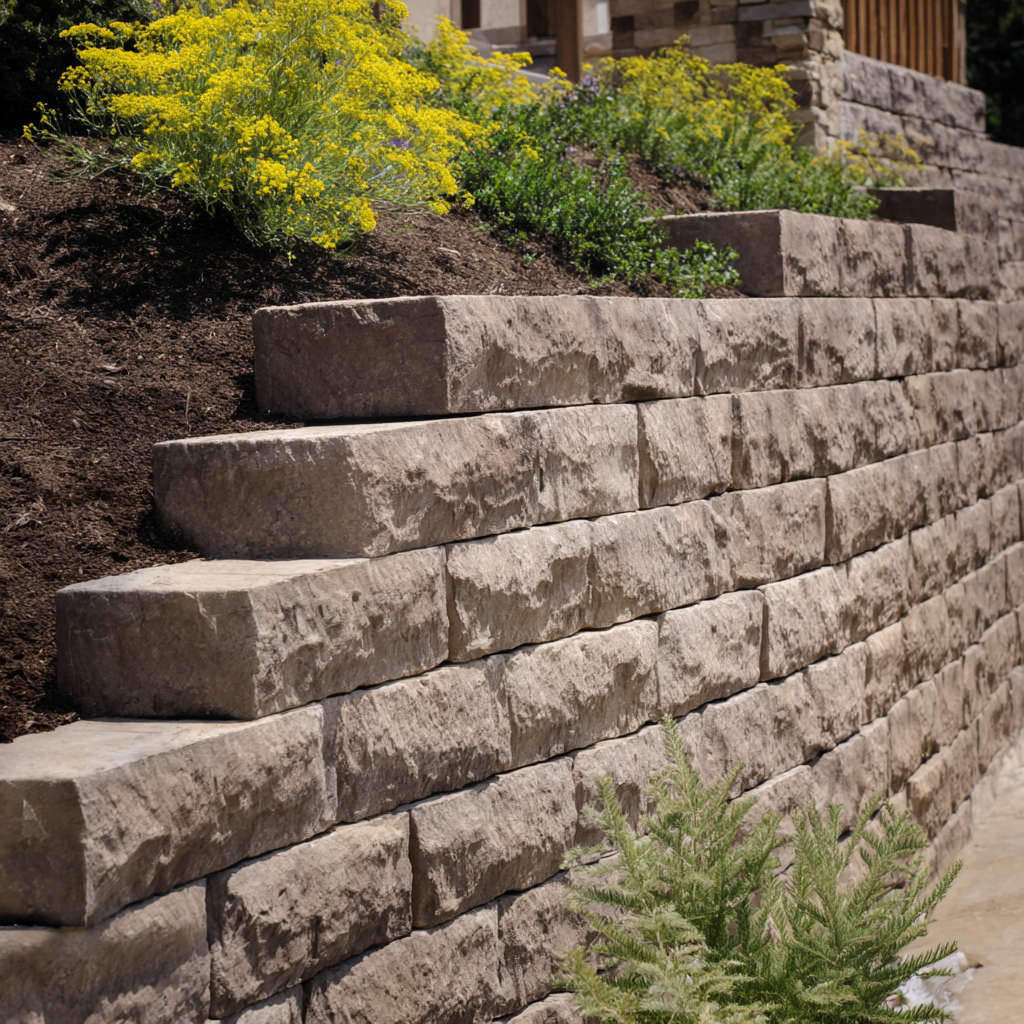
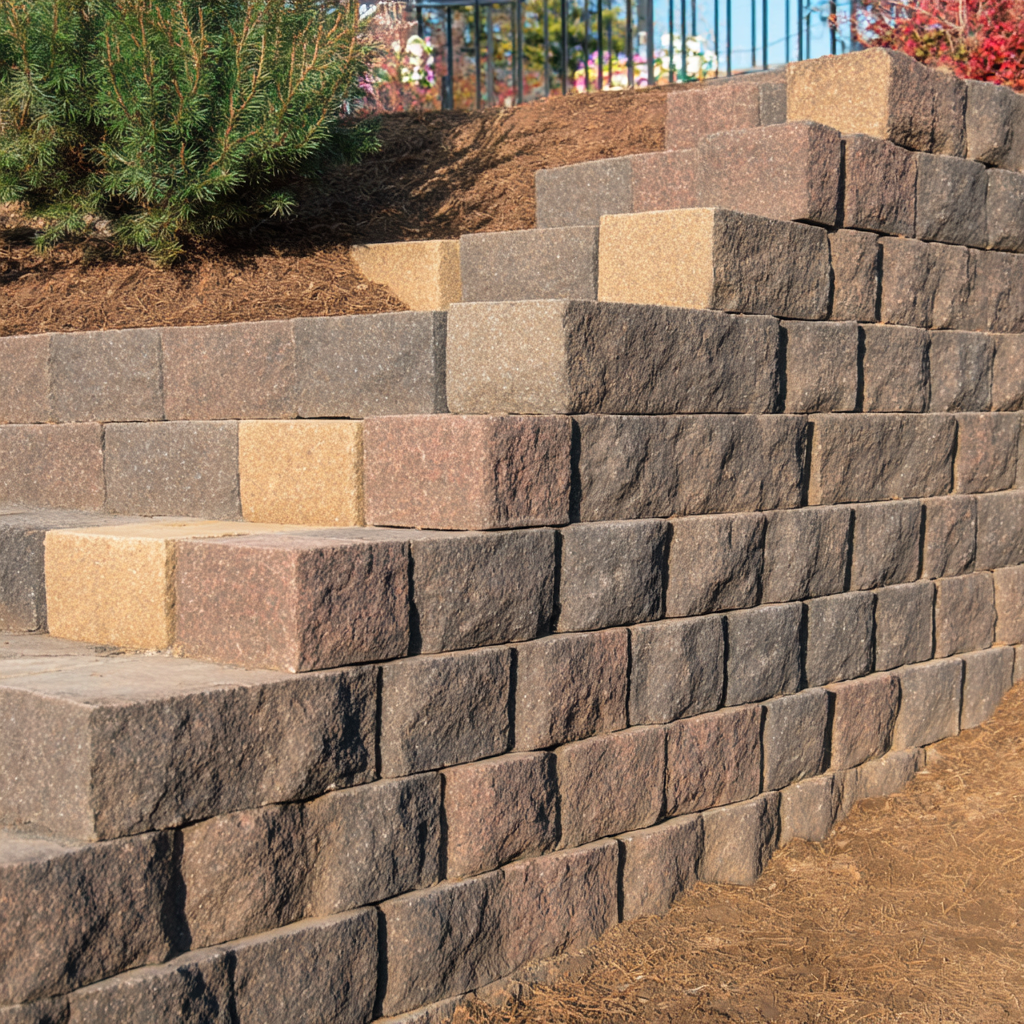
- Retaining Wall: Belgard Belair 2.0 wall units (modular, durable for low retaining walls)
- French Drain: Perforated PVC pipe (4-inch diameter), gravel, landscape fabric
- Car-Grade Drain: Channel drain rated for vehicle traffic (e.g., polymer concrete or heavy-duty plastic)
- Base Materials: Class II road base, decomposed granite, or crushed stone (for subbase)
- Sand: Concrete sand (for bedding layer)
- Tools: Plate compactor, shovel, wheelbarrow, level, string line, rubber mallet, masonry saw, tape measure, stakes, broom, safety gear (gloves, goggles, dust mask)
- Miscellaneous: Geotextile fabric, polymeric joint sand, concrete adhesive, drainage gravel
Step-by-Step Installation Process
1. Planning and Permitting
Before starting, confirm local regulations in Fremont, California. Driveway installations may require permits, especially for retaining walls or drainage systems affecting runoff to public streets. Check with the City of Fremont’s Building Division for guidelines on setbacks, drainage, and structural requirements. Mark utility lines by calling 811 to avoid underground conflicts.Key Considerations:
- Measure the driveway area (length, width, and slope) to calculate material quantities.
- Plan the slope (minimum 2% grade, or 1/4 inch per foot) to direct water toward the street.
- Ensure the 15-linear-foot retaining wall aligns with the driveway’s edge to manage the sinking gradient.
2. Demolition of Existing Driveway
If replacing an existing driveway (e.g., concrete or asphalt), follow these steps:
- Break Up Surface: Use a jackhammer or sledgehammer to break concrete/asphalt into manageable pieces. Rent a dumpster for debris disposal.
- Remove Debris: Clear broken materials and dispose of them responsibly per Fremont’s waste regulations.
- Excavate: Dig out the existing base to a depth of 10–12 inches for the new driveway (6–8 inches for subbase, 1 inch for bedding sand, and paver thickness). For the retaining wall trench, excavate an additional 6 inches deep along the 15-linear-foot section.
Constraint Note: The sinking gradient toward the house requires careful excavation to avoid undermining the soil near the foundation. Excavate gradually and monitor soil stability.
3. Preparing the Subbase
A solid subbase is critical for a stable, long-lasting driveway.
- Excavate and Grade: Dig to the required depth, ensuring a consistent slope toward the street (2% minimum). Use a laser level or string line to check the grade.
- Lay Geotextile Fabric: Place non-woven geotextile fabric over the soil to prevent mixing with the subbase and improve stability.
- Add Subbase Material: Spread Class II road base or crushed stone in 2–3-inch layers, compacting each layer with a plate compactor. Aim for a 6–8-inch total depth for vehicular traffic.
- Check Slope: Verify the slope directs water away from the house toward the street.
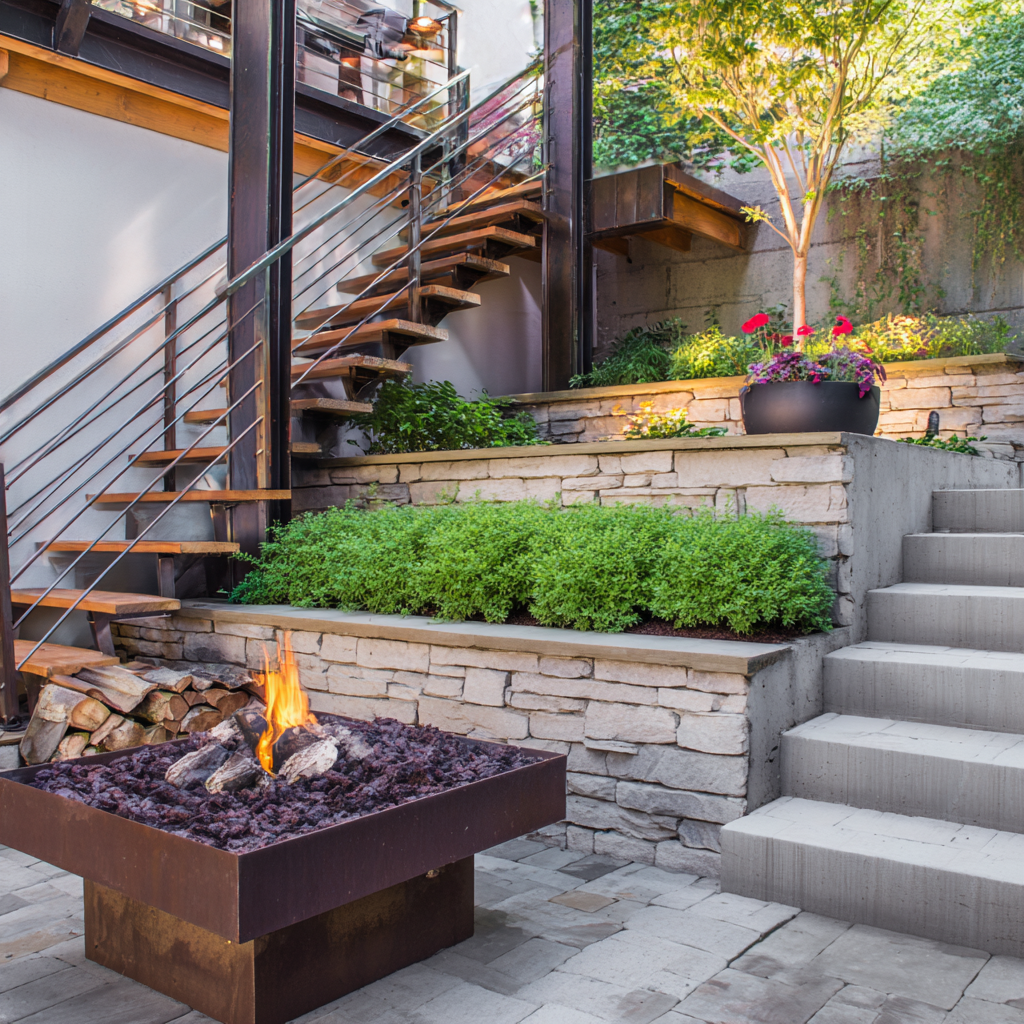
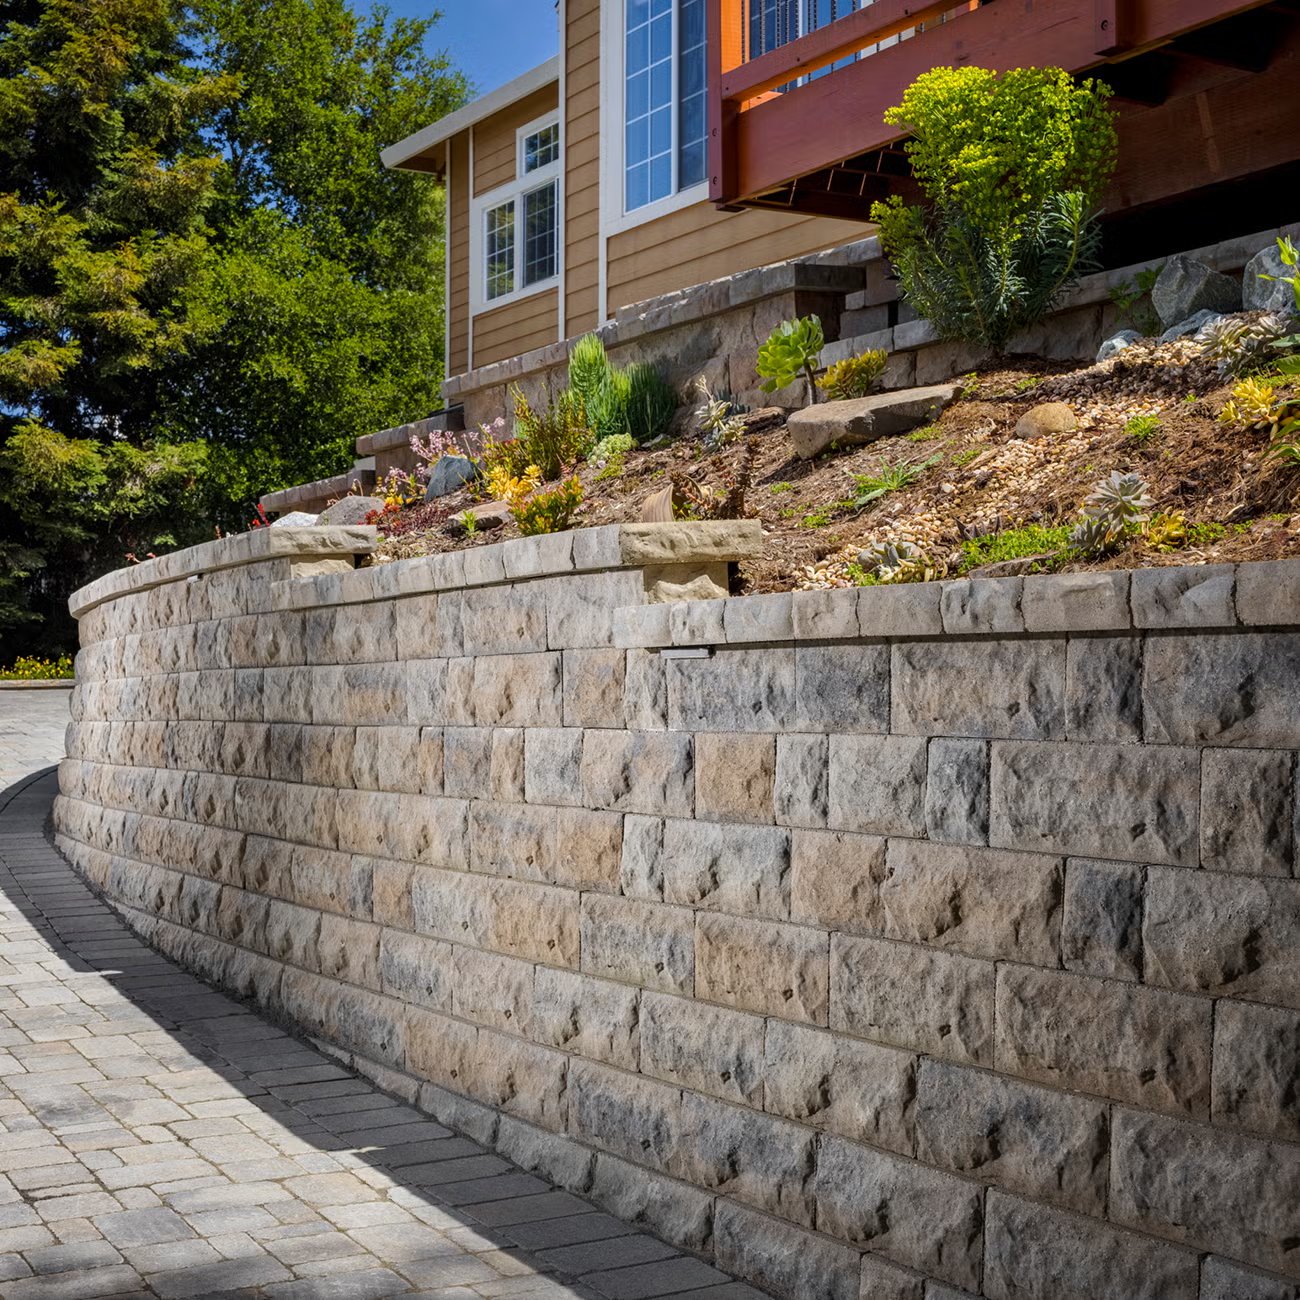
4. Installing the Belair 2.0 Retaining Wall
The 15-linear-foot Belair 2.0 retaining wall stabilizes the sloped edge and supports the French drain.
- Trench Preparation: Dig a 6-inch-deep, 12-inch-wide trench along the driveway’s low side where the land slopes toward the house.
- Base Layer: Add 4 inches of crushed stone, level it, and compact it thoroughly.
- Place First Course: Lay the first row of Belair 2.0 wall units, ensuring they are level side-to-side and front-to-back. Use a rubber mallet to adjust.
- Backfill: Add gravel behind the wall to support drainage and stability. Stack additional courses (typically 2–3 blocks high for low walls), staggering joints for strength. Use concrete adhesive between layers.
- Cap the Wall: Install Belair 2.0 capstones for a finished look, securing with adhesive.
Constraint Note: The wall must be structurally sound to handle soil pressure from the sloped terrain. Ensure proper backfill and compaction to prevent shifting.
5. Installing the French Drain
The French drain runs parallel to the retaining wall to capture and redirect water to the street.
- Trench: Dig a 6-inch-wide, 12-inch-deep trench alongside the retaining wall, sloping slightly (1% grade) toward the street.
- Line with Fabric: Place landscape fabric in the trench to prevent soil clogging the drain.
- Add Gravel: Spread 2 inches of drainage gravel in the trench bottom.
- Install Pipe: Lay a 4-inch perforated PVC pipe, ensuring perforations face downward. Connect to a solid PVC pipe at the street end for discharge.
- Cover and Backfill: Surround the pipe with gravel, wrap the fabric over the top, and backfill with soil or gravel to integrate with the retaining wall.
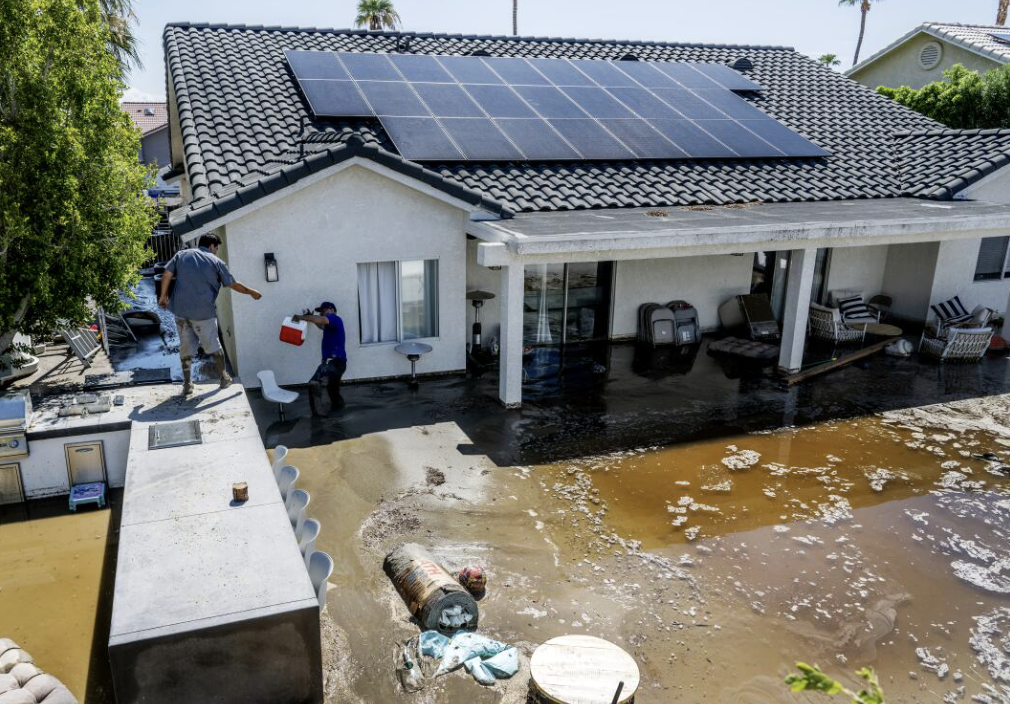
Goal Note: The French drain ensures water is efficiently channeled away from the house, preventing pooling near the foundation.
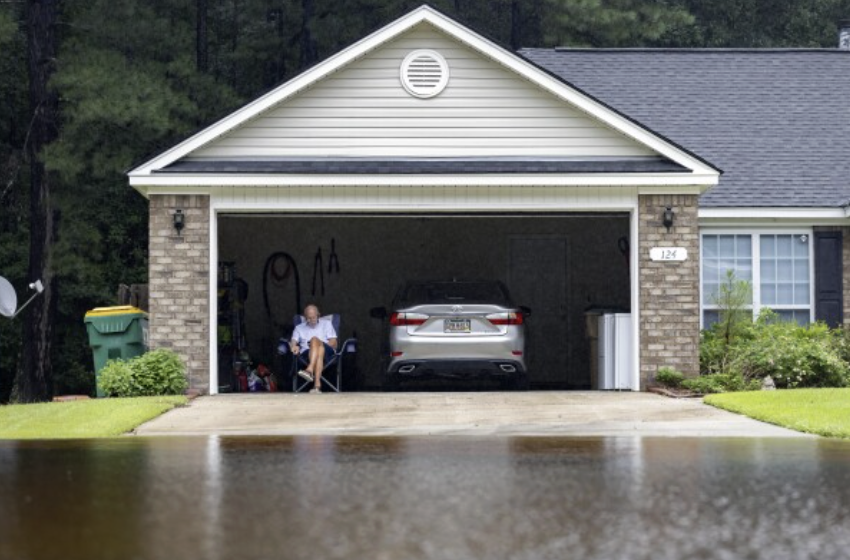
6. Installing the Car-Grade Drain
A car-grade channel drain at the garage door prevents water from entering the garage.
- Trench: Excavate a narrow trench (4–6 inches wide) across the driveway where it meets the garage door, ensuring a slight slope toward the street or French drain.
- Install Drain: Place a heavy-duty channel drain (rated for vehicle traffic) in the trench, leveling it with the surrounding surface. Connect to the French drain or a separate drainage pipe leading to the street.
- Secure: Backfill with concrete or gravel around the drain to lock it in place, ensuring it’s flush with the future paver surface.
7. Laying the Bedding Sand
- Spread 1 inch of concrete sand over the compacted subbase.
- Screed the sand using a straight board to create a smooth, even surface.
- Check the slope again to ensure water will flow toward the street.
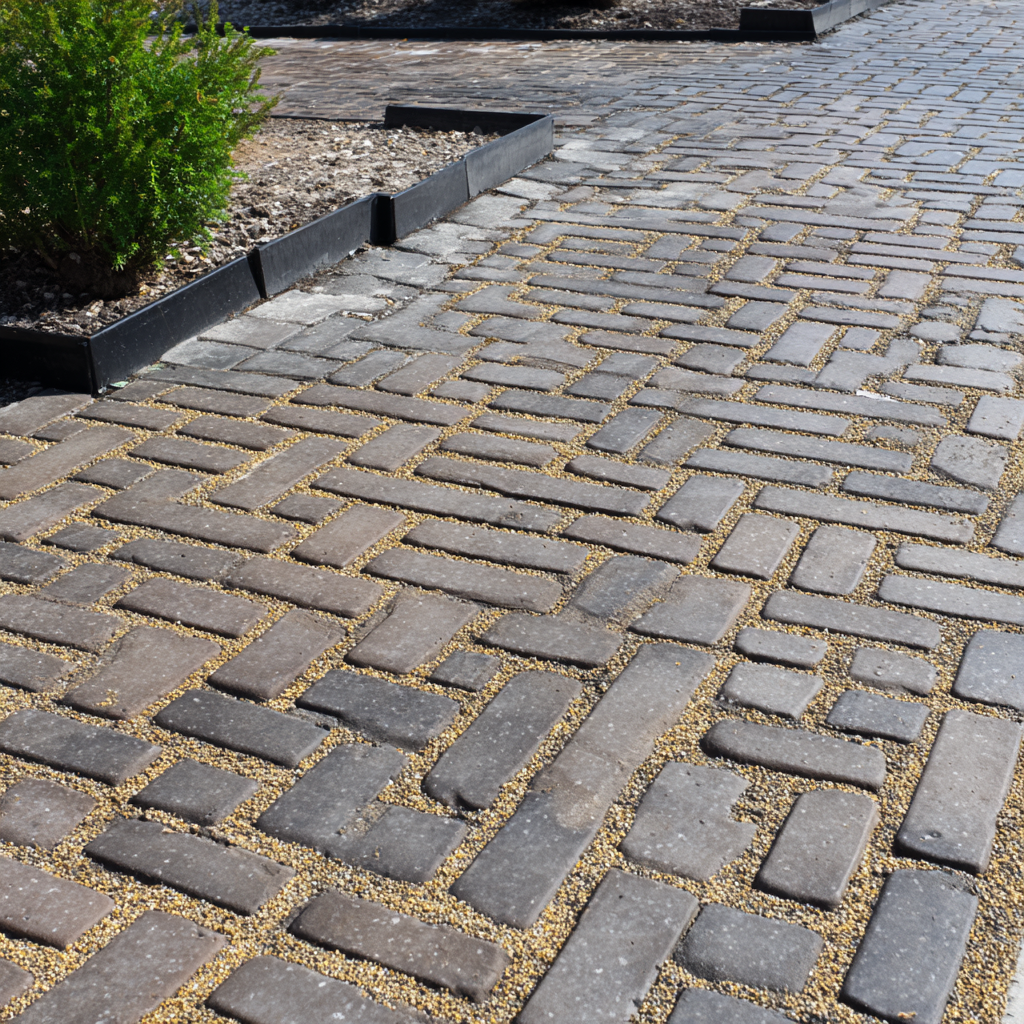
8. Installing Belgard Avalon Slate Bella Pavers
- Start Laying Pavers: Begin at the garage door or a fixed edge, laying Avalon Slate Bella pavers in your chosen pattern (e.g., herringbone or running bond for strength). Ensure tight joints (1/8 inch or less).
- Cut Pavers: Use a masonry saw to cut pavers for edges or around the car-grade drain.
- Check Alignment: Use a string line to keep rows straight and a level to ensure flatness.
9. Adding the Belgard Graphite Border
- Place Border Pavers: Install Graphite pavers along the driveway’s perimeter, adjacent to the retaining wall and other edges. Cut as needed for a precise fit.
- Secure: Use concrete adhesive for border pavers along the retaining wall to prevent movement.
10. Compacting and Finishing
- Compact Pavers: Run a plate compactor over the pavers to set them into the sand.
- Add Joint Sand: Sweep polymeric joint sand into the gaps between pavers. Mist lightly with water to activate the sand’s binding properties.
- Final Compaction: Compact again to lock the pavers in place.
11. Final Touches
- Clean the surface with a broom to remove excess sand.
- Inspect the drainage system, ensuring water flows through the French drain and car-grade drain to the street.
- Seal the pavers (optional) with a Belgard-approved sealant for added protection and color enhancement.
Addressing Project Constraints
- Sloped Terrain: The sinking gradient toward the house is mitigated by the Belair 2.0 retaining wall, which stabilizes the soil, and the French drain, which captures runoff. Proper grading during excavation ensures water flows to the street.
- Water Management: The French drain and car-grade drain are critical to preventing water pooling near the house or garage. Regular maintenance (clearing debris from the channel drain) ensures long-term functionality.
- Local Regulations: Fremont’s building codes may dictate drainage slopes, retaining wall heights, and street discharge points. Verify compliance to avoid fines or rework.
- Material Durability: Belgard Avalon Slate Bella pavers and Graphite borders are rated for vehicular traffic, ensuring durability. The Belair 2.0 wall is designed for low retaining applications, suitable for this project’s scope.
Ensuring Water Runs Away from the Property
The primary goal of directing water away from the house is achieved through:
- Proper Grading: A consistent 2% slope ensures water flows naturally toward the street.
- French Drain: Captures subsurface water along the retaining wall, channeling it to the street.
- Car-Grade Drain: Prevents water from entering the garage, integrating with the drainage system.
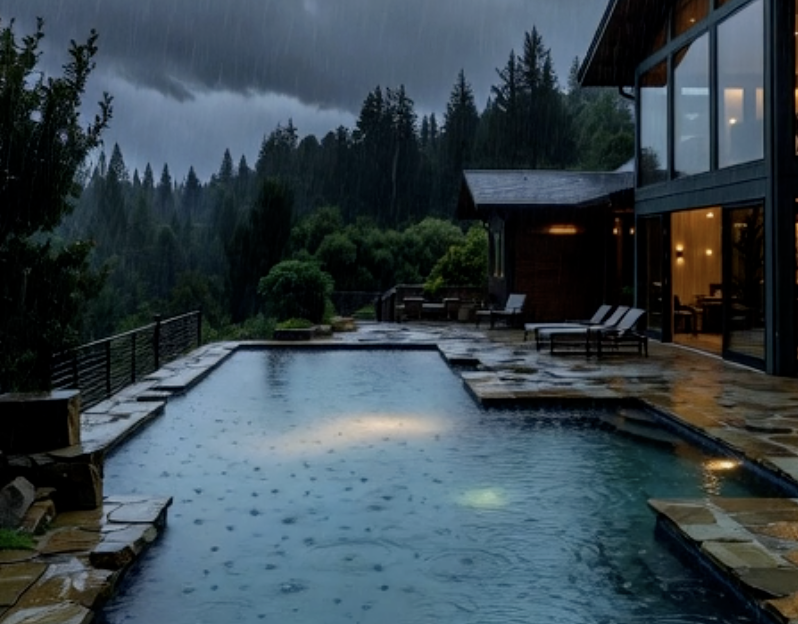
- Regular Maintenance: Inspect and clean drains annually, especially during Fremont’s rainy season (November–March), to prevent clogs.
Why Choose Bayside Pavers?
At Bayside Pavers (https://baysidepavers.com), we specialize in creating custom driveways that blend functionality with stunning design. Our expertise in Fremont’s unique terrain and climate ensures your project meets local regulations and performs reliably for years. Using premium Belgard products like Avalon Slate Bella pavers, Graphite borders, and Belair 2.0 retaining walls, we deliver durable, visually appealing results tailored to your needs.ConclusionInstalling a driveway with Belgard Avalon Slate Bella pavers, a Graphite border, a Belair 2.0 retaining wall, and a French drain in Fremont, California, requires careful planning and execution to address the sloped terrain and ensure proper water management. By following this step-by-step guide, you can achieve a professional-grade driveway that enhances your home’s value while protecting it from water damage. For expert installation, contact Bayside Pavers to bring your vision to life with precision and quality craftsmanship.
 Schedule Design Consultation