.png)

Introduction: Transform Your Bay Area Backyard with Pavers
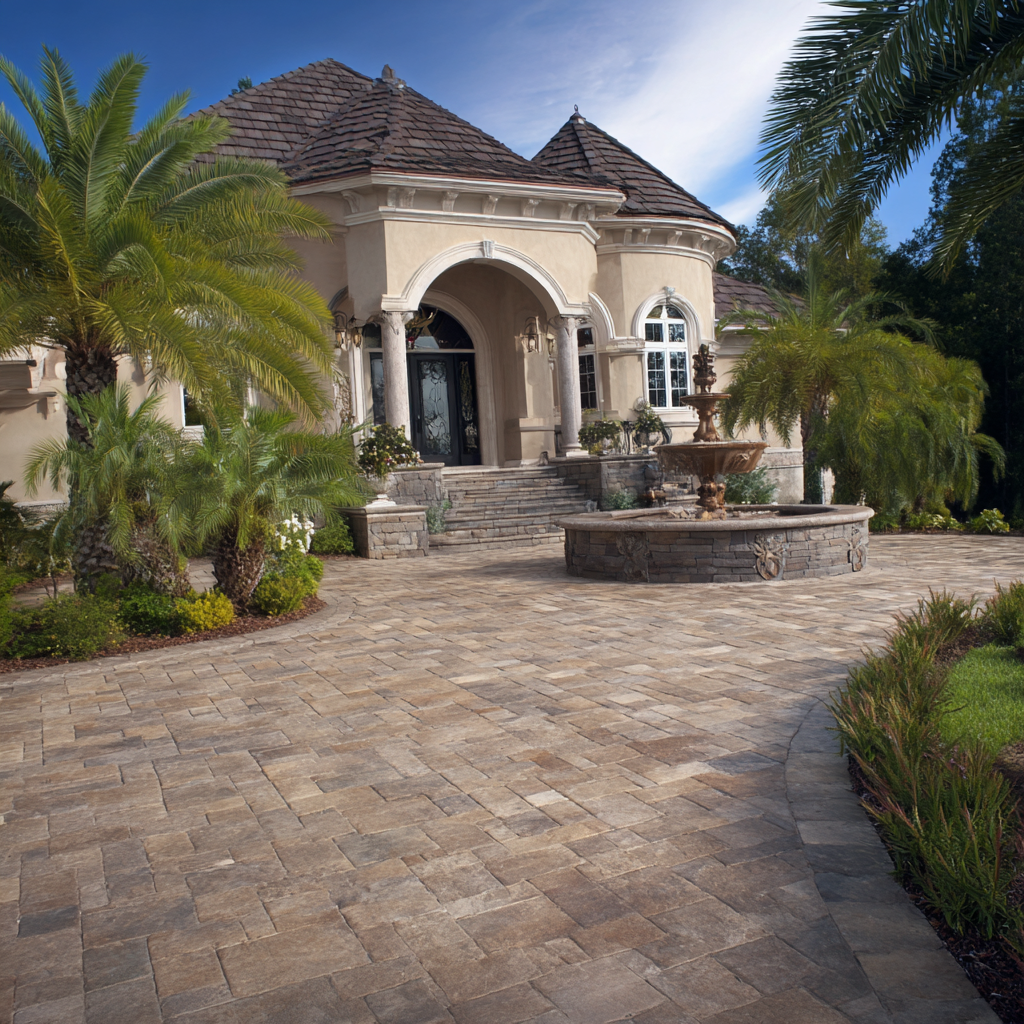
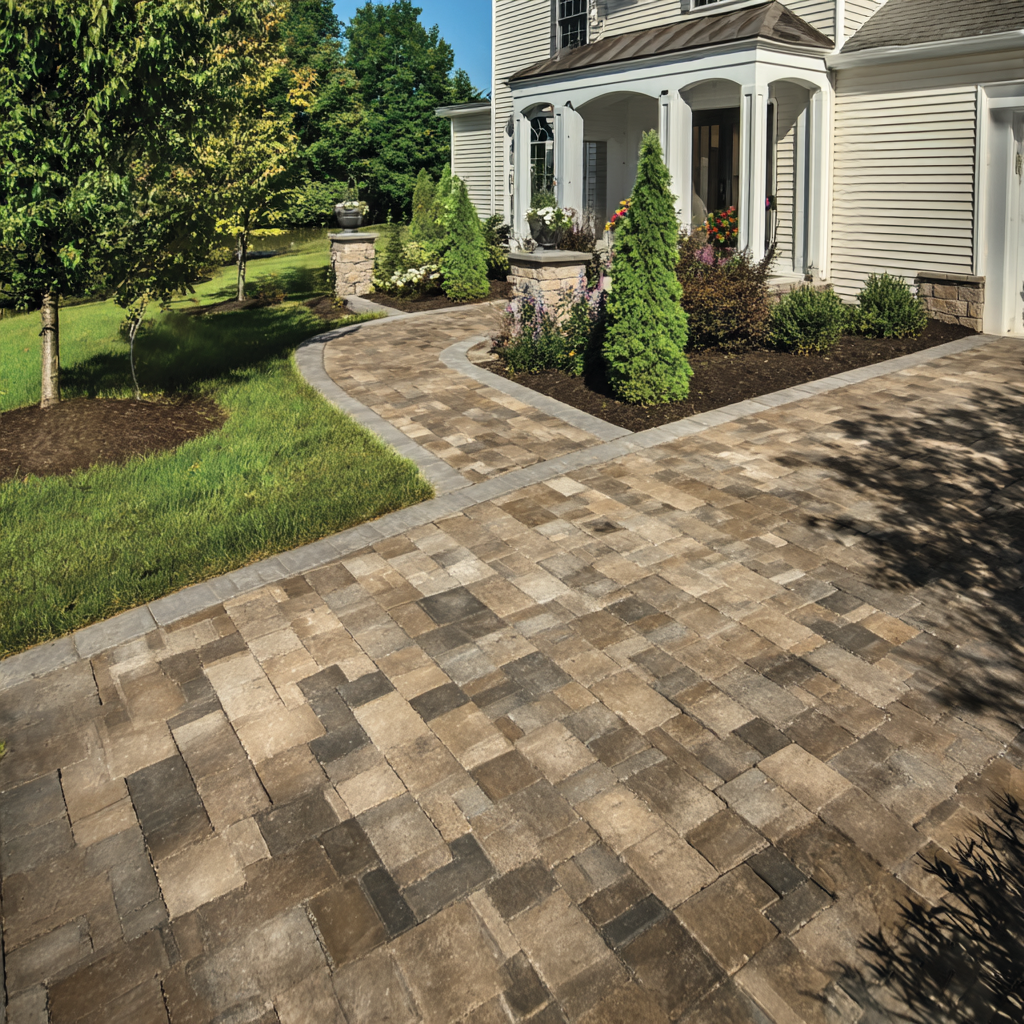
Imagine stepping into a backyard that’s no longer a muddy mess or a cracked concrete eyesore. Instead, it’s a stunning, functional space perfect for summer barbecues, kids’ playtime, or quiet evenings under the stars. For Silicon Valley and East Bay homeowners, installing pavers is a game-changer for tackling dead grass, puddling water, or uninspiring outdoor spaces. This DIY guide walks you through how to install pavers the right way, following Interlocking Concrete Pavement Institute (ICPI) standards. Whether you’re updating your driveway or creating a dreamy backyard patio, you’ll get actionable steps to make it happen. Ready to elevate your outdoor lifestyle? Let’s dive in!

Why Choose Pavers for Your Bay Area Home?
Pavers are more than just a pretty face—they’re a practical solution for Bay Area homeowners. They’re durable, low-maintenance, and versatile, perfect for our region’s sunny summers and occasional rainy spells. According to the ICPI Foundation, properly installed pavers can last decades, resisting cracks and weathering better than traditional concrete. Plus, they add serious curb appeal, boosting your home’s value and making your backyard a go-to spot for entertaining.
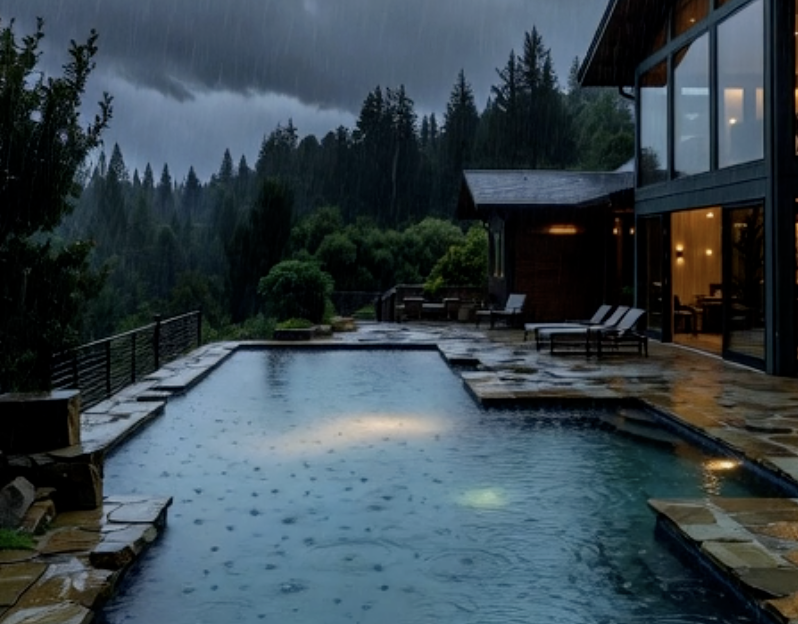
But here’s the real draw: pavers solve common pain points. Sick of tracking mud into your house? Pavers create a clean, stable surface. Tired of puddles pooling on your driveway? Their permeable designs improve drainage. Dreaming of a backyard remodel that screams “Silicon Valley chic”? Pavers let you customize colors, patterns, and textures to match your vibe.

Step 1: Plan Your Paver Project Like a Pro
Before you grab a shovel, planning is key to a successful paver installation. Here’s how to start:
Define Your Space: Decide where your pavers will go—driveway, patio, or walkway? Measure the area to estimate materials. For inspiration, check out Bayside Pavers’ driveway designs.
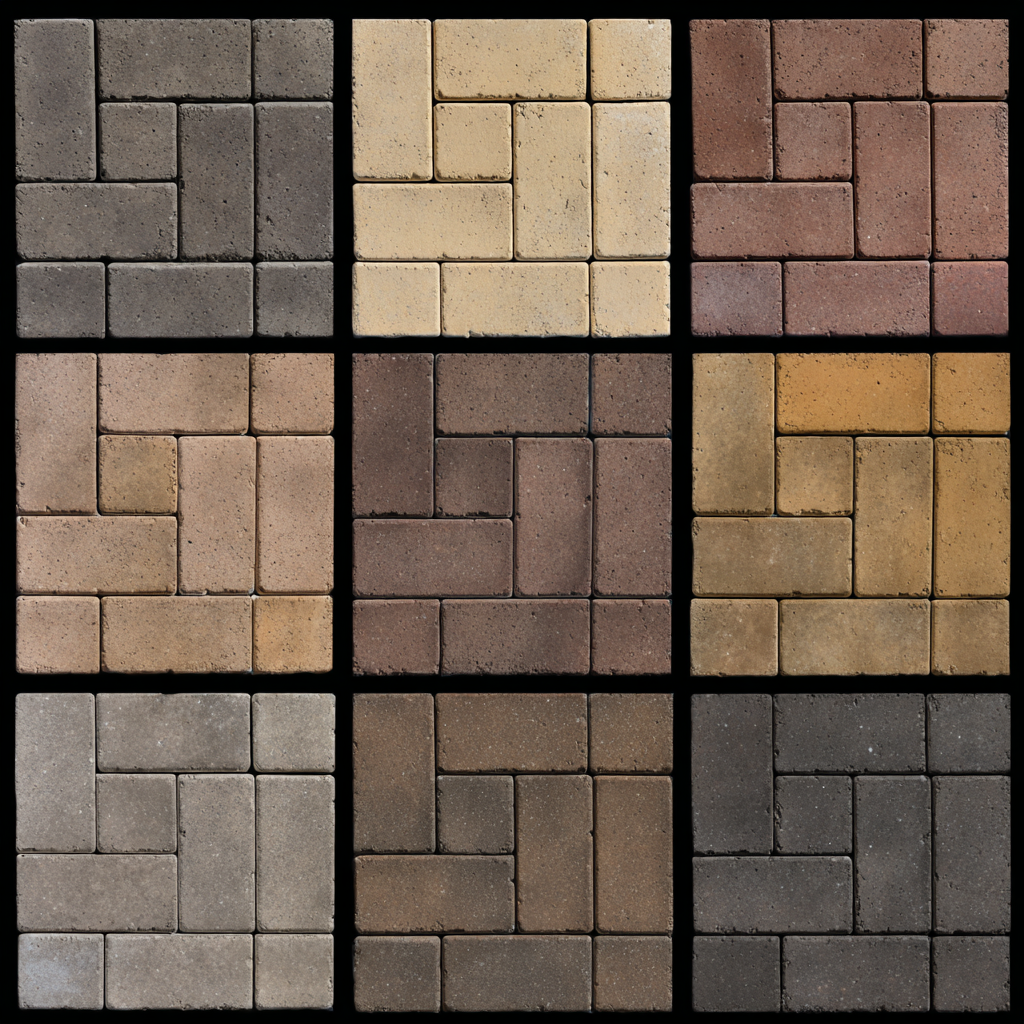
Choose Your Pavers: Select pavers that suit your style and needs. Options like Antiqued Flat-Top offer a timeless look, while Dimensions pavers add modern flair.
Check Local Codes: Some Bay Area cities require permits for hardscape projects, especially driveways. Contact your local permitting office to stay compliant.
Budget Wisely: Factor in pavers, base materials, tools, and optional pro help. ICPI recommends budgeting for high-quality materials to ensure longevity.
Pro Tip: Sketch your design or use a free online tool to visualize your layout. It’s like playing architect for your backyard remodel!

Step 2: Gather Tools and Materials
You don’t need a contractor’s toolbox, but having the right gear makes DIY paver installation smoother. Here’s what you’ll need:
Tools: Shovel, wheelbarrow, tamper, level, rubber mallet, string line, and a plate compactor (rentable at Home Depot).
Materials: Pavers, gravel (Class II road base), sand, edge restraints, and polymeric joint sand.
Safety Gear: Gloves, safety glasses, and sturdy boots.
For ICPI-standard results, use a 4–6-inch gravel base and 1-inch bedding sand layer, as outlined by Eminent Pavers. This ensures stability and proper drainage—crucial for Bay Area homes dealing with puddling.
Personal Note: When I helped a friend install pavers in their Fremont backyard, we underestimated the gravel needed. Don’t skip double-checking quantities—it saves headaches!

Step 3: Prepare the Site
Now, let’s get to work. Proper site prep is the foundation of a long-lasting paver project.
Mark the Area: Use stakes and string to outline your project. Add 6 inches beyond the paver area for edge restraints.
Excavate: Dig 7–9 inches deep (4–6 inches for the base, 1 inch for sand, plus paver thickness). Remove grass, roots, and debris.
Slope for Drainage: Create a 1–2% slope (about ¼ inch per foot) to prevent water pooling, a common issue for Bay Area driveways.
Compact the Soil: Use a tamper to firm up the ground. A stable base prevents sinking later.

Step 4: Build the Base
The base is where ICPI standards shine. A solid base prevents shifting and cracking, especially under heavy use like driveways.
Add Gravel: Spread 4–6 inches of Class II road base in 2-inch layers. Compact each layer with a plate compactor.
Check Level: Use a level and string line to ensure the base is even and sloped correctly.
Install Edge Restraints: Place plastic or metal edging along the perimeter and secure with spikes. This keeps pavers locked in place.

Step 5: Lay the Pavers
This is where your vision comes to life! Follow these steps:
Spread Bedding Sand: Add a 1-inch layer of coarse sand over the gravel. Screed it smooth with a straight board.
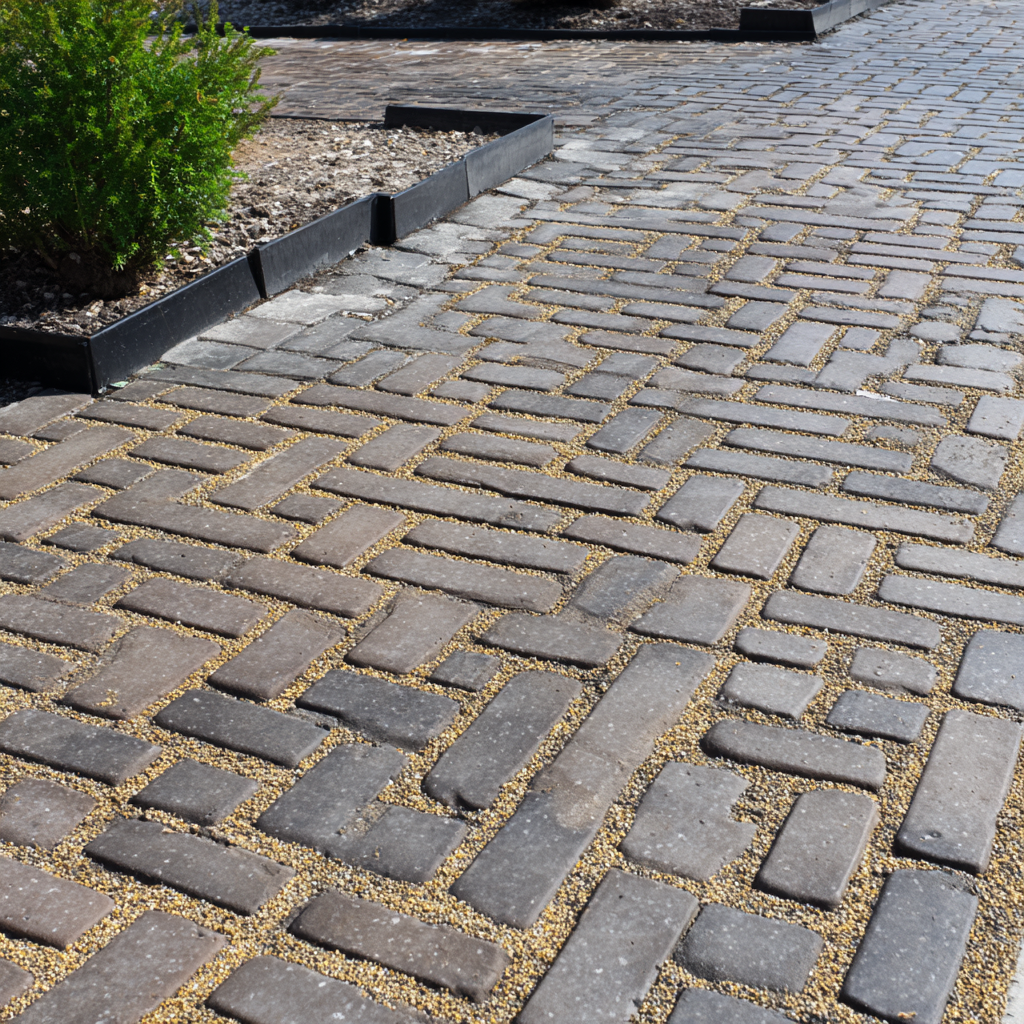
Place Pavers: Start in a corner and lay pavers in your chosen pattern (e.g., herringbone or basketweave). Press gently; don’t slide them.
Cut Pavers as Needed: Use a masonry saw (rentable) to trim pavers for edges or curves.
Check Alignment: Use a level and string line to keep rows straight.
Explore Bayside Pavers’ paver options for patterns that elevate your backyard or driveway.

Step 6: Finish and Seal
You’re almost there! These final steps ensure durability and polish.
Fill Joints: Spread polymeric sand over the pavers and sweep into joints. Mist lightly with water to activate the binding agent.
Compact Again: Run the plate compactor over the surface to set the pavers and sand.
Seal (Optional): Apply a paver sealer for extra protection against stains and weathering. Reapply every 2–3 years.
Enjoy Your New Outdoor Oasis
Congratulations—you’ve transformed your Bay Area home with a stunning paver installation! By following these ICPI-standard steps, you’ve created a durable, beautiful space that solves muddy yards, cracked concrete, and uninspiring backyards. Now, picture hosting summer barbecues, watching your kids play, or sipping coffee on your new patio. Doesn’t that feel worth it?
If DIY feels daunting or you want a pro’s touch, book a free design consultation with Bayside Pavers today. Our team specializes in custom hardscape solutions for San Jose, Silicon Valley and East Bay homes. What’s your dream outdoor project? Drop it in the comments—I’d love to hear!
FAQ: Your Paver Installation Questions Answered
How long does it take to install pavers?A 100-square-foot patio takes about 2–3 days for DIYers, depending on prep and weather. Pros can often finish faster.
Can I install pavers over existing concrete? Yes, but the concrete must be stable and level. Add a 1-inch sand layer and follow ICPI guidelines for overlay projects.
How much do pavers cost in the Bay Area? Costs vary, but expect $15–$25 per square foot for materials and DIY labor. Get a quote for professional installation.
What’s the best paver pattern for a driveway? Herringbone is popular for driveways due to its strength and classic look. Explore options at Bayside Pavers.
Do pavers require maintenance? Minimal! Sweep regularly, rinse stains, and reapply polymeric sand or sealer every few years.
 Schedule Design Consultation