.png)
.jpg)
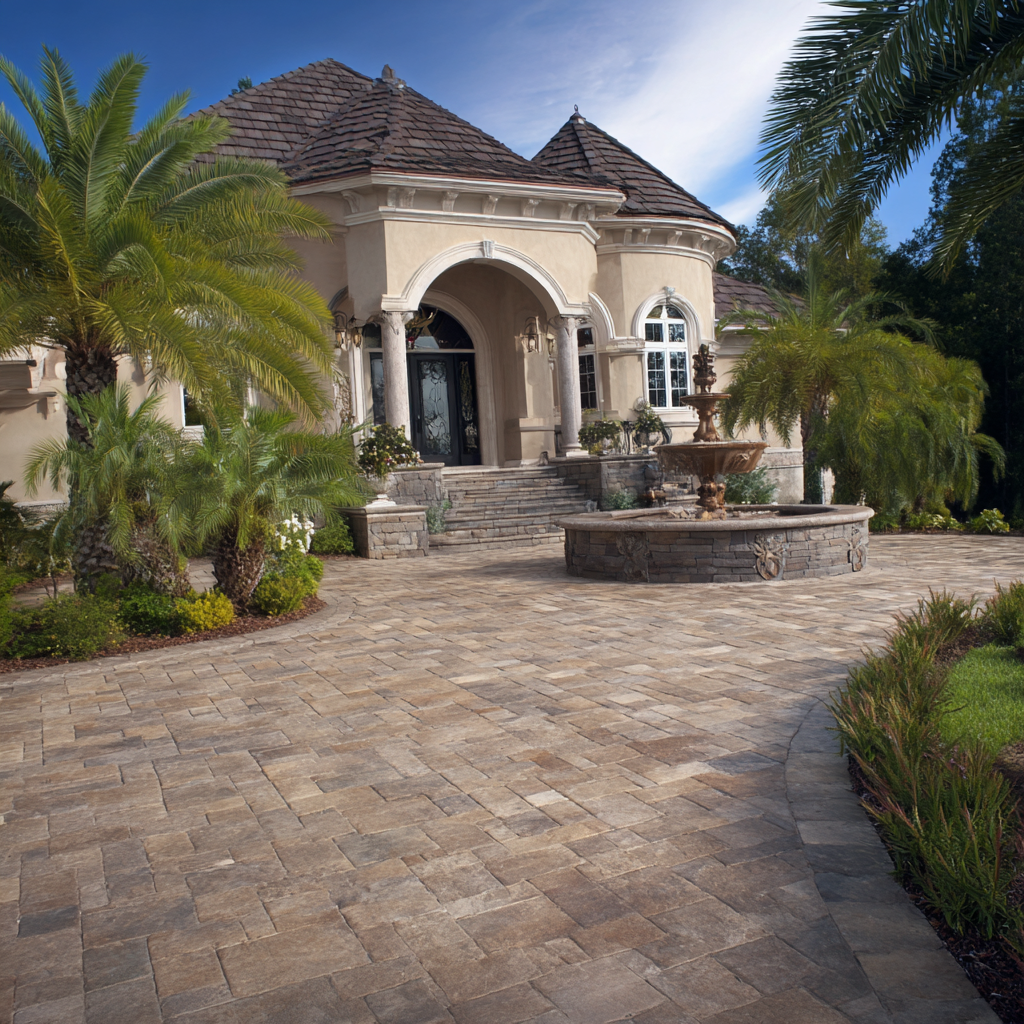
Picture this: your backyard transformed from a patchy, muddy mess into a vibrant, low-maintenance oasis perfect for summer barbecues, kids’ soccer games, or relaxing under the stars. For homeowners in Palo Alto, San Jose, Danville, and beyond, installing artificial turf is the key to solving dead grass, tracking dirt indoors, and uninspiring outdoor spaces. This DIY guide shows you how to install turf the right way, following Interlocking Concrete Pavement Institute (ICPI) standards for a durable, beautiful result. Whether you’re updating your backyard or creating a play-friendly lawn, these actionable steps will get you there. Ready to make your outdoor dreams a reality? Let’s get started!

Why Artificial Turf is Perfect for Bay Area Homes
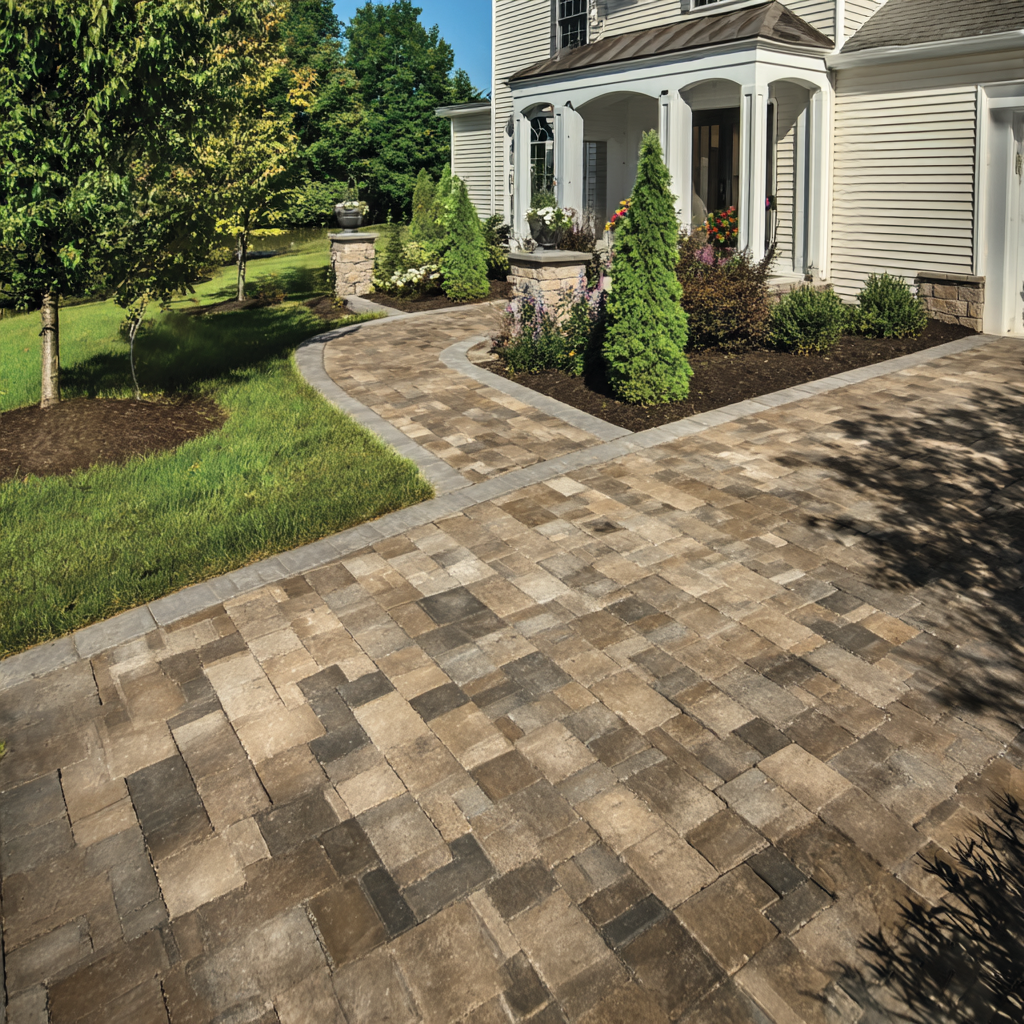
Artificial turf is a game-changer for Bay Area homeowners who crave beauty and function without the hassle. It’s durable, water-saving, and pet-friendly, making it ideal for our sunny climate and occasional droughts. According to MSI Surfaces, high-quality turf can last 15–20 years with minimal upkeep, unlike natural grass that demands constant mowing and watering. For families in Menlo Park or Walnut Creek, turf means no more muddy footprints or cracked concrete ruining your vibe.
Turf also tackles your pain points head-on. Tired of puddling water in your backyard? Turf’s permeable backing improves drainage. Want a backyard remodel that invites summer nights with friends? Turf creates a lush, inviting space. Curious about premium options? Check out Emerald Green Turf 45mm 110oz for a natural look and feel.
.jpg)
Step 1: Plan Your Turf Installation
A successful turf project starts with a solid plan. Here’s how to set yourself up for success:
Choose Your Space: Decide where the turf will go—backyard, front yard, or play area. Measure the area to estimate materials.
Select Your Turf: Pick a turf type that matches your needs. Bayside Pavers’ turf options include durable, lush varieties perfect for kids and pets.
Check Local Regulations: Cities like Los Altos or San Ramon may have rules on artificial turf, especially in front yards. Contact your local permitting office.
Budget Smart: Account for turf, base materials, tools, and optional pro help. ICPI standards emphasize quality materials for longevity.
Pro Tip: Sketch your layout or use a free design app to visualize your backyard remodel. It’s a fun way to plan your outdoor oasis!
Step 2: Gather Tools and Materials
You don’t need a pro’s toolbox, but the right gear makes DIY turf installation easier. Here’s your checklist:
Tools: Shovel, wheelbarrow, tamper, utility knife, rake, broom, and a plate compactor (rentable at hardware stores).
Materials: Artificial turf, gravel (Class II road base), decomposed granite or sand, seam tape, adhesive, and turf nails.
Safety Gear: Gloves, knee pads, and safety glasses.
ICPI recommends a 4–6-inch base for stability and drainage, critical for Bay Area homes dealing with puddling. For detailed specs, see MSI Surfaces’ turf guide.
Personal Note: When I helped a neighbor in Portola Valley install turf, we forgot to order extra seam tape. Double-check your material list to avoid last-minute runs!

Step 3: Prepare the Site
Proper site prep ensures your turf lasts. Follow these steps:
Mark the Area: Use stakes and string to outline your turf area. Add 6 inches beyond the turf for anchoring.
Excavate: Dig 5–7 inches deep (4–6 inches for the base, plus turf thickness). Remove grass, rocks, and roots.
Slope for Drainage: Create a 1–2% slope (¼ inch per foot) to prevent water pooling, a common issue in Woodside yards.
Compact the Soil: Use a tamper to firm up the ground, preventing future sinking.
Visual Placeholder: [Insert image of a homeowner marking a backyard with stakes and string.]
Step 4: Build the Base
The base is critical for ICPI-standard turf installation, ensuring stability and proper drainage.
Add Gravel: Spread 4–6 inches of Class II road base in 2-inch layers. Compact each layer with a plate compactor.
Add a Fine Layer: Spread ½ inch of decomposed granite or sand and screed it smooth for a level surface.
Check Level: Use a level and string line to confirm the base is even and sloped correctly.
Engagement Hook: What’s your dream backyard activity—kids’ playtime or hosting friends? Share in the comments!
.jpg)
Step 5: Install the Turf
Now for the fun part—laying your turf! Here’s how:
Roll Out the Turf: Unroll the turf over the base, ensuring it fits the area. Let it sit for 1–2 hours to relax any wrinkles.
Trim to Fit: Use a utility knife to cut the turf to shape, leaving a slight overlap at edges.
Seam Sections: For large areas, join pieces with seam tape and adhesive. Press firmly for a seamless look.
Secure the Turf: Anchor with turf nails every 6–12 inches along edges and seams.
Brush the Fibers: Use a stiff broom to brush up the turf fibers for a natural look.
Explore Bayside Pavers’ turf services for premium options like Emerald Green, perfect for Bay Area backyards.
Visual Placeholder: [Insert infographic showing turf installation steps, from rolling to brushing.]
Step 6: Finish and Maintain
You’re almost done! These final touches ensure a polished, long-lasting result.
Add Infill: Spread silica sand or rubber infill (optional) to weigh down the turf and support the fibers. Brush it in evenly.
Compact and Inspect: Lightly compact the surface and check for loose edges or seams.
Clean Up: Rinse the turf with a hose to remove dust and settle the infill.
Maintenance is a breeze—sweep debris, rinse stains, and fluff fibers occasionally. Your backyard is now ready for summer nights and kids’ sports!
.jpg)
Enjoy Your Low-Maintenance Backyard Oasis
You did it—your Bay Area backyard is now a lush, functional paradise! By installing artificial turf with these ICPI-standard steps, you’ve eliminated dead grass, muddy messes, and uninspiring spaces. Picture hosting friends in Los Altos, watching kids play in San Jose, or relaxing in Danville’s evening breeze. Your new turf makes it all possible.
If DIY feels overwhelming or you want a professional finish, book a free design consultation with Bayside Pavers today. Our team crafts custom hardscape solutions for Palo Alto, Walnut Creek, and beyond. What’s your favorite way to enjoy your new backyard? Drop it in the comments—I’d love to hear!
FAQ: Your Turf Installation Questions Answered
How long does it take to install artificial turf? A 200-square-foot backyard takes 2–4 days for DIYers, depending on prep and team size. Pros can often complete it faster.
Can I install turf over concrete? Yes, if the concrete is stable. Add a thin foam underlay and follow ICPI guidelines for adhesion.
How much does artificial turf cost in the Bay Area? DIY costs range from $8–$15 per square foot, including materials. Contact Bayside Pavers for pro installation quotes.
Is artificial turf safe for kids and pets? Absolutely! Premium options like Emerald Green Turf are non-toxic and durable for play.
How do I maintain artificial turf? Rinse spills, sweep leaves, and brush fibers monthly. Reapply infill every 1–2 years for best results.
 Schedule Design Consultation