.png)
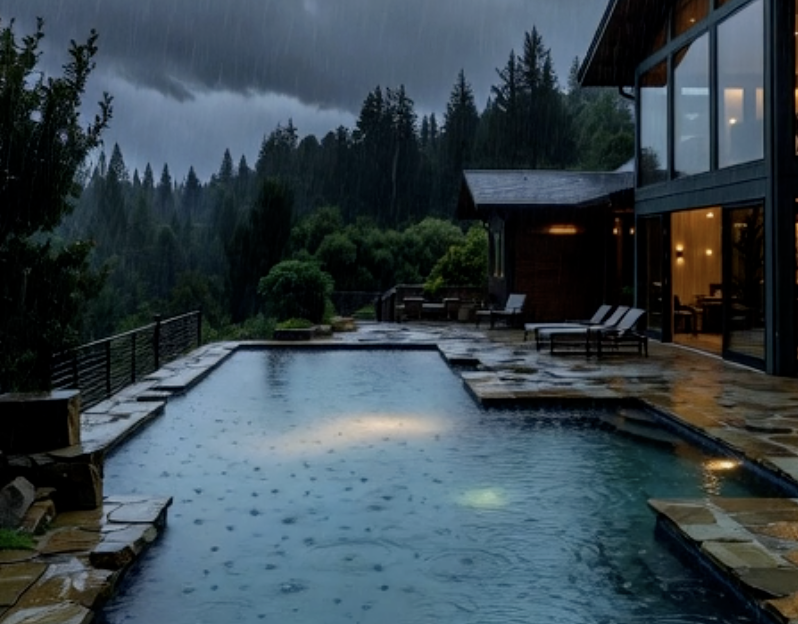
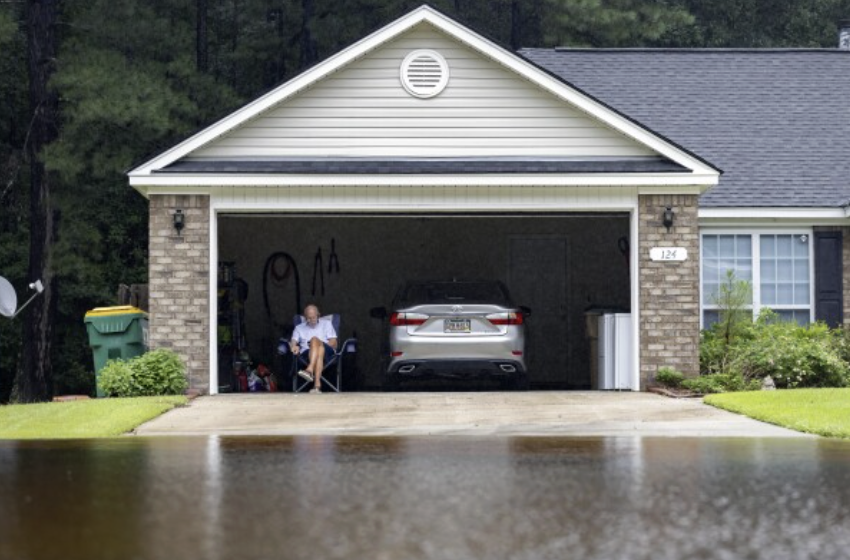
Seeing damp walls or musty smells in your Bay Area basement after winter storms? At Bayside Pavers, we’ve pumped out countless flooded crawl spaces in Oakland, Walnut Creek, and San Jose where surface runoff from patios pushed water under foundations—triggering mold, wood rot, and structural shifts in earthquake zones.
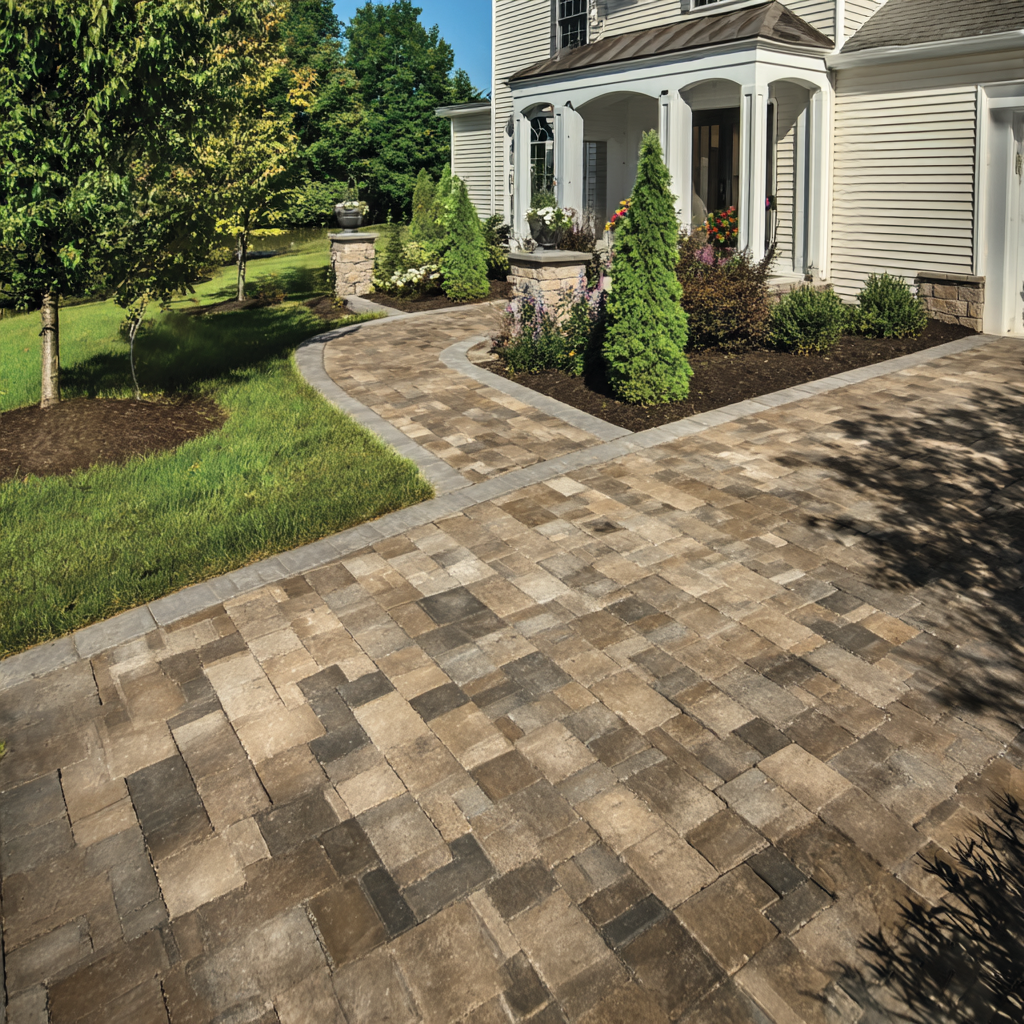
This DIY guide shows you how to install a paver patio with an integrated NDS EZ-Flow French drain system that intercepts patio runoff before it reaches your basement, routing it safely to daylight or a sump. Act now to stop water intrusion and protect your home’s value.
Why Install Basement Drainage Under Your Paver Patio Before Flooding Starts?
Even minor patio runoff can migrate 10+ feet underground in clay-heavy Bay Area soil. Over time:
- Hydrostatic pressure lifts basement floors
- Mold grows in 24–48 hours of dampness
- Foundation cracks appear from soil swell/shrink cycles
- Sump pumps burn out from constant overload
An NDS EZ-Flow French drain, per ICPI and Caltrans guidelines, captures 100% of patio surface water at the perimeter—preventing basement entry before damage begins.
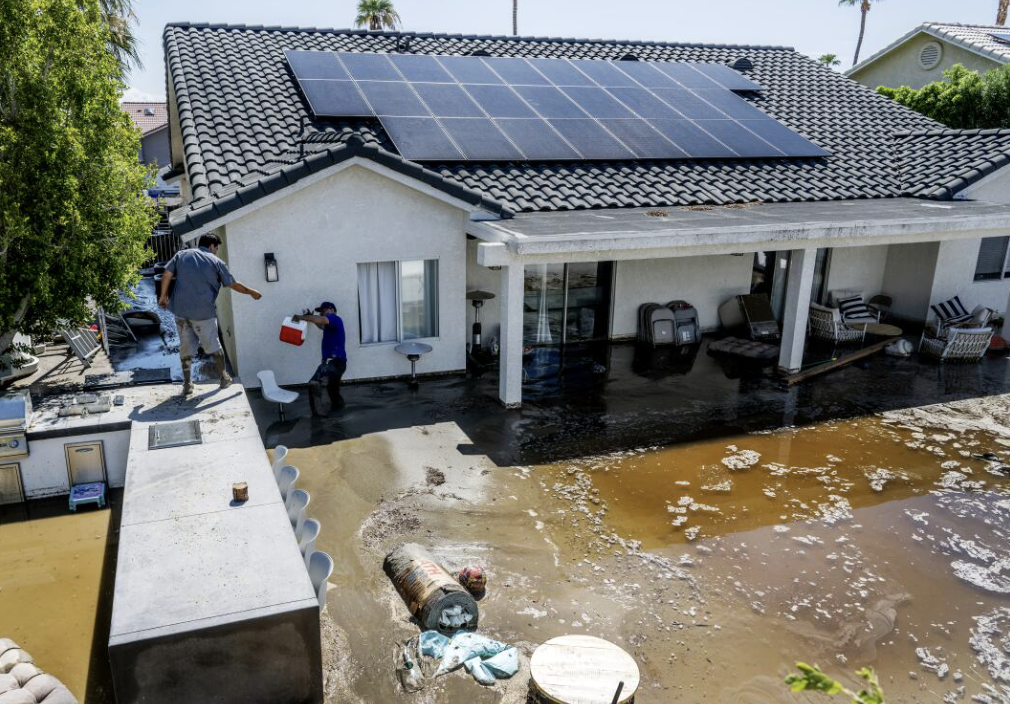
How Does Patio Runoff Cause Basement Water Problems in the Bay Area?
Patios without perimeter drainage act like reservoirs. Rain sheets off the surface, saturates the soil along the foundation, and finds micro-cracks in concrete. In Marin’s foggy hills or San Francisco’s seismic zones, this leads to efflorescence, bowing walls, and $15,000+ repair bills. A French drain under the patio edge stops this cycle.
How Do I Plan a DIY Paver Patio with Basement-Protecting Drainage?
Focus on intercepting water before it hits the foundation:
- Identify patio low points and basement damp zones
- Plan a French drain trench 12–18 inches deep, 10–20 feet long, parallel to the house
- Ensure 2% slope on patio and drain line to daylight or sump
Check permits—most patio + drain combos under 500 sq ft in Concord or San Jose are exempt, but basement tie-ins may need review.
Gather Materials and Tools for Basement Defense
Use pre-engineered NDS EZ-Flow bundles for foolproof drainage.
Materials
Purpose for Basement Protection
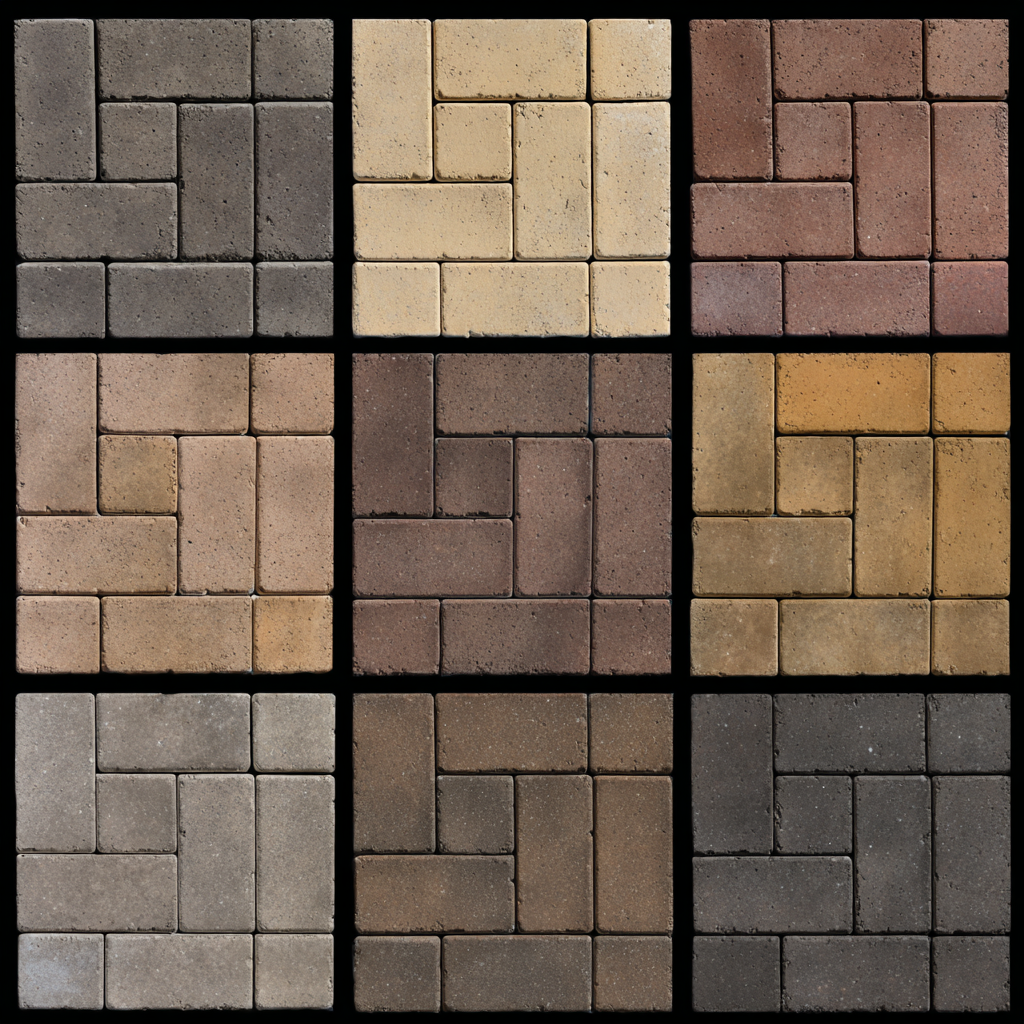
Techo-Bloc Pavers (e.g., Antika)
Durable surface with clean edges
NDS EZ-Flow French Drain (7" bundle)
Pre-wrapped pipe + aggregate for instant flow
3/4" Gravel Base
Load support + secondary infiltration
Geotextile Fabric
Filters fines, prevents clogging
4" Solid PVC Discharge Pipe
Routes water to safe outlet
Polymeric Sand
Seals joints, resists erosion
Pro Tip: Rent a trencher ($120/day)—cuts French drain time in half and ensures straight, deep lines.
Step-by-Step Instructions to Build a Basement-Safe Paver Patio?
Follow these 11 steps, based on NDS and ICPI specs. Total time: 48–60 hours over 2–3 weekends.
Step 1: Mark Patio and French Drain Path
- Stake patio outline, extending 6 inches for edging
- Mark French drain trench 12 inches from foundation, parallel
- Use string line for ¼ inch per foot patio slope away from house
Safety Tip: Call 811—basement utilities (gas, sewer) often run near foundations.
Step 2: Dig Patio Base and French Drain Trench
- Excavate patio to 10 inches deep
- Trench 18 inches deep x 8 inches wide for EZ-Flow
- Slope trench ⅛ inch per foot to discharge point
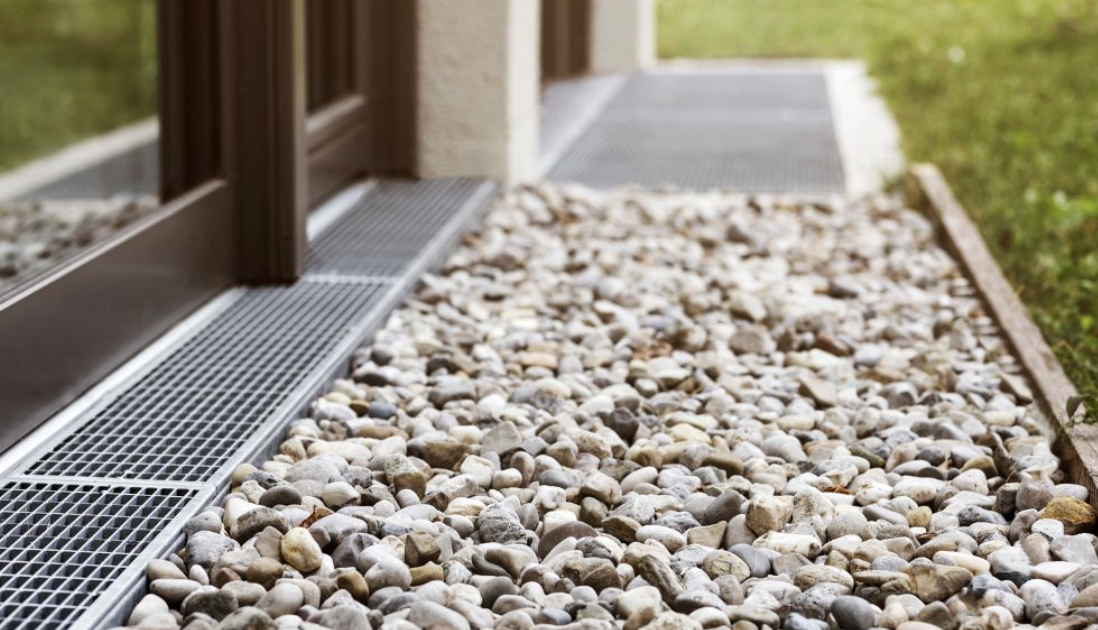
Step 3: Install NDS EZ-Flow French Drain
- Lay geotextile in trench, leaving excess to wrap
- Place EZ-Flow bundles end-to-end (pipe inside aggregate)
- Connect to 4" solid PVC at low end
- Wrap fabric over top—seals out silt in East Bay clay
Bay Area Essential: This intercepts all patio runoff before it migrates under your slab.
Step 4: Backfill and Compact Around Drain
Add 2 inches of gravel over wrapped EZ-Flow, compact lightly. This locks the system in place.
Step 5: Add Main Gravel Base for Patio
Spread 6 inches of ¾" gravel across entire patio in 2-inch lifts. Compact to 95%—prevents settling that could crack basement walls.
Step 6: Screed Bedding Layer
Add 1 inch concrete sand; screed level with 1" pipes. Maintain 2% slope toward the French drain.
Step 7: Lay Techo-Bloc Pavers
Start at house edge:
- Lay in herringbone or running bond
- Cut pavers to fit around drain access (if needed)
- Leave ⅛-inch joints
Step 8: Connect Discharge PipeRun solid PVC from EZ-Flow outlet:
- Under lawn or patio edge
- To daylight, dry well, or sump pump basin
Step 9: Install Edging and Secure Perimeter
Spike rigid edging along outer patio edge—prevents lateral shift during Marin winds.
Step 10: Sweep and Activate Polymeric Sand
Fill joints, mist lightly—hardens to resist washout and basement-bound erosion.
Step 11: Test System and Plan Maintenance
- Hose-test patio—water should vanish into French drain gravel within seconds
- Check discharge point for flow
- Flush drain annually; replace fabric cap if clogged
Critical Warning: On hillsides (>5% slope) in San Francisco or Walnut Creek, shifting soil can crush pipes. Hire ICPI-certified installers to avoid basement flood risk.
How Can I Tell If My Patio Is Pushing Water Into My Basement?
Early red flags:
- White powdery stains (efflorescence) on basement walls
- Musty odor after rain
- Cracked or heaving basement floor
- Sump pump running constantly
Stop the source before mold testing is required.
People Also Ask
Q: Will a French drain clog in Bay Area redwood mulch?
A: NDS EZ-Flow has built-in geotextile—rake debris monthly. Flush annually to maintain flow. See our paver patio ideas (/paver-patio/).
Q: Can I connect the French drain to my sump pump?
A: Yes—route solid PVC to sump basin. We install battery backups for San Jose power outages.
Q: Do I need permeable pavers with a French drain?
A: Optional—French drain handles 100% surface load. Permeable adds infiltration for drought credits in Marin.
Q: Are permits required for basement drainage in Walnut Creek?
A: Subsurface drains near foundations often need plan review. We submit for you.
Q: How do I winterize the system in foggy Concord?
A: Inspect discharge in fall; ensure pop-up emitter is clear of leaves.
 Schedule Design Consultation